A Week in Grand Teton & Yellowstone National Parks
We had planned and booked our Grand Teton and Yellowstone National Parks trip long before COVID-19 swept through the world. With careful monitoring and diligent precautions, we decided to continue with our trip as planned! Our JetBlue flight from Boston to Bozeman was basically empty, we camped the whole time, and wore masks everywhere we went, so we felt comfortable on this trip.
With Emily making the transition from college to work and Adam not having a ton of PTO built up, we decided to opt for a 1 week trip, which is shorter than normal for us. However, we felt that this itinerary really allowed us to hit all of the highlights! We spent 3 full days in Grand Teton National Park and 3 full days in Yellowstone National Park, plus a travel day on each end. Scroll all the way to the bottom of this page to see our route highlighted on a map.
Check out the scenic highlights YouTube video of our trip here!
If you have any questions or would like to learn more please feel free to contact us!
DAY 1: Getting there
We took a direct flight from Boston, MA to Bozeman, MT and landed around 2pm. We picked up our rental car and began the long drive ahead of us! We stopped at Walmart in Bozeman to pick up some camping supplies including a one-burner camp stove, butane, camp chairs, and bear spray since we were unable to fly with these items. At the end of our trip we gave them to the family staying in the campsite next to us! Next we began the 4 hour drive down to Mike Harris Campground in Idaho. All of the campgrounds in the Tetons are first come, first serve, and they fill up very early. This is why we booked Mike Harris, which is only an hour away from the Tetons, so we could get in line for a site bright and early (and it was only $12 for the night!).
TRAVEL TIP: Are you under 25 like us? If you are a AAA member, you can waive the young driver fee if you rent a car through Hertz! Emily was already a member, but an annual AAA membership is about $80 and the young driver fee can be about $30 a day, so the membership pays for itself right away!
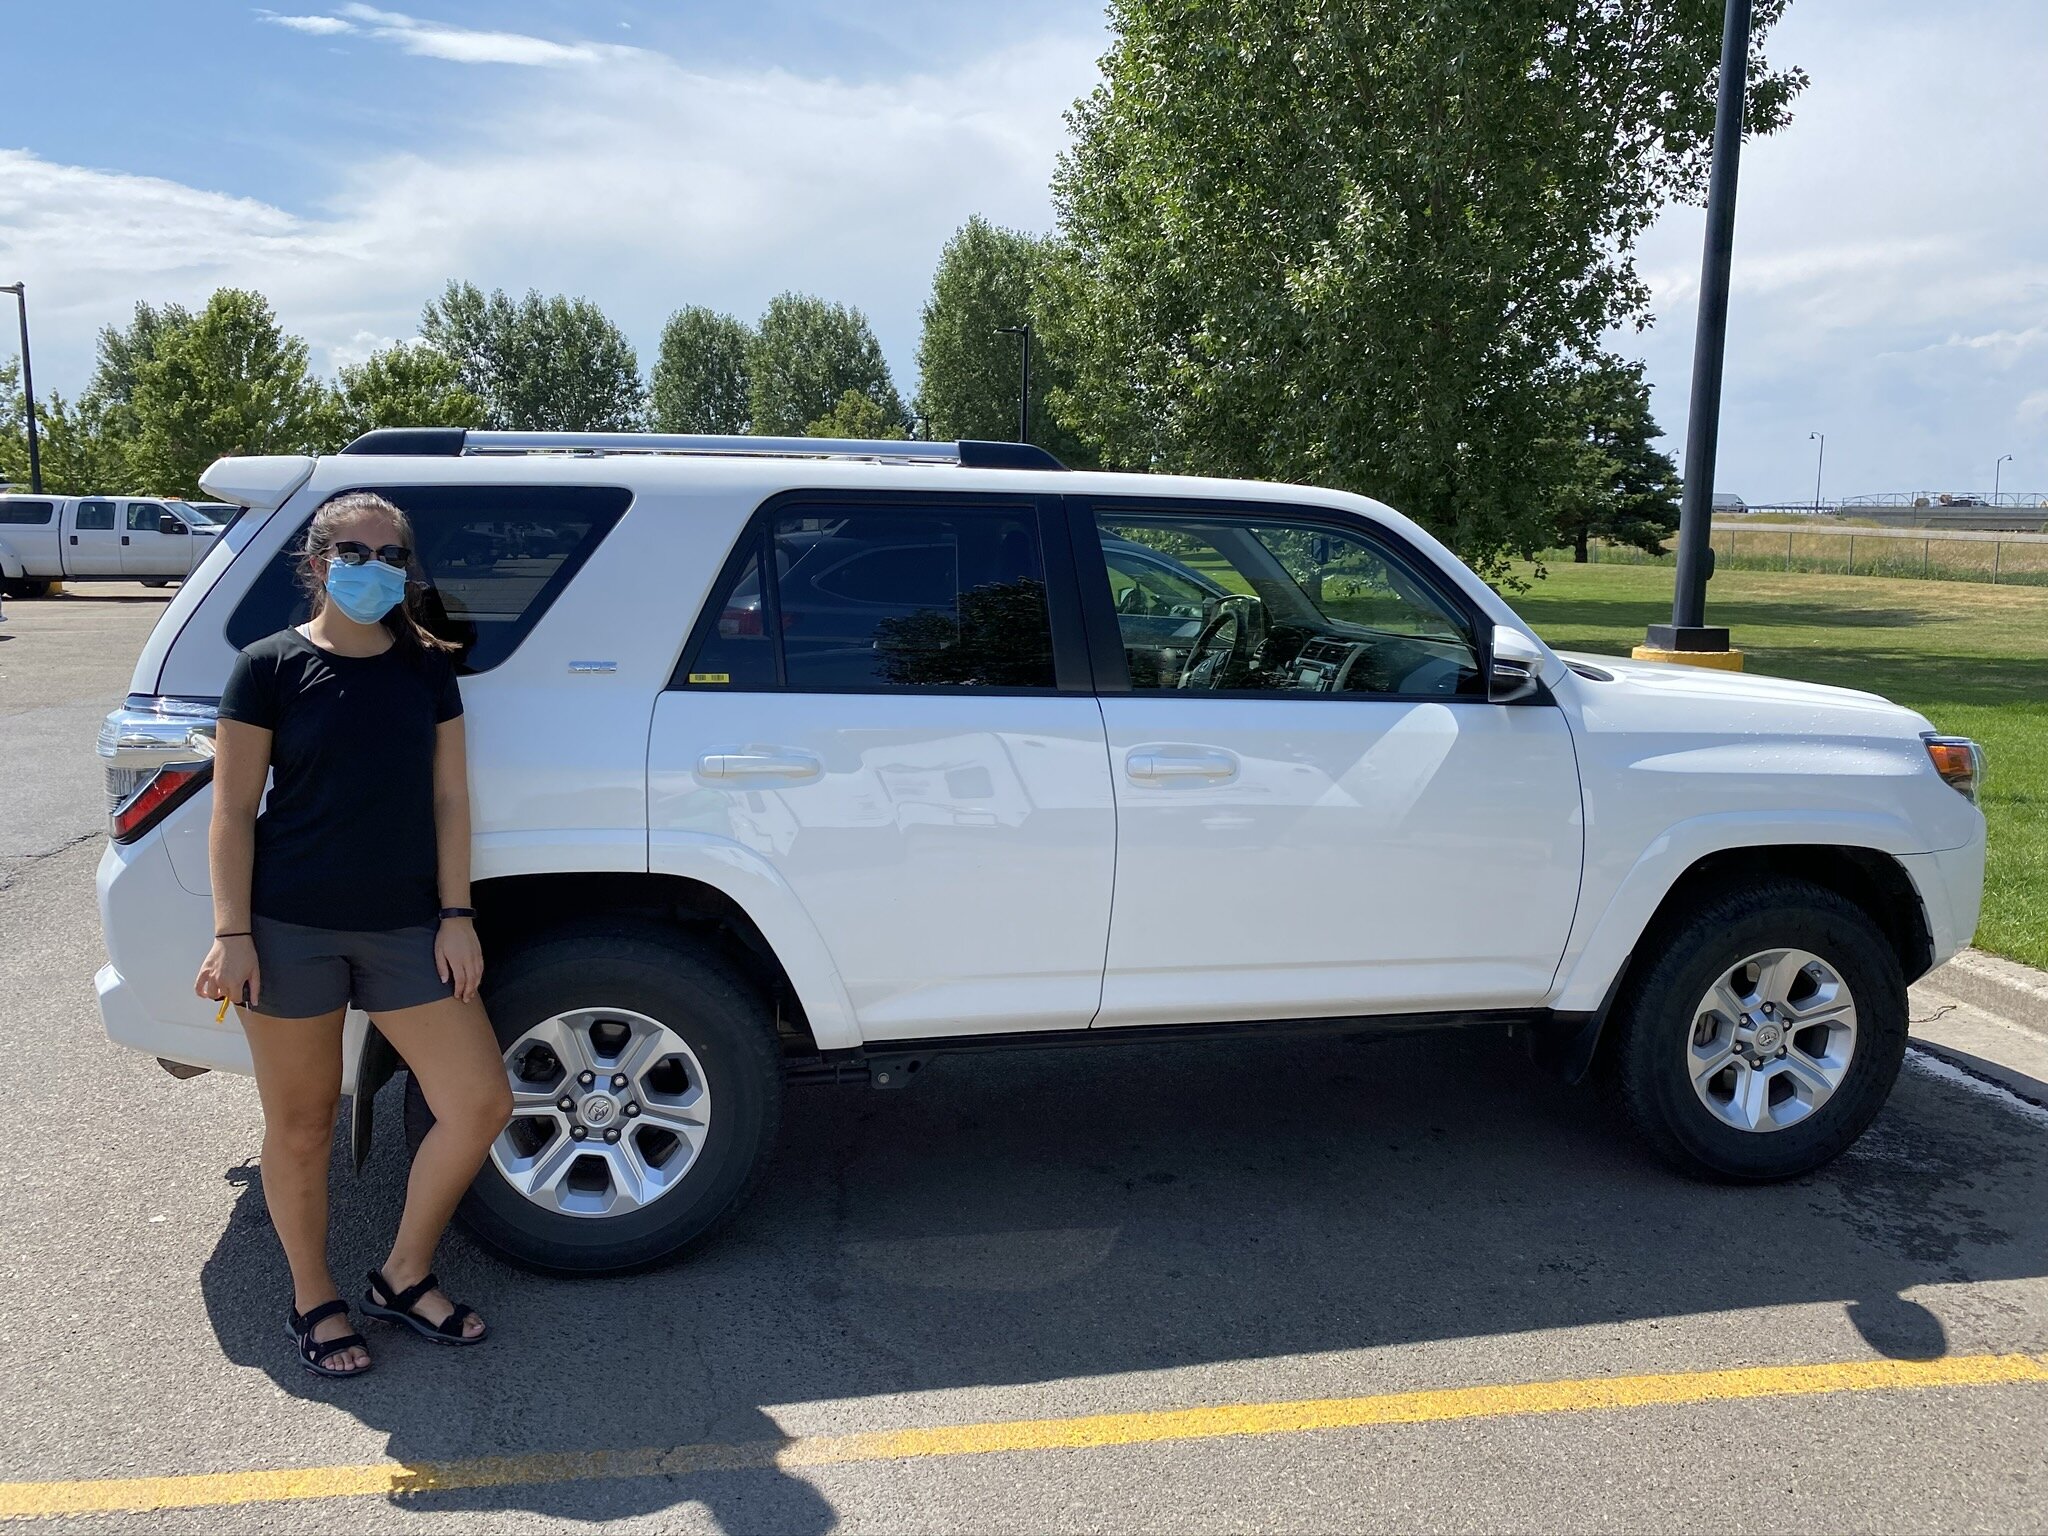
Our ride for the week!
Welcome to Idaho!
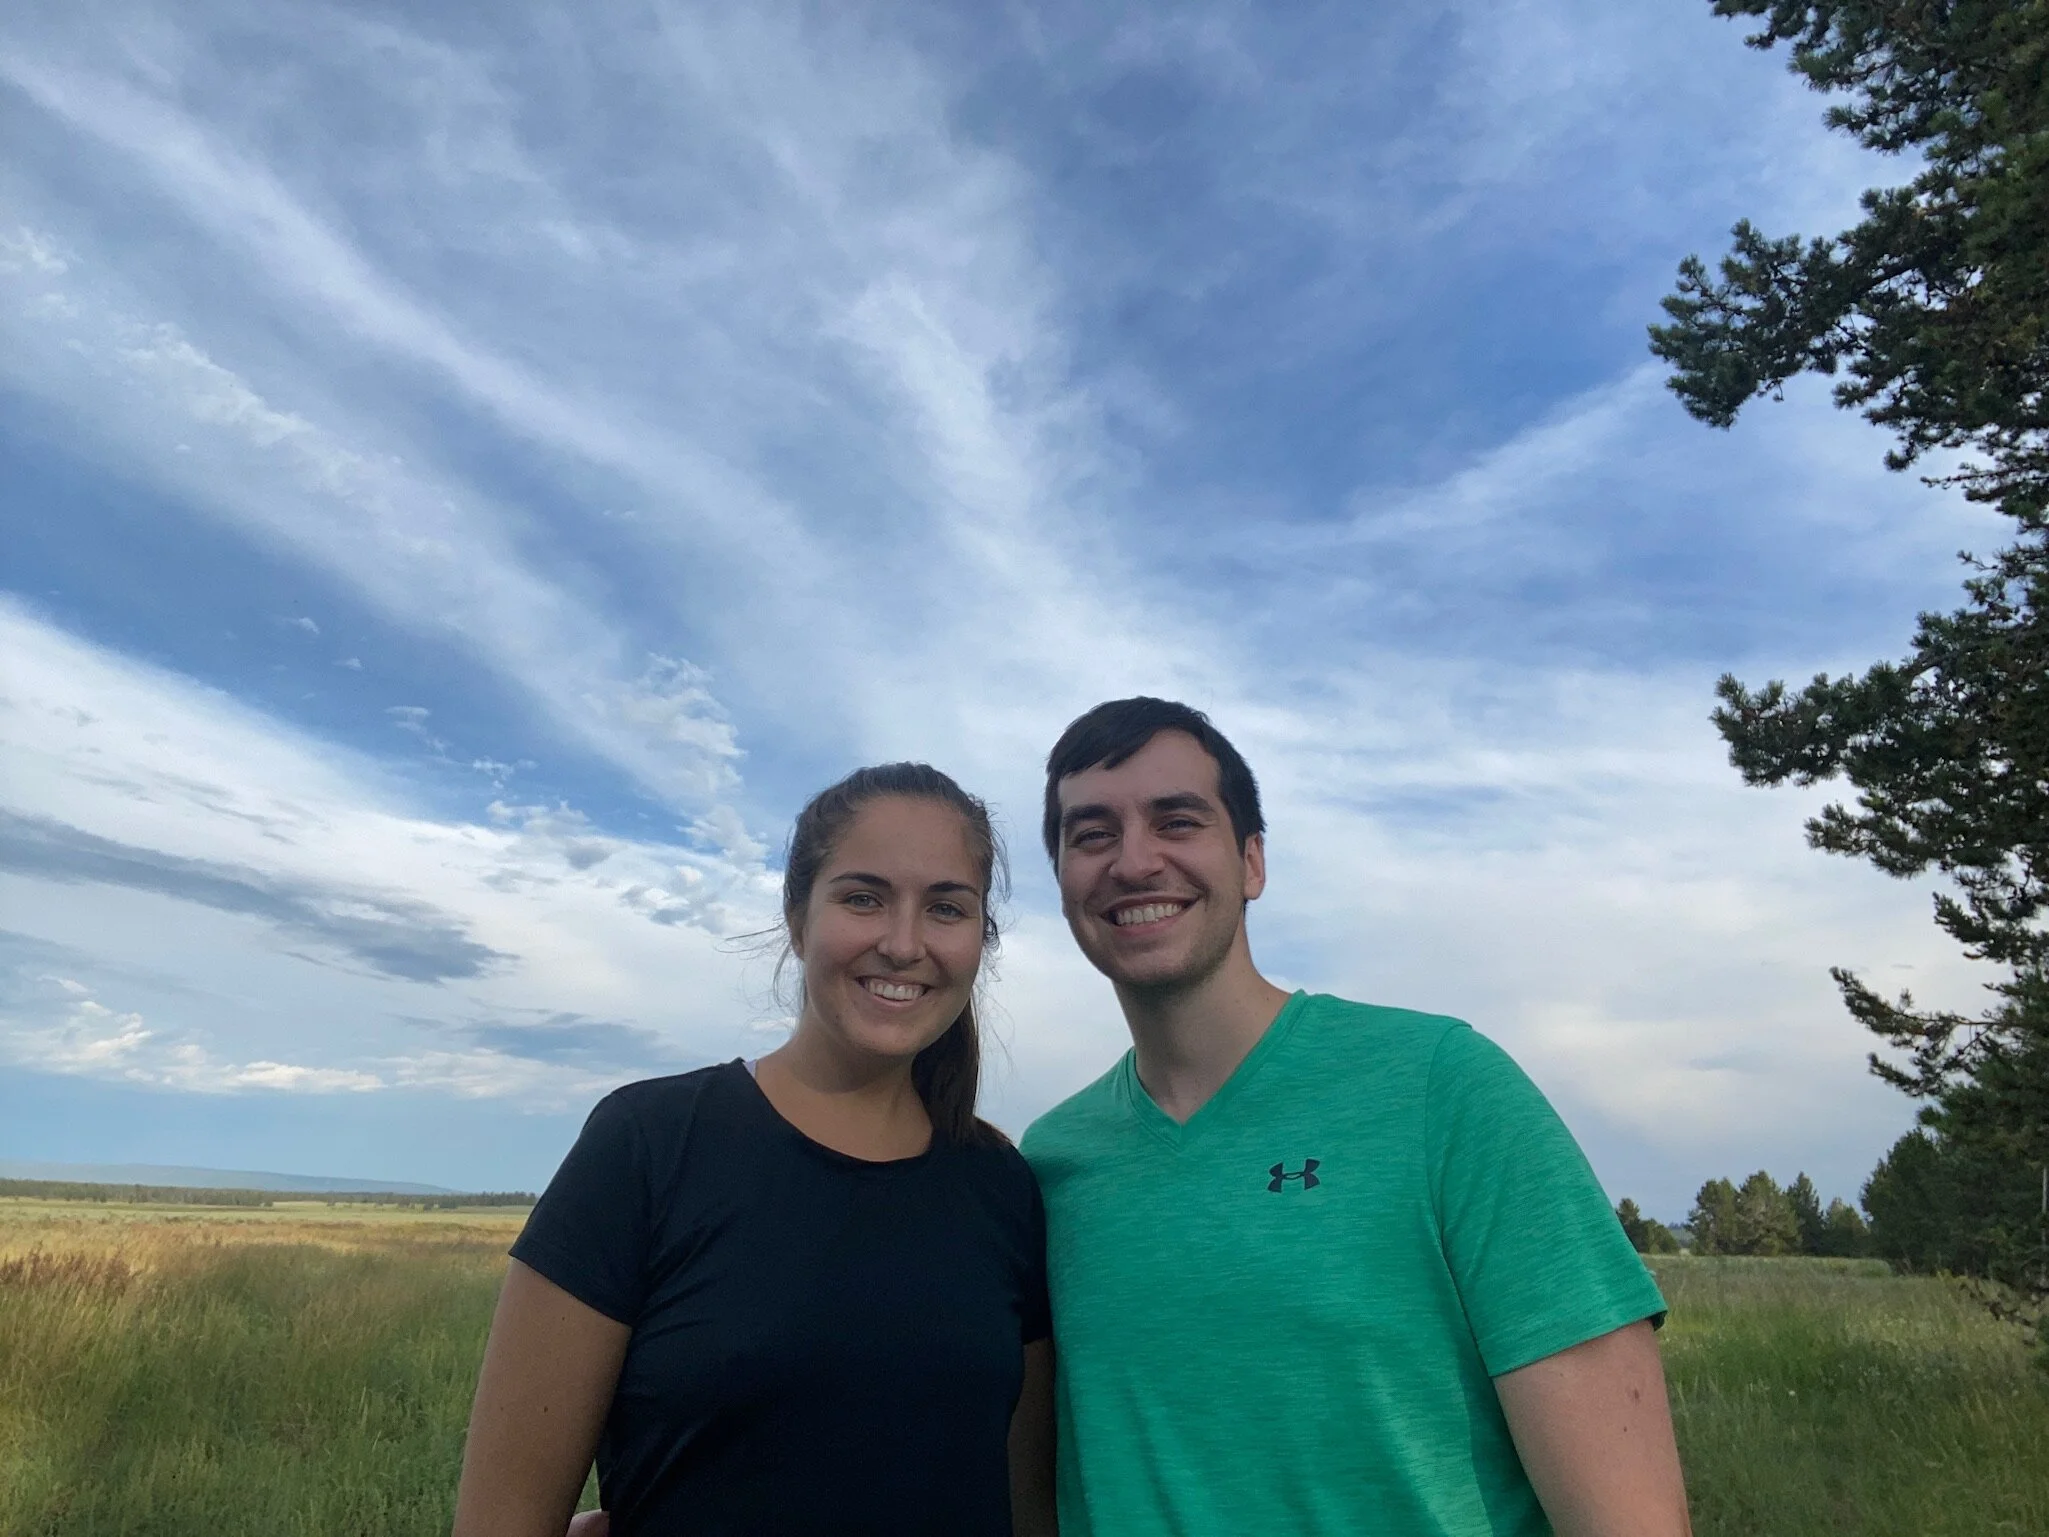
A quick shot in Idaho
DAY 2: taggart lake & jenny lake
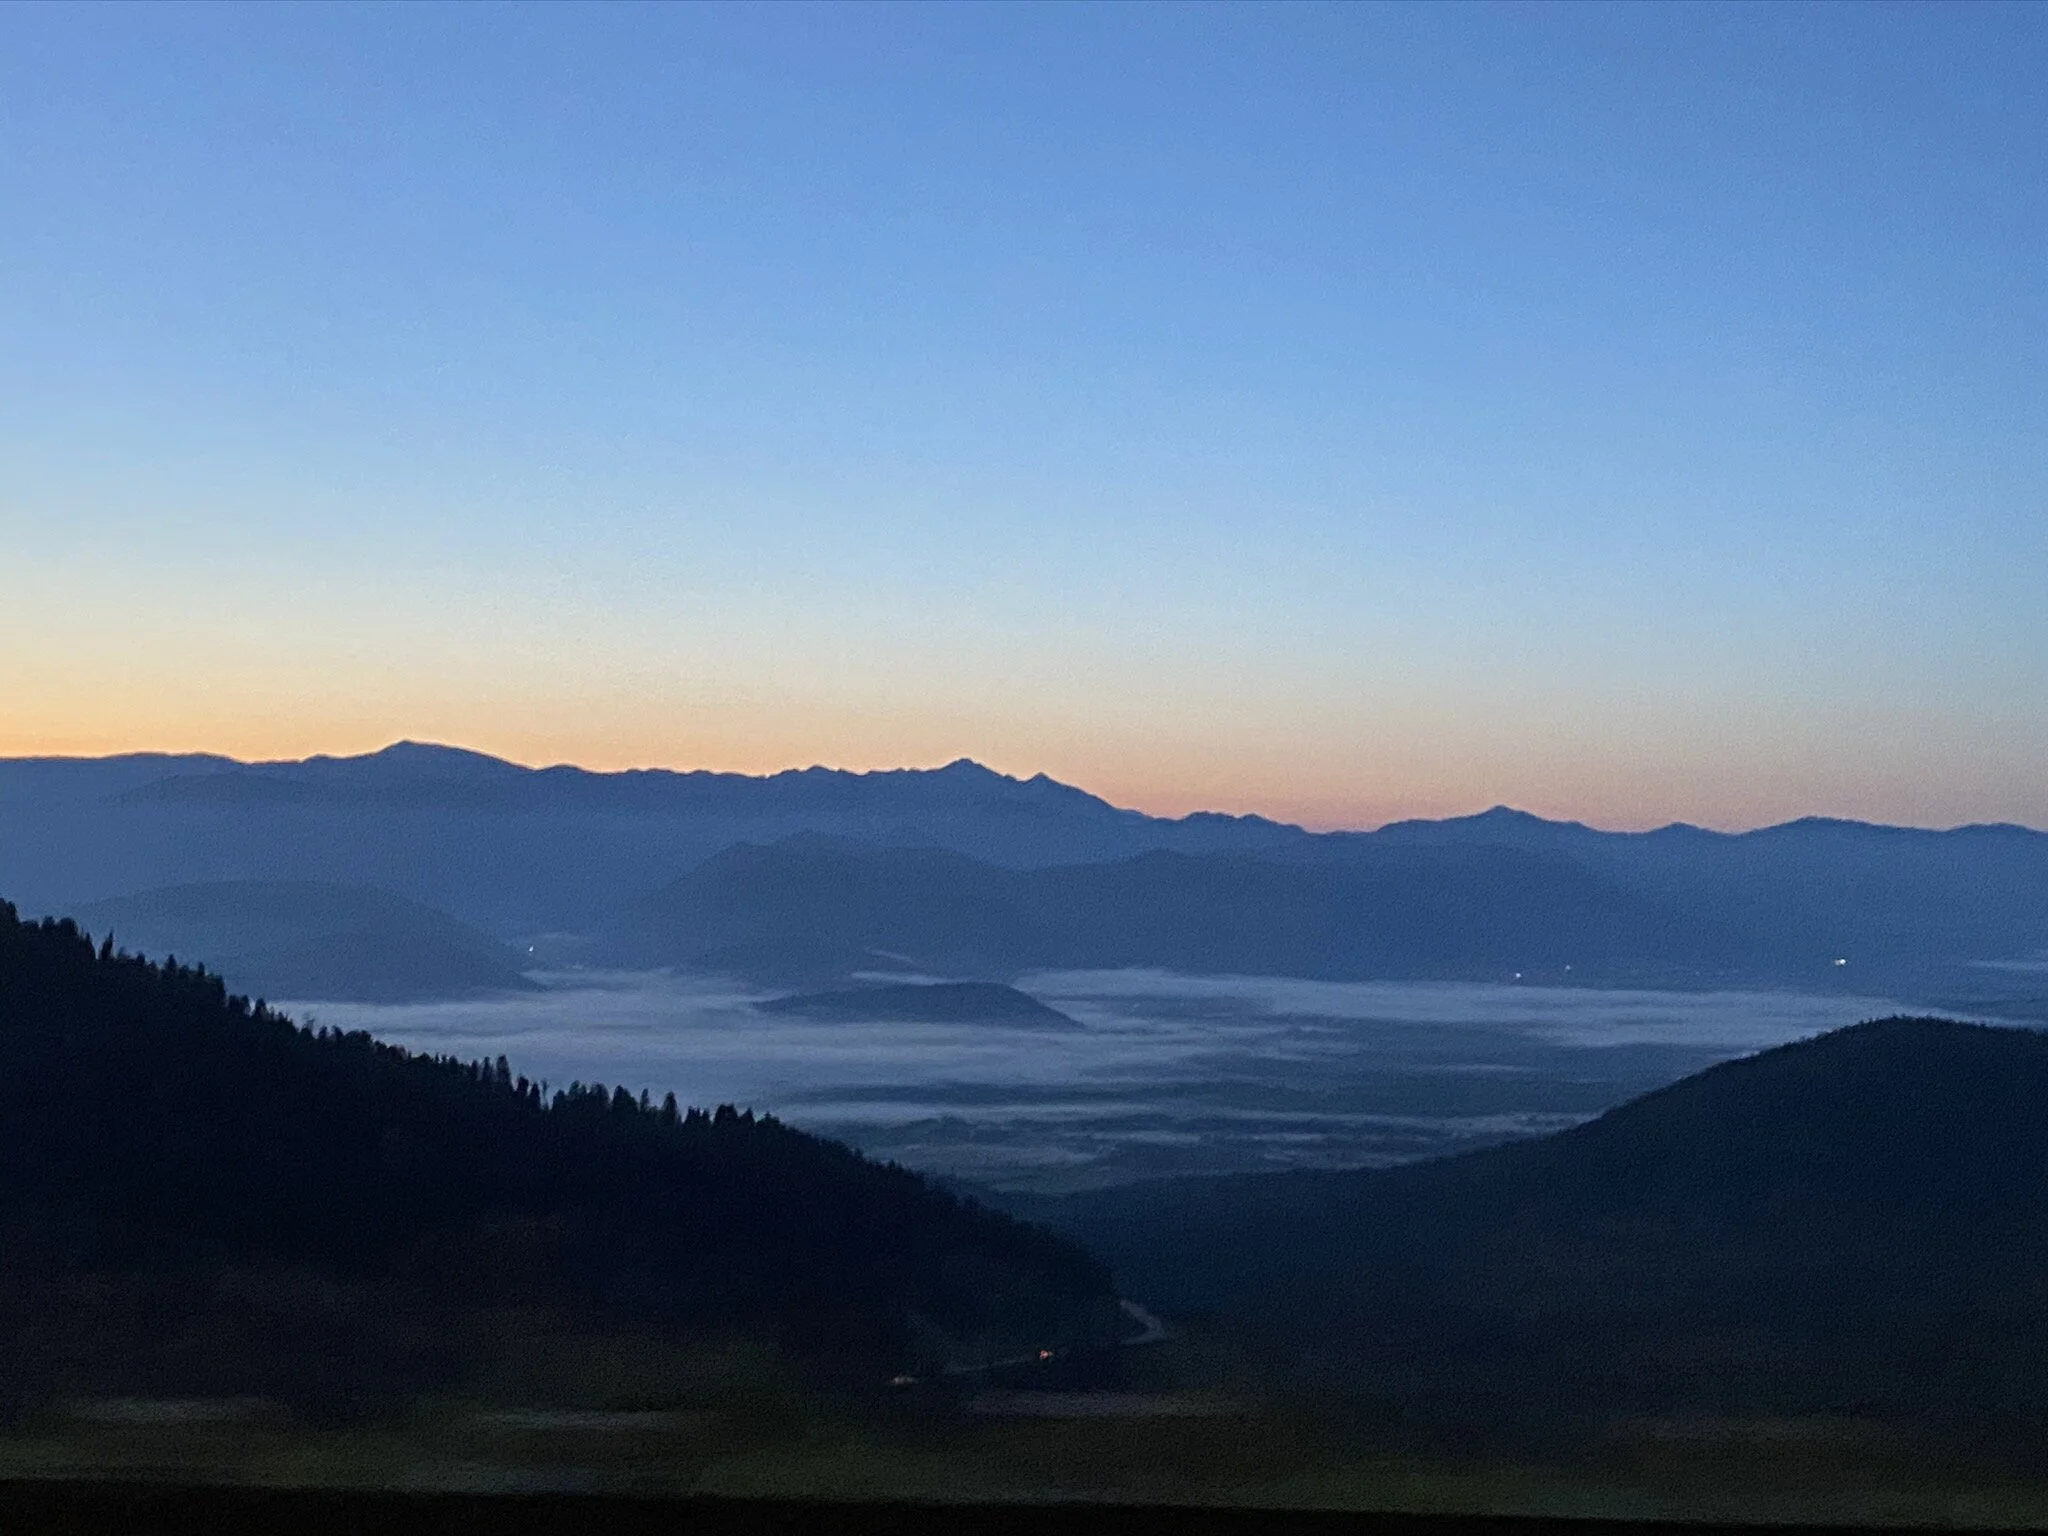
We woke up at 5am to make the hour long drive to Jenny Lake Campground in the Tetons. We drove through Teton Pass at sunrise, which was very gorgeous. We also opted to take Moose Wilson Road into the Tetons as opposed to the main highway as this was the more scenic route - we even saw 5 moose since it was early! We did a quick detour through Teton Village, which is a massive ski area and cute village. Jenny Lake Campground is known for having great views and being in an excellent location, but it is also very small (only 49 sites while others have hundreds). Since it is first come, first serve, we were optimistic that we would get a spot so early in the morning. WRONG! When we arrived at 6:30, there were already 20 other cars in front of us; people had actually slept in their cars to secure a spot. We waited for a bit, but after accepting that we were most likely not going to get a spot, we headed over to Gros Ventre Campground. Gros Ventre is only about 20 minutes away from Jenny Lake and has 300 spots, so we recommend not wasting your time and just going straight to Gros Ventre.
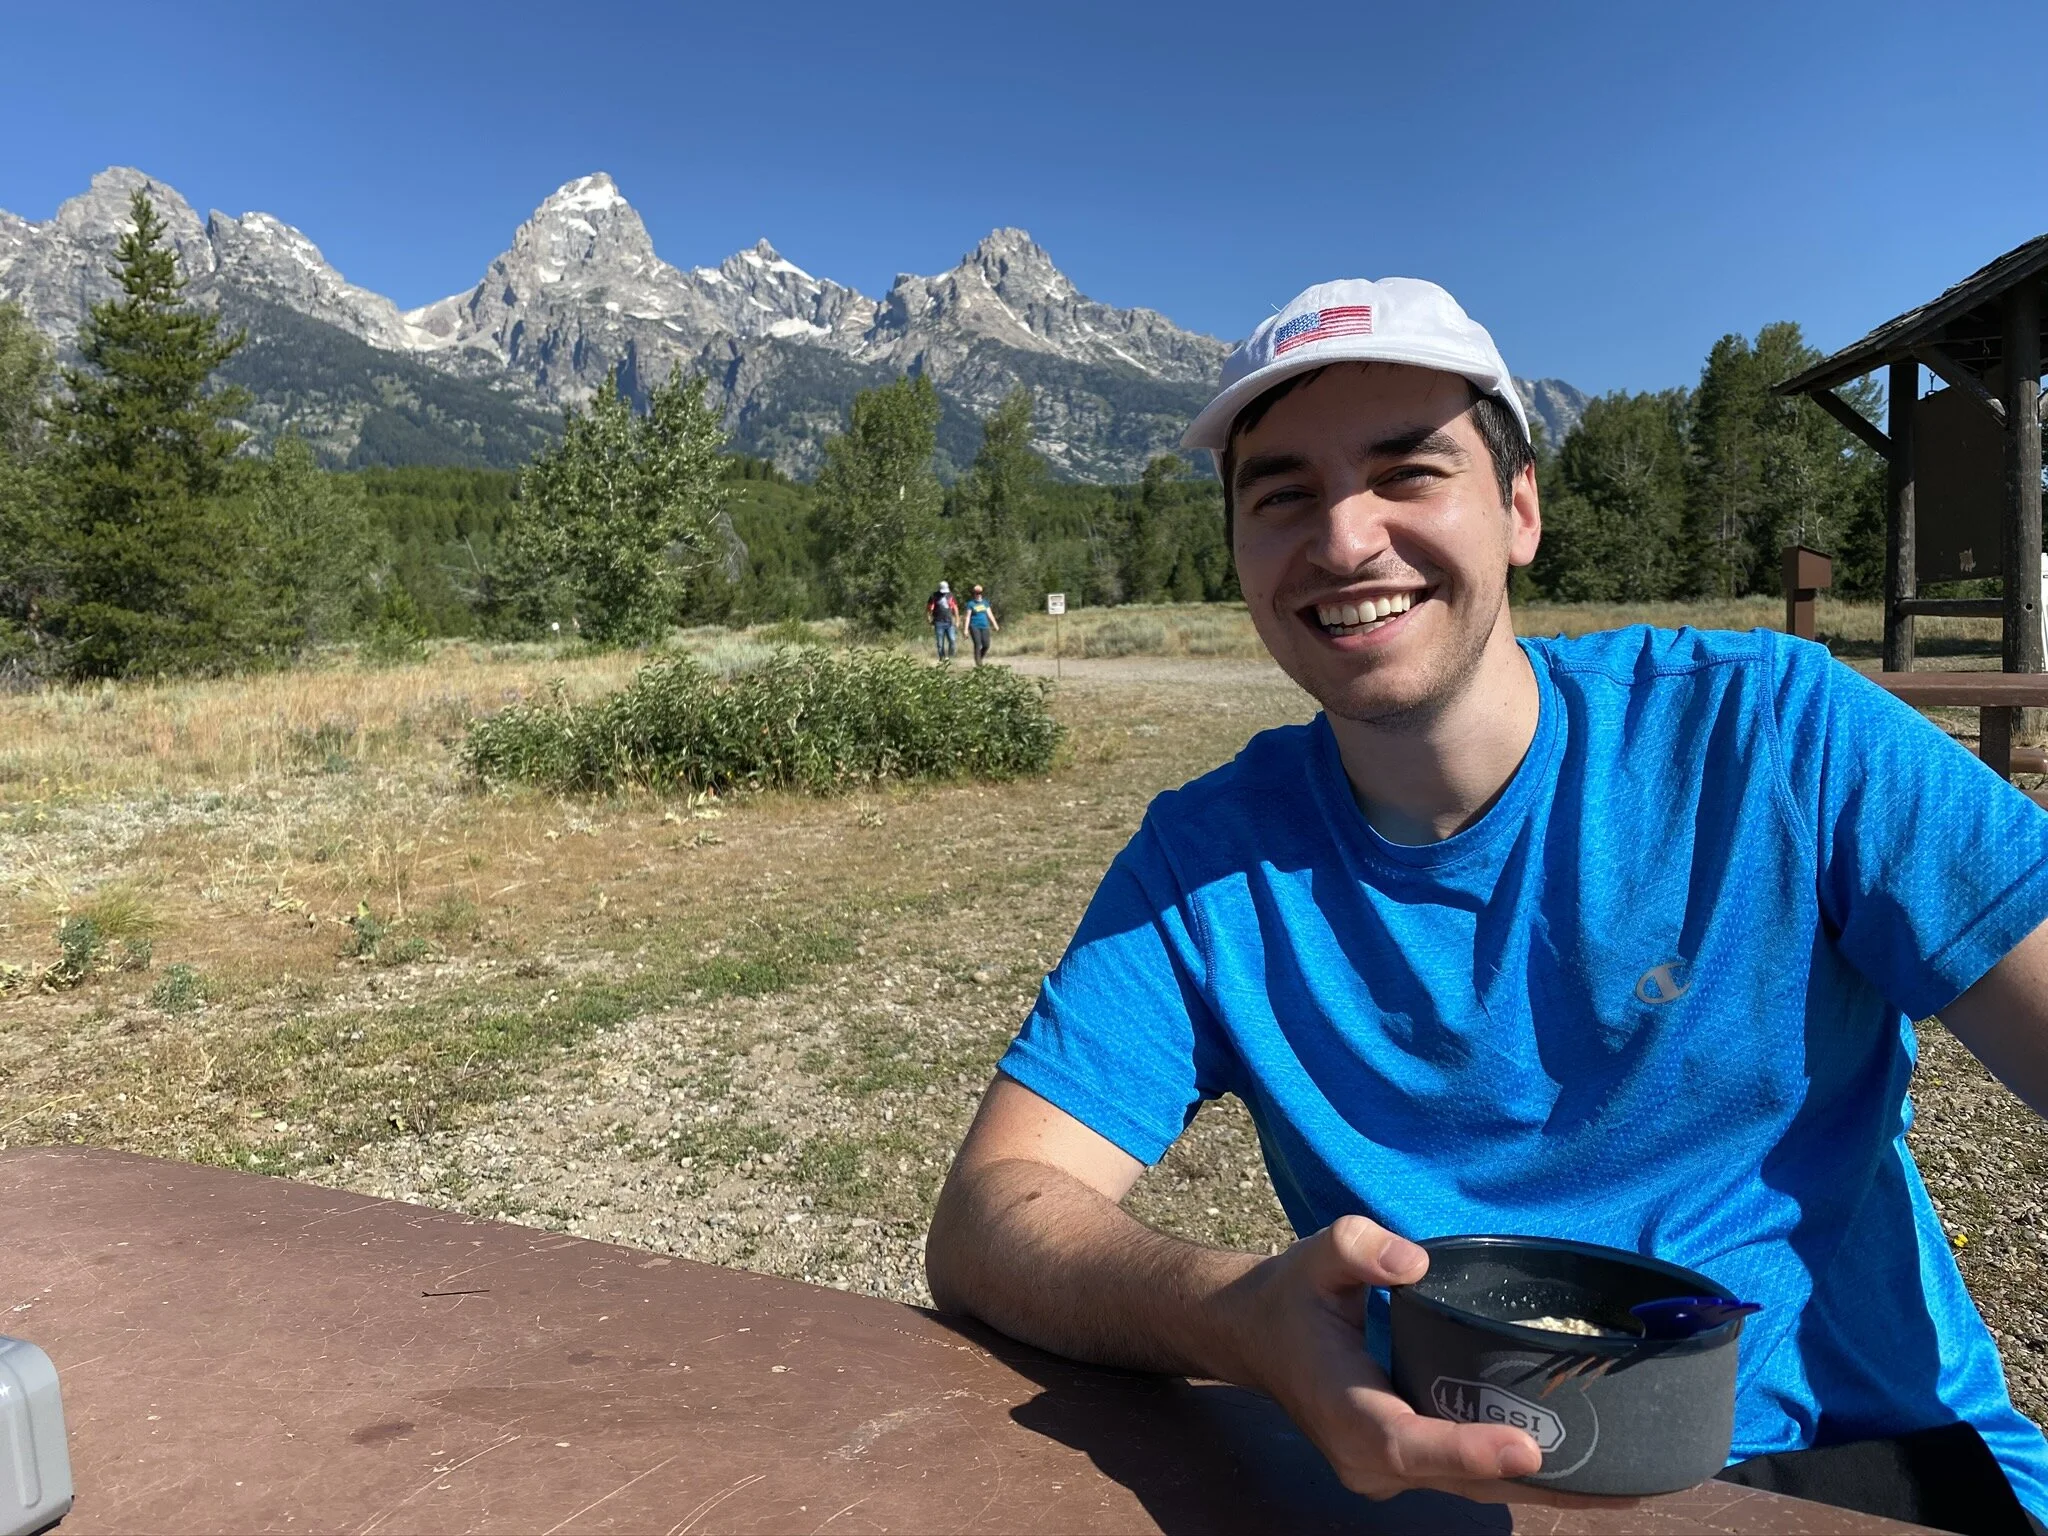
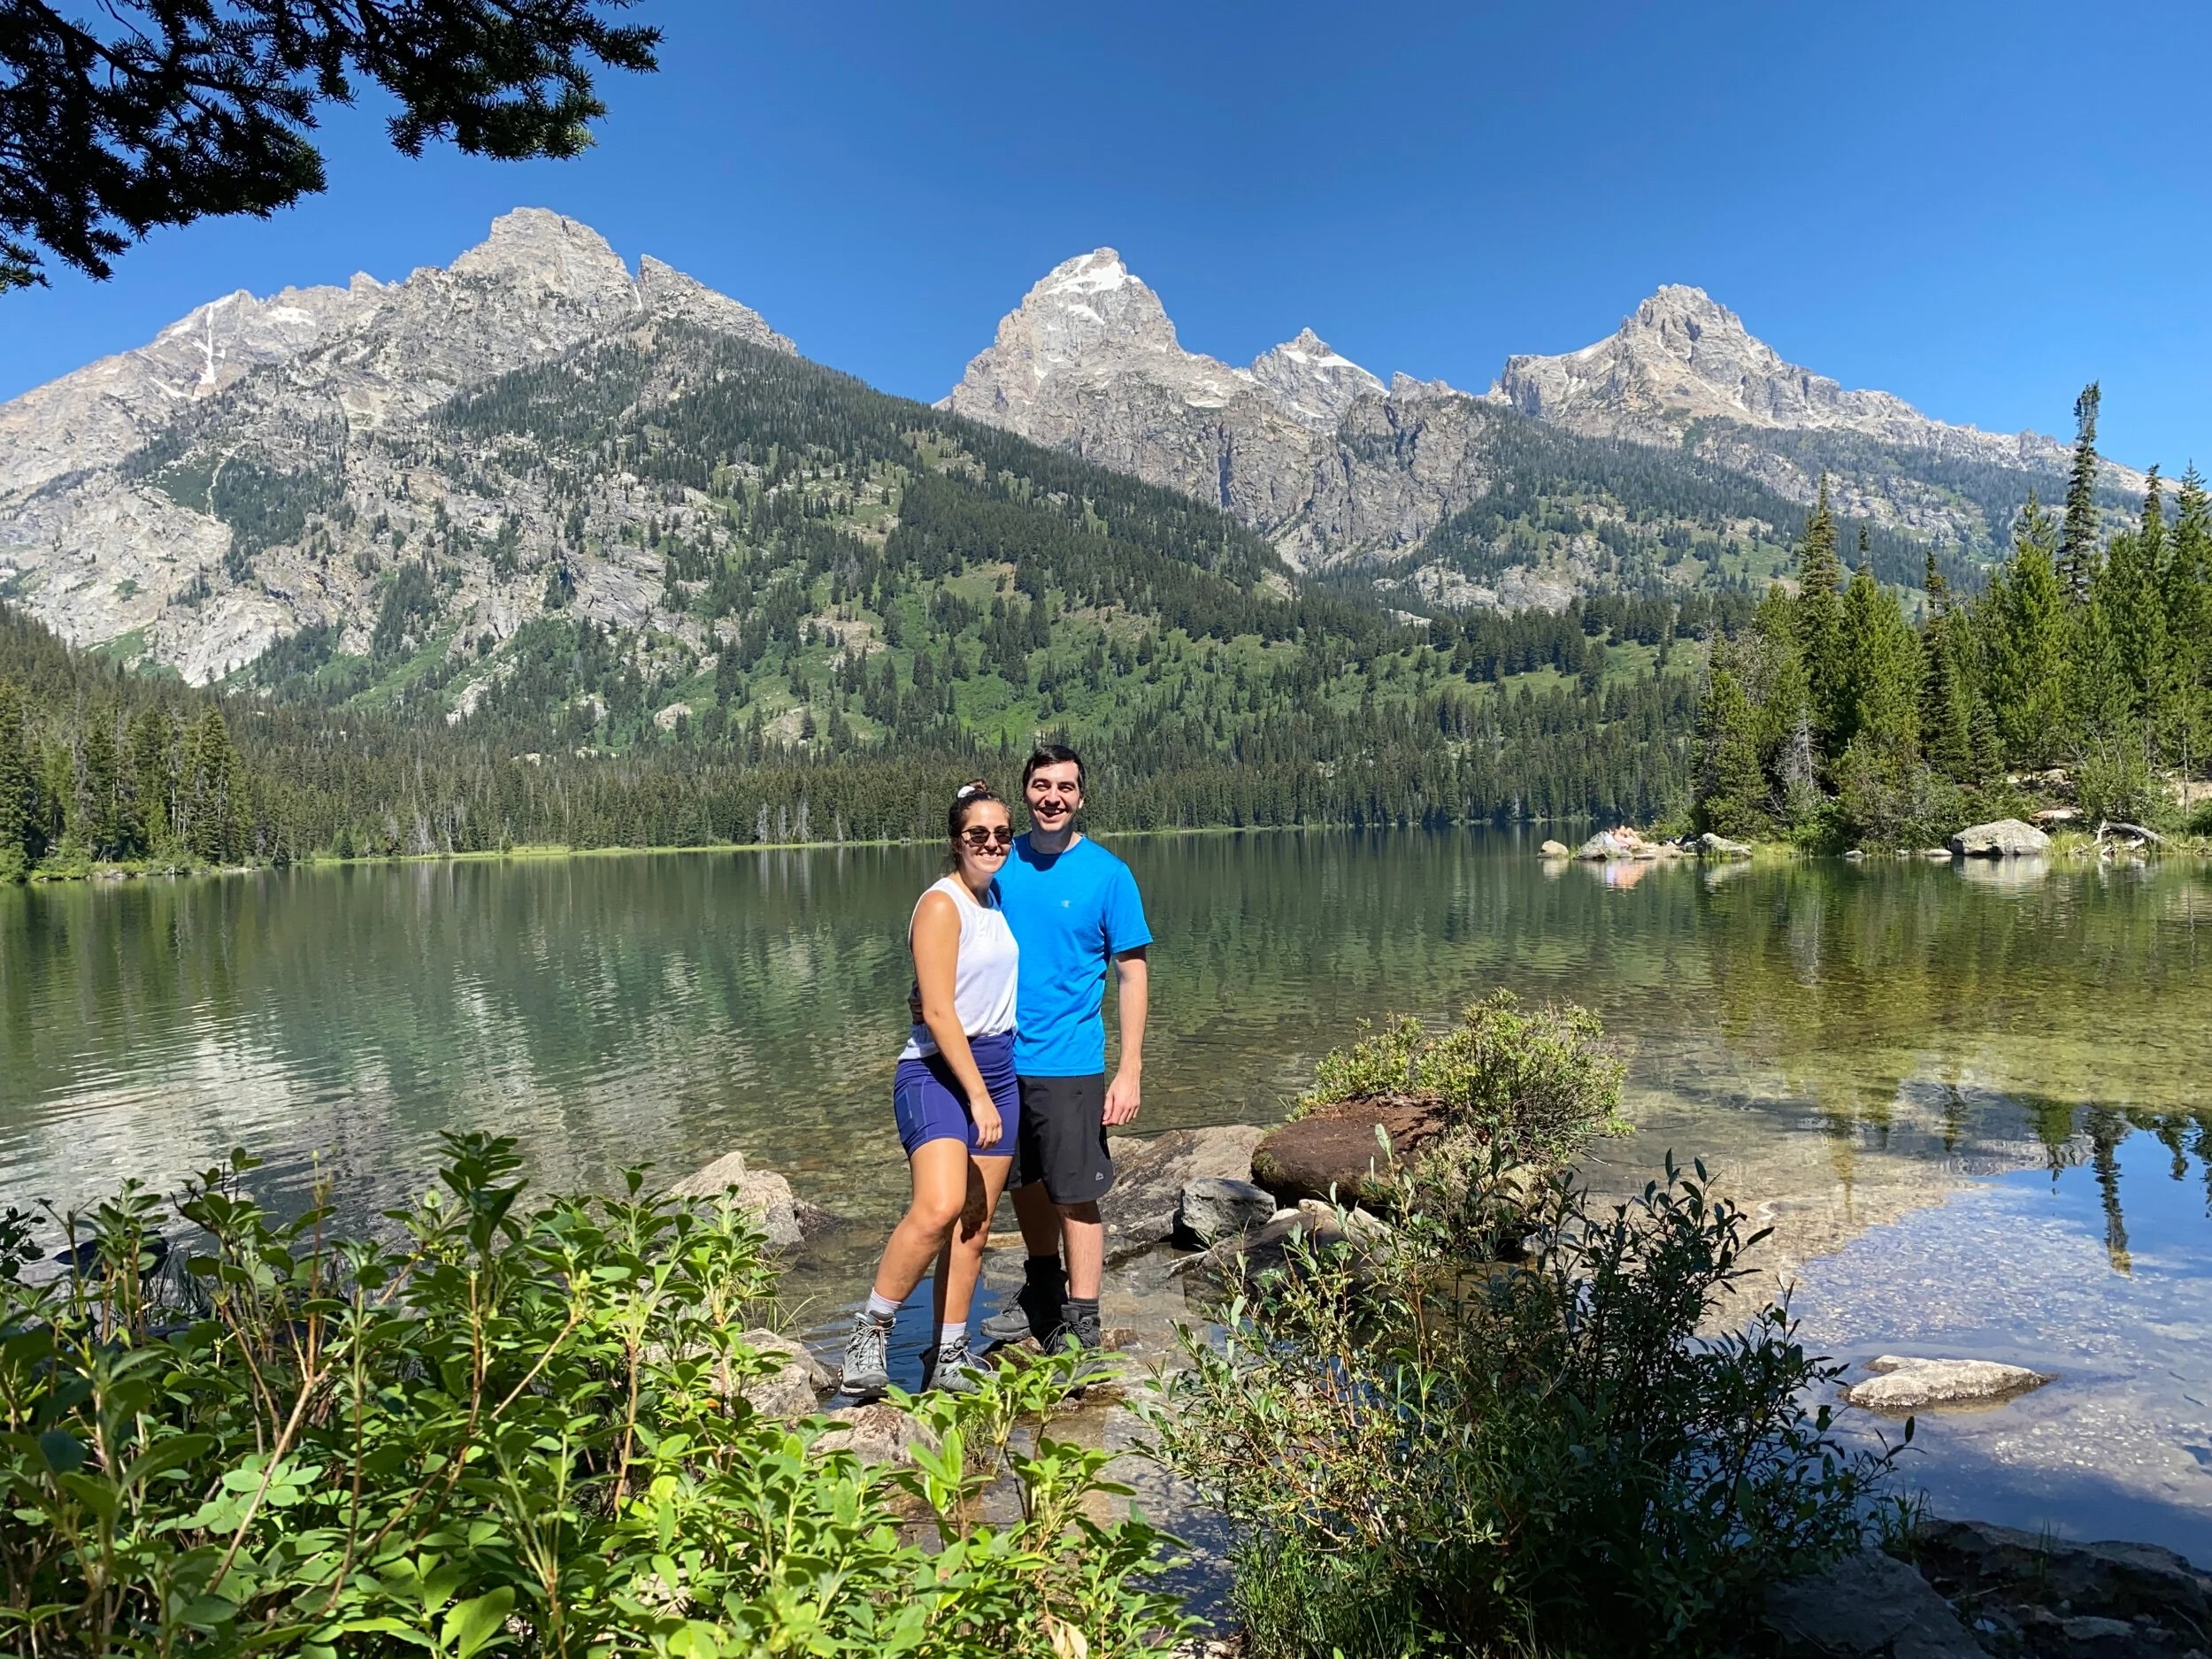
After the campground fiasco, we were excited to start our day! We headed over to Taggart Lake which is known for some beautiful views of the Teton Range. We had a nice breakfast with a view before beginning our hike. To hike to just Taggart Lake it is about a 3 mile hike, but you can add on Bradley Lake as a loop to make the whole hike about 5 miles with very little elevation (about 500 feet total). This was one of our favorite things we did on the trip! The views at Taggart Lake were breathtaking! We were glad that we added on Bradley Lake because there were less people on this part of the trail and we got to enjoy the scenery even more.
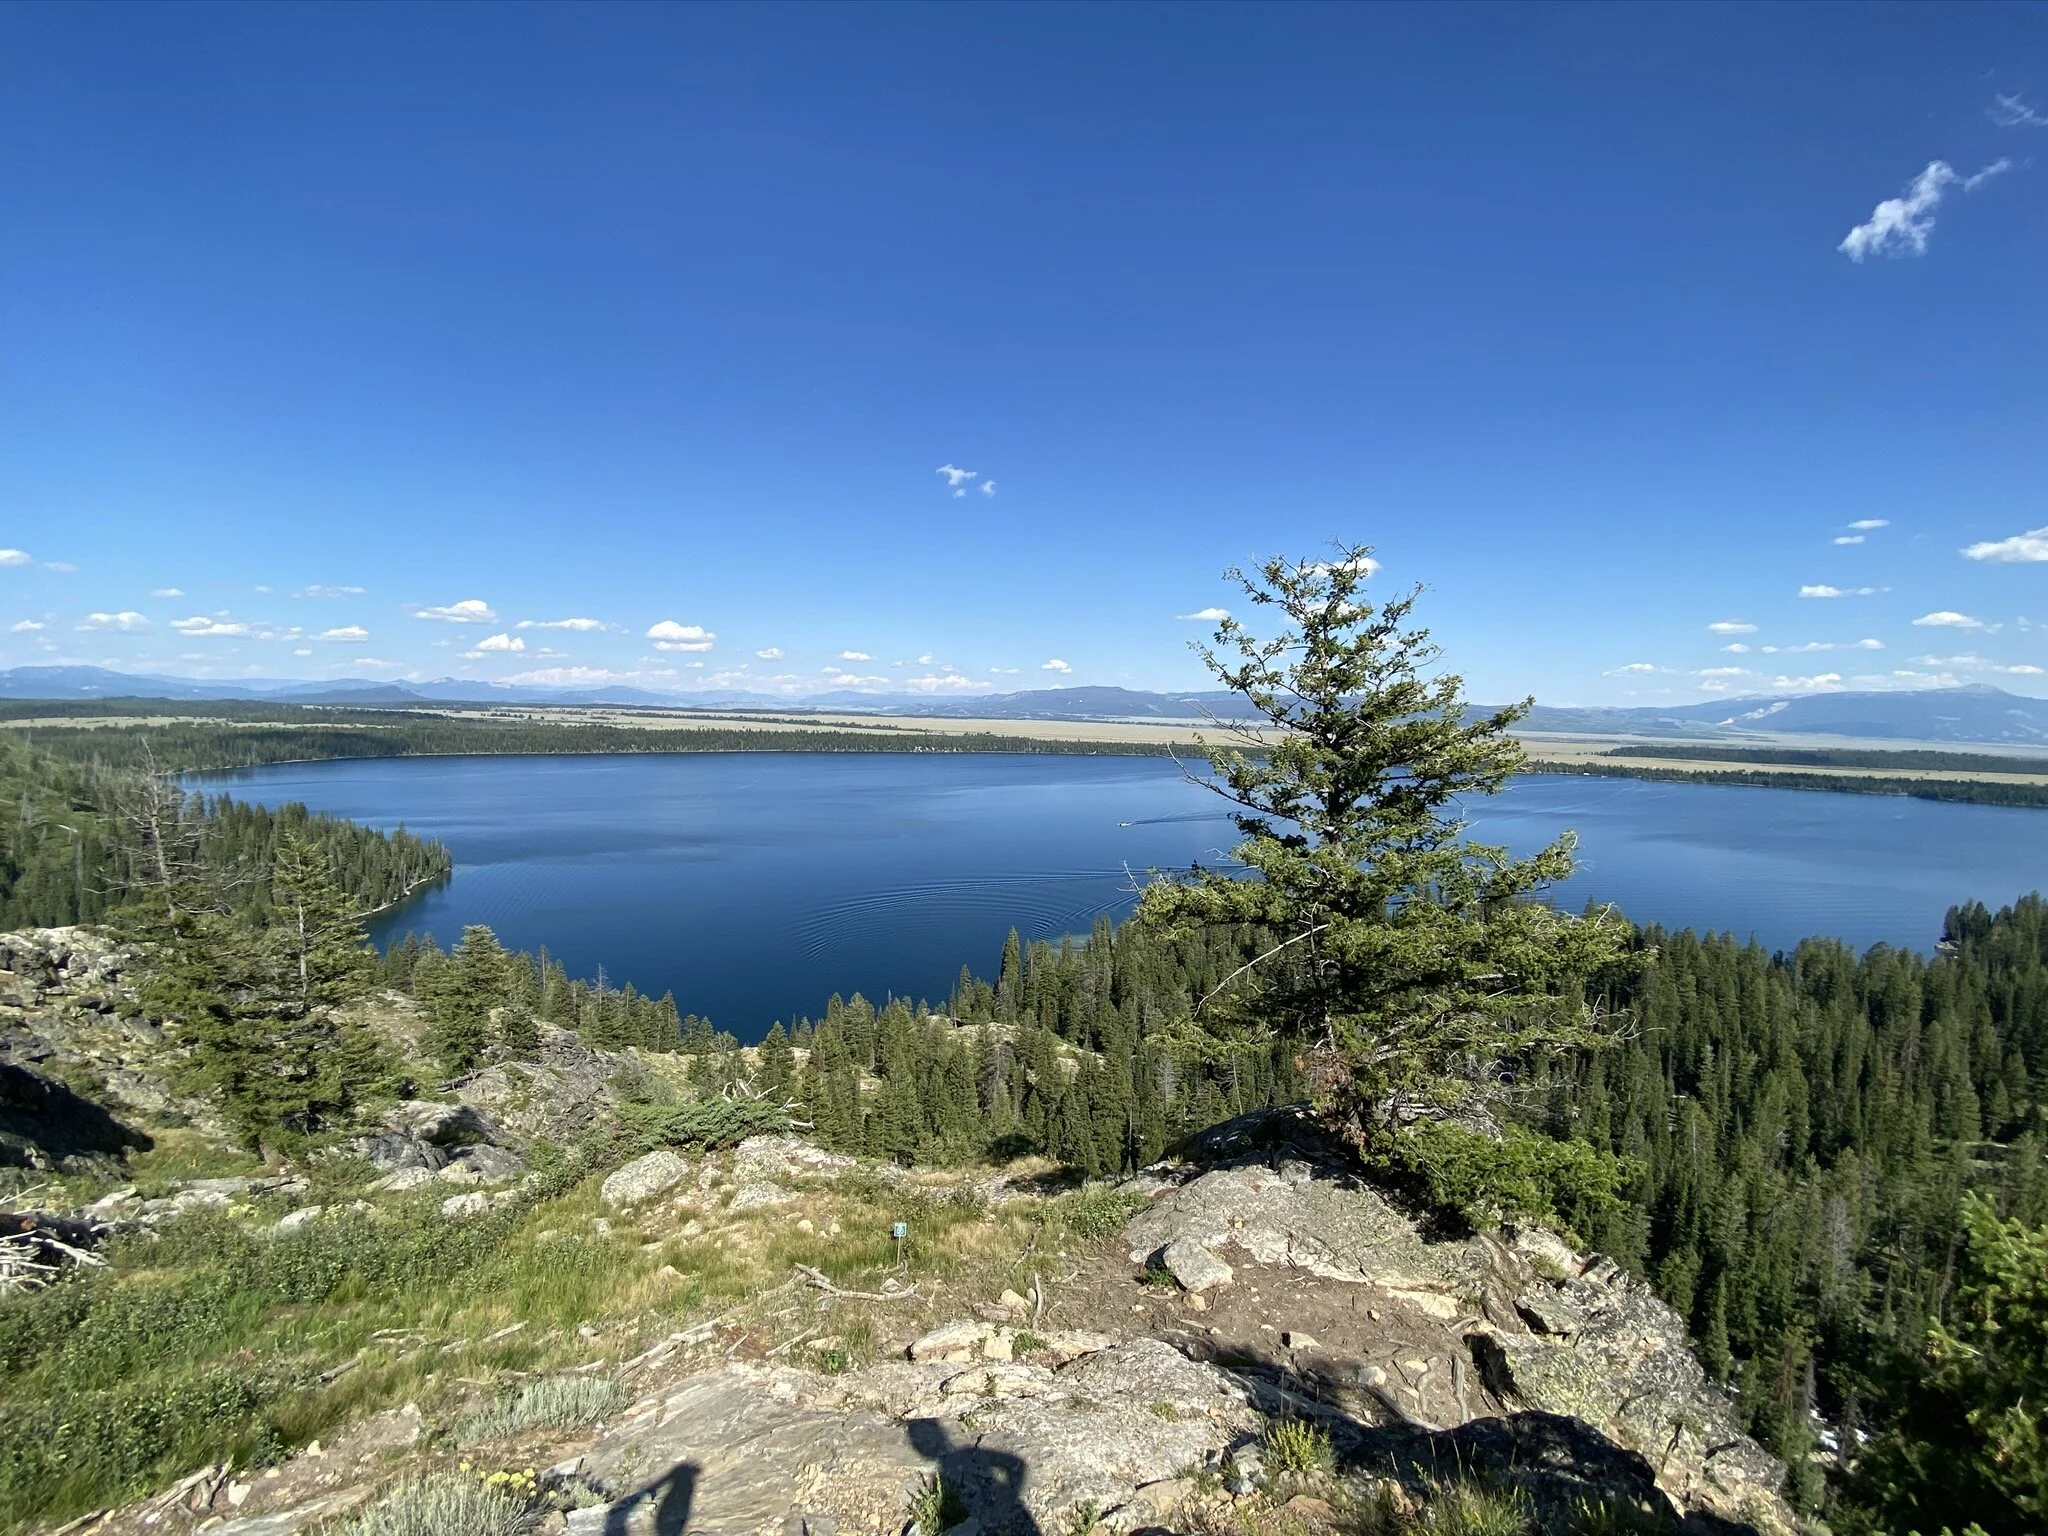
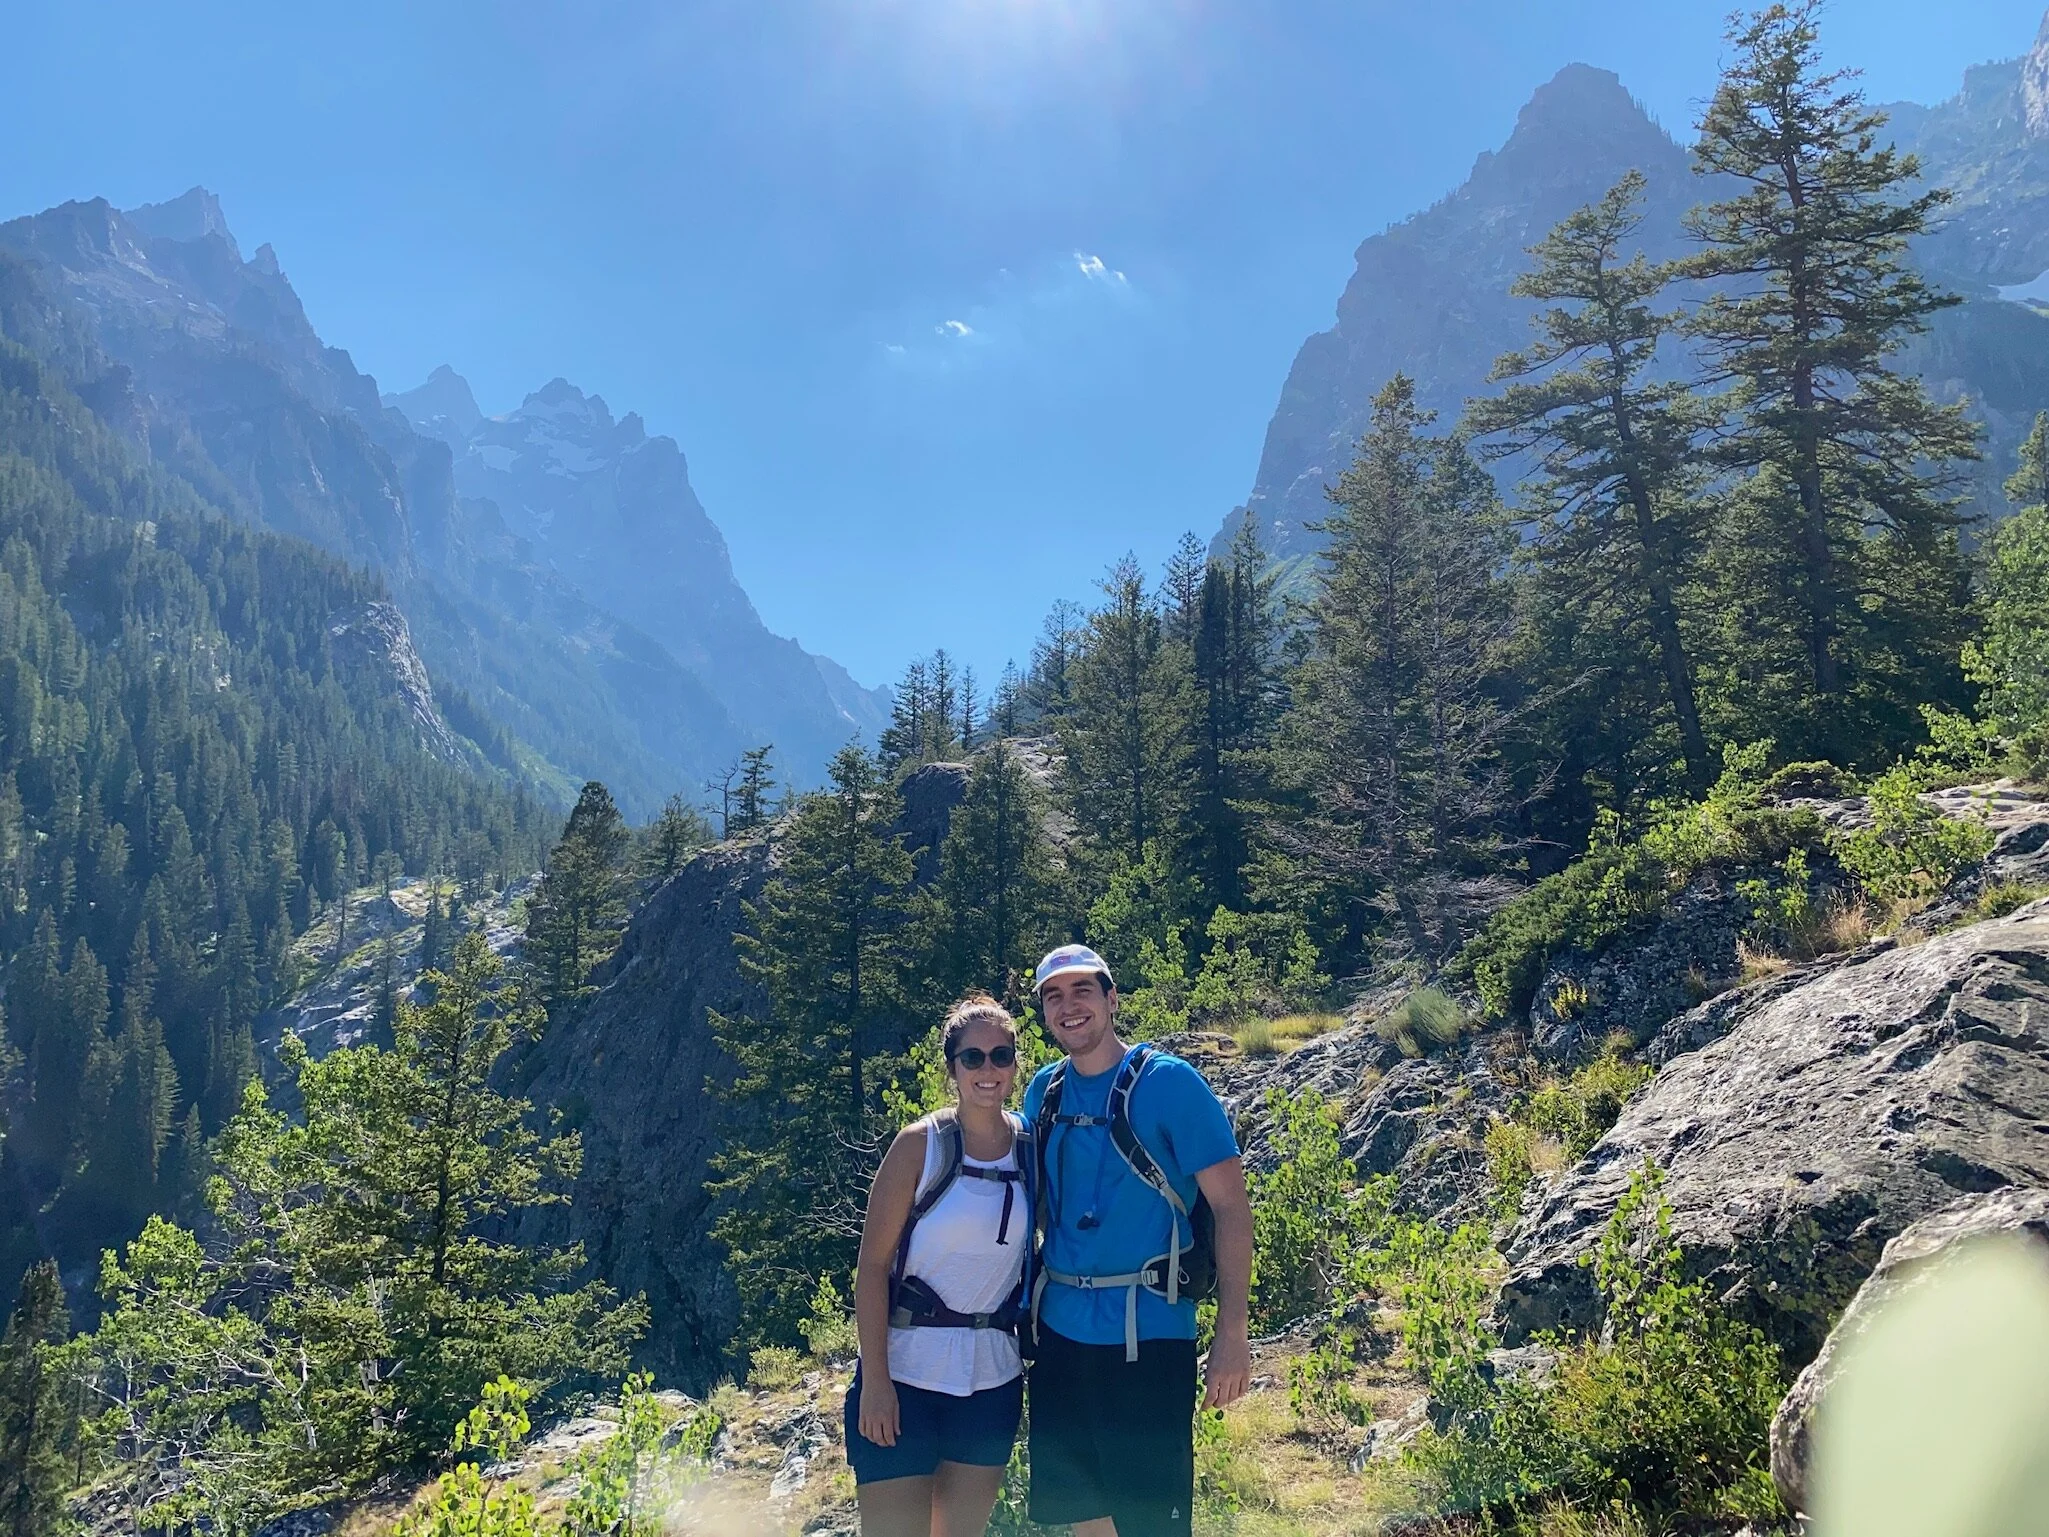
Next, we took a quick drive up the road to Jenny Lake for some more hiking. All of the popular hiking trails are on the other side of Jenny Lake so you can either hike 2 miles each way or take a 10 minute ferry across for $18 per person. We opted for the ferry because we were tired from earlier and wanted to enjoy a nice ride! Once on the other side, we followed the very popular trail to Hidden Falls and Inspiration Point. Hidden Falls is the first stop and is an easy 1/2 mile hike. After enjoying the falls, you will gain more elevation (about 500 feet) and climb up some exposed rock stairs to get to Inspiration Point which offers expansive views of Jenny Lake. If you continue further along the trail you will head into Cascade Canyon. You only need to continue along the trail for a few minutes to get great views!
In the evening we enjoyed our first ever homemade dehydrated meal! You can find out more about our dehydrated meals in our blog post which is coming soon.
TRAVEL TIP: There are TONS of little pullout areas scattered throughout the park that offer not only very scenic photo opportunities, but also interpretative signs that give some education about the area. Definitely worth making the quick pit stops at these spots to learn more about the Teton Range and its history!
Sunrise on our drive through Teton Pass
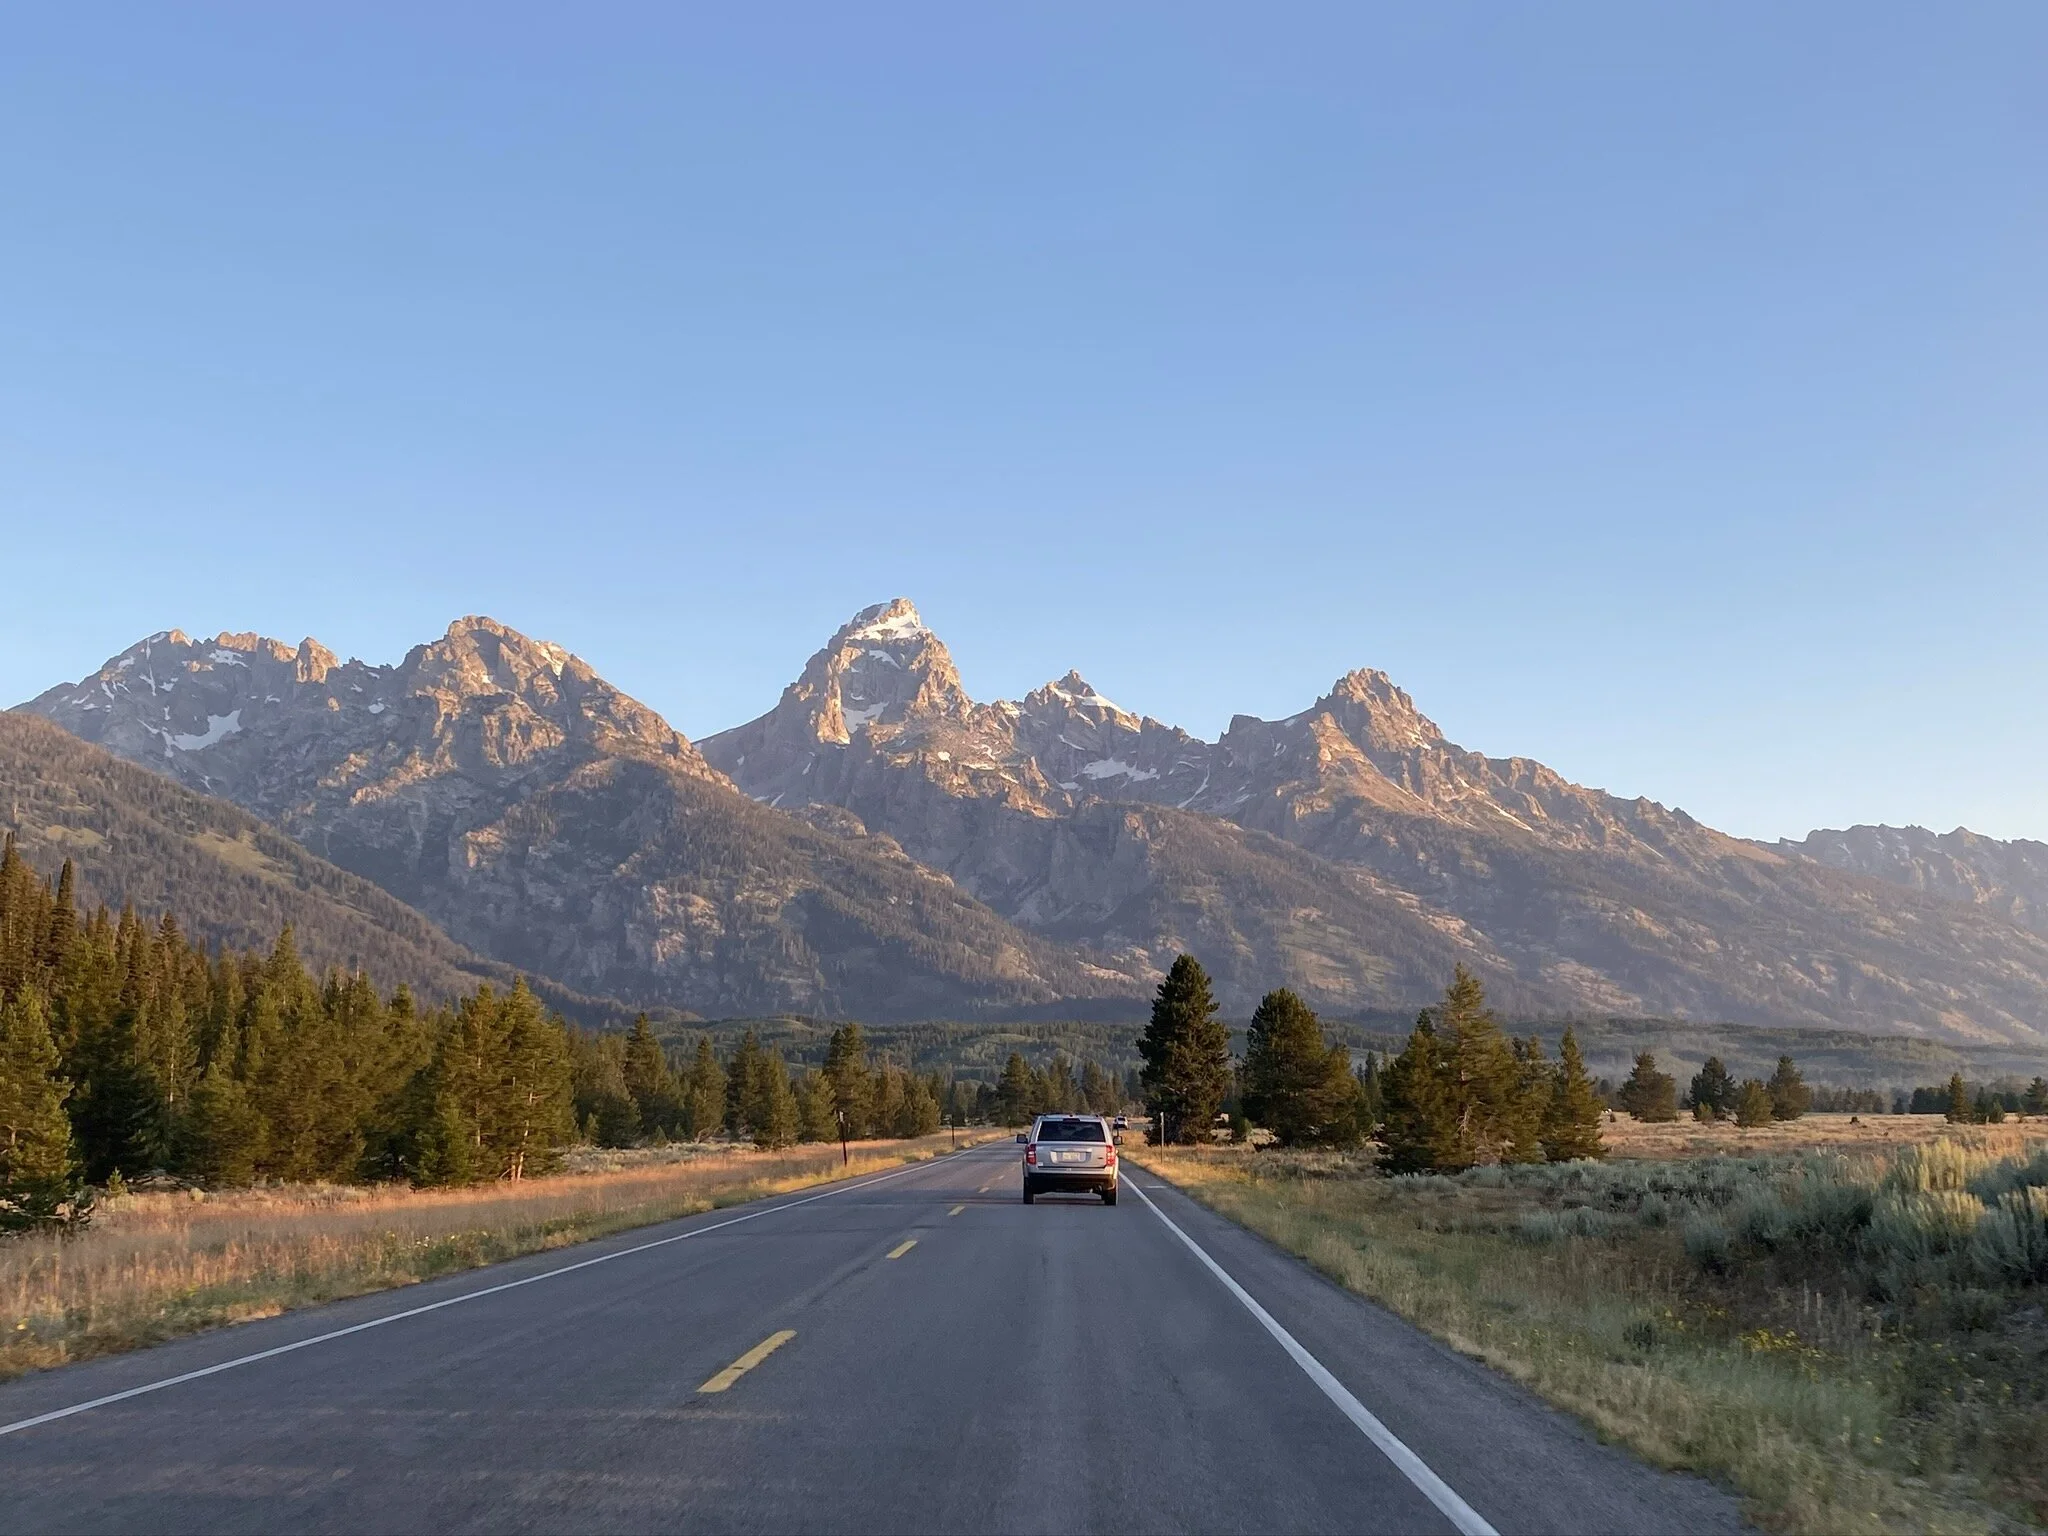
The Tetons look the best in the morning
Breakfast with a view!
A picture perfect view from Lake Taggart
We were definitely inspired by Inspiration Point!
The beginning of Cascade Canyon - we would love to hike deeper into here someday!
DAY 3: more lakes & views
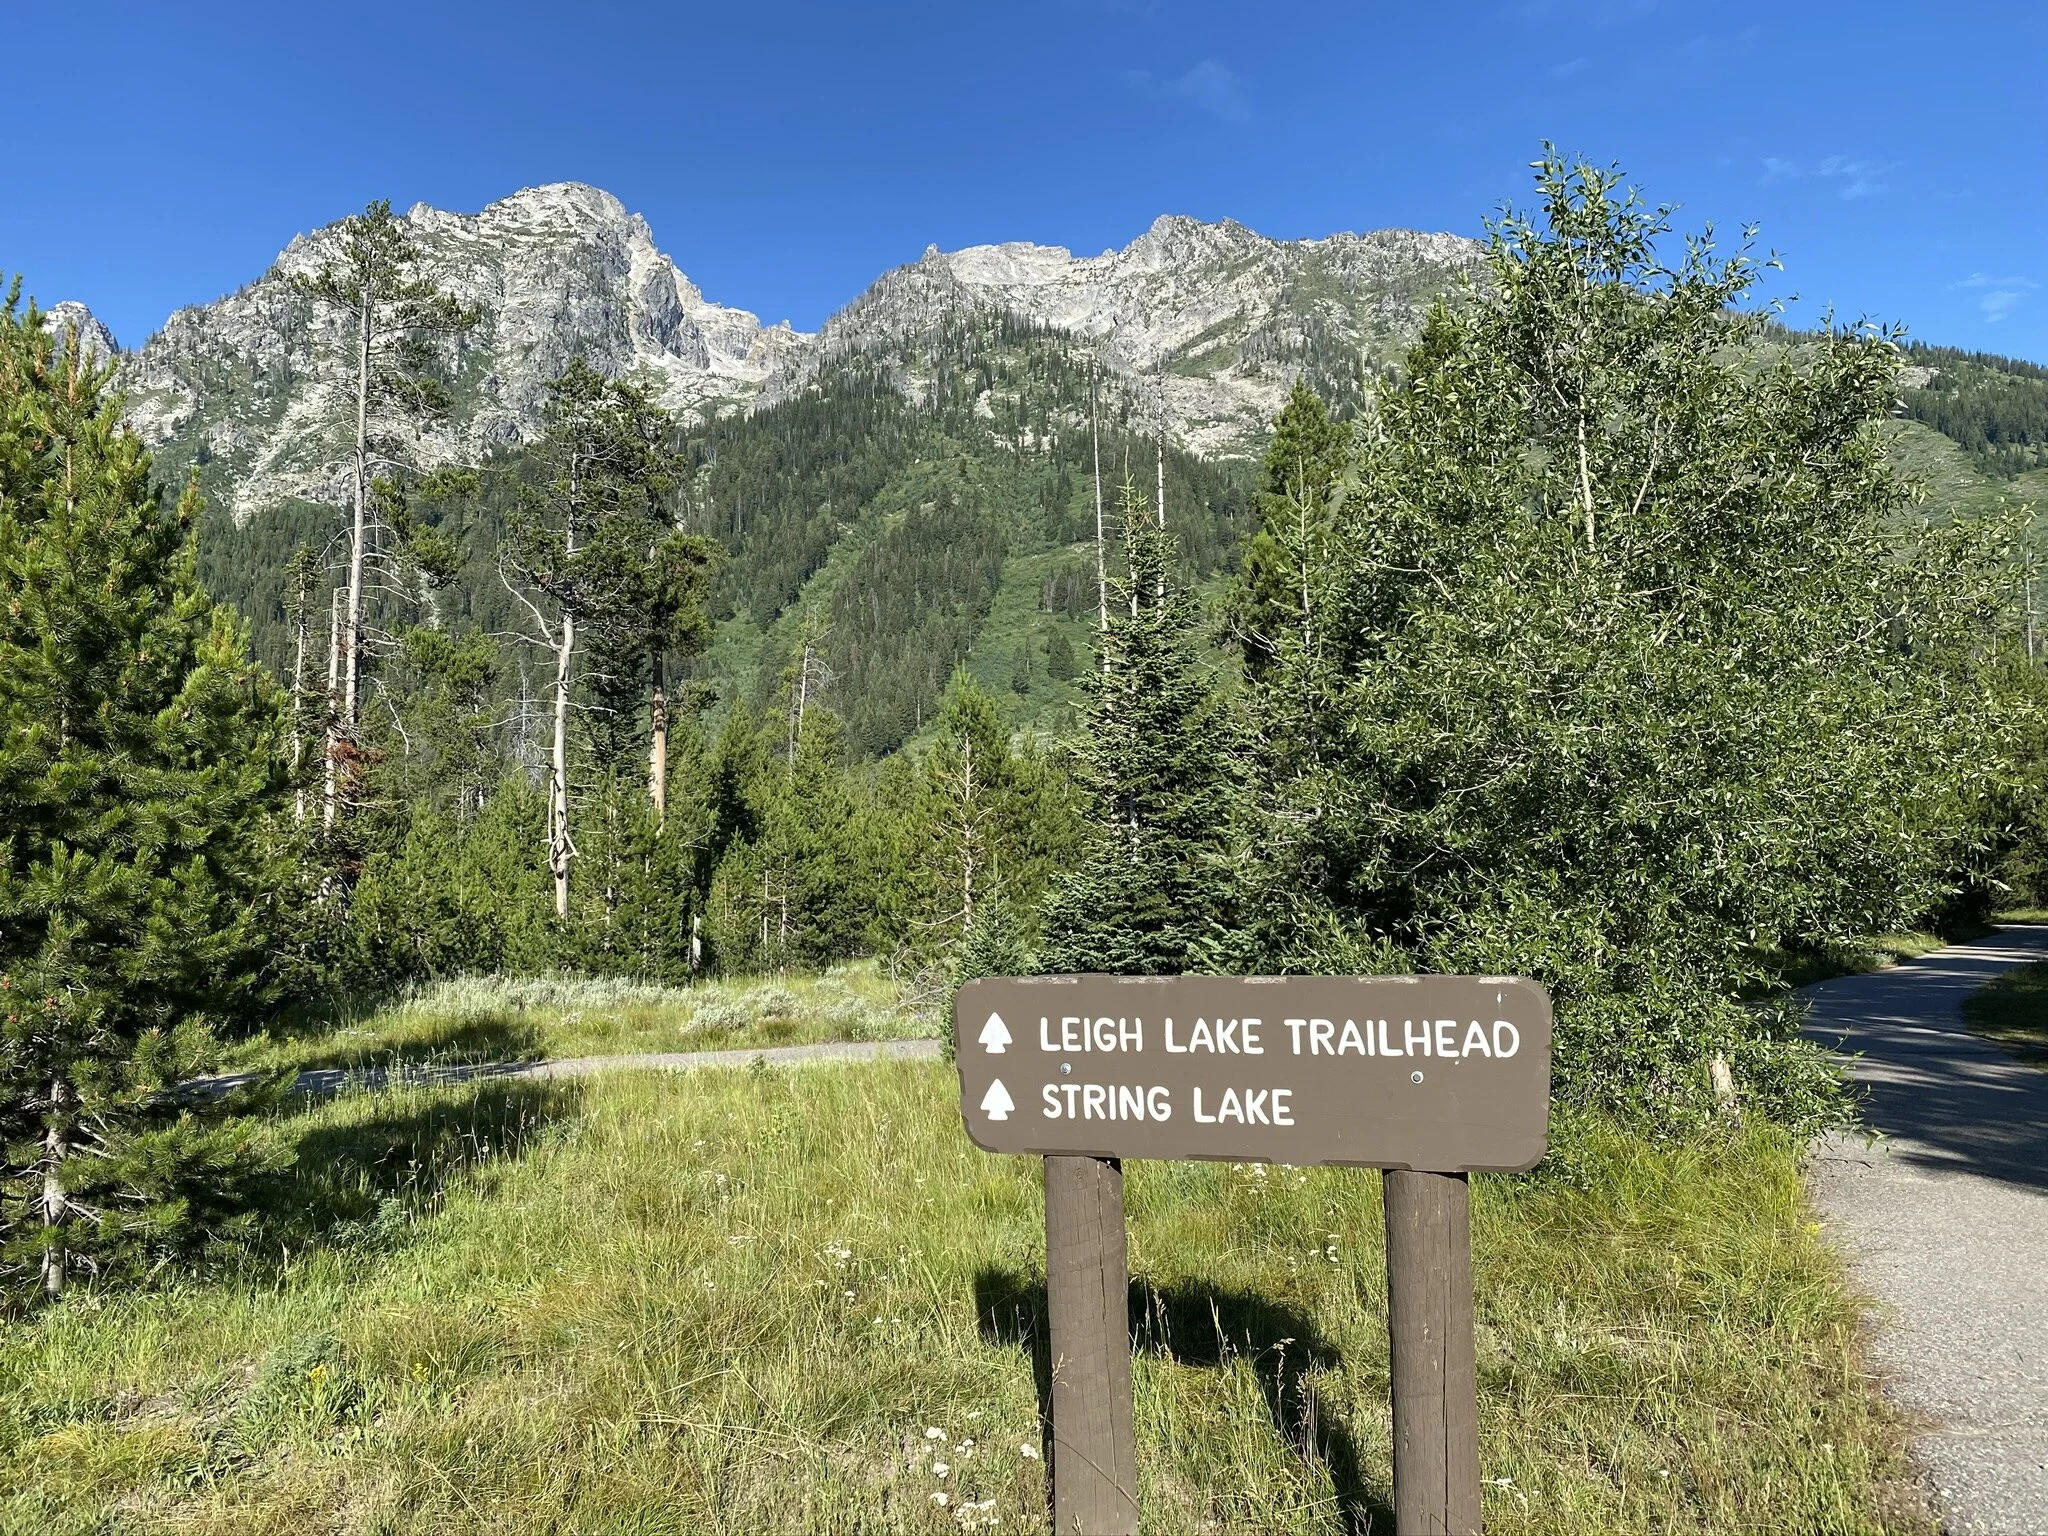
Today we were excited for some more beautiful hiking! We headed over early to the String Lake/Leigh Lake parking area and once again ate breakfast at the trailhead. This is an area where it is important to arrive early because you need to park in a designated spot, unlike the majority of the park where parking along the road is totally fine. We did an 8 mile round trip hike that took us along String Lake, Leigh Lake, and Bear Paw Lake. In our honest opinion, we could have turned around after Leigh Lake and been completely satisfied which would have saved us about 2 miles. Along the trail there are many small beaches where you can sit and take in the views. There are even a few campsites that you need to kayak/canoe to get to - we wish we had known about this, we totally would have done it!
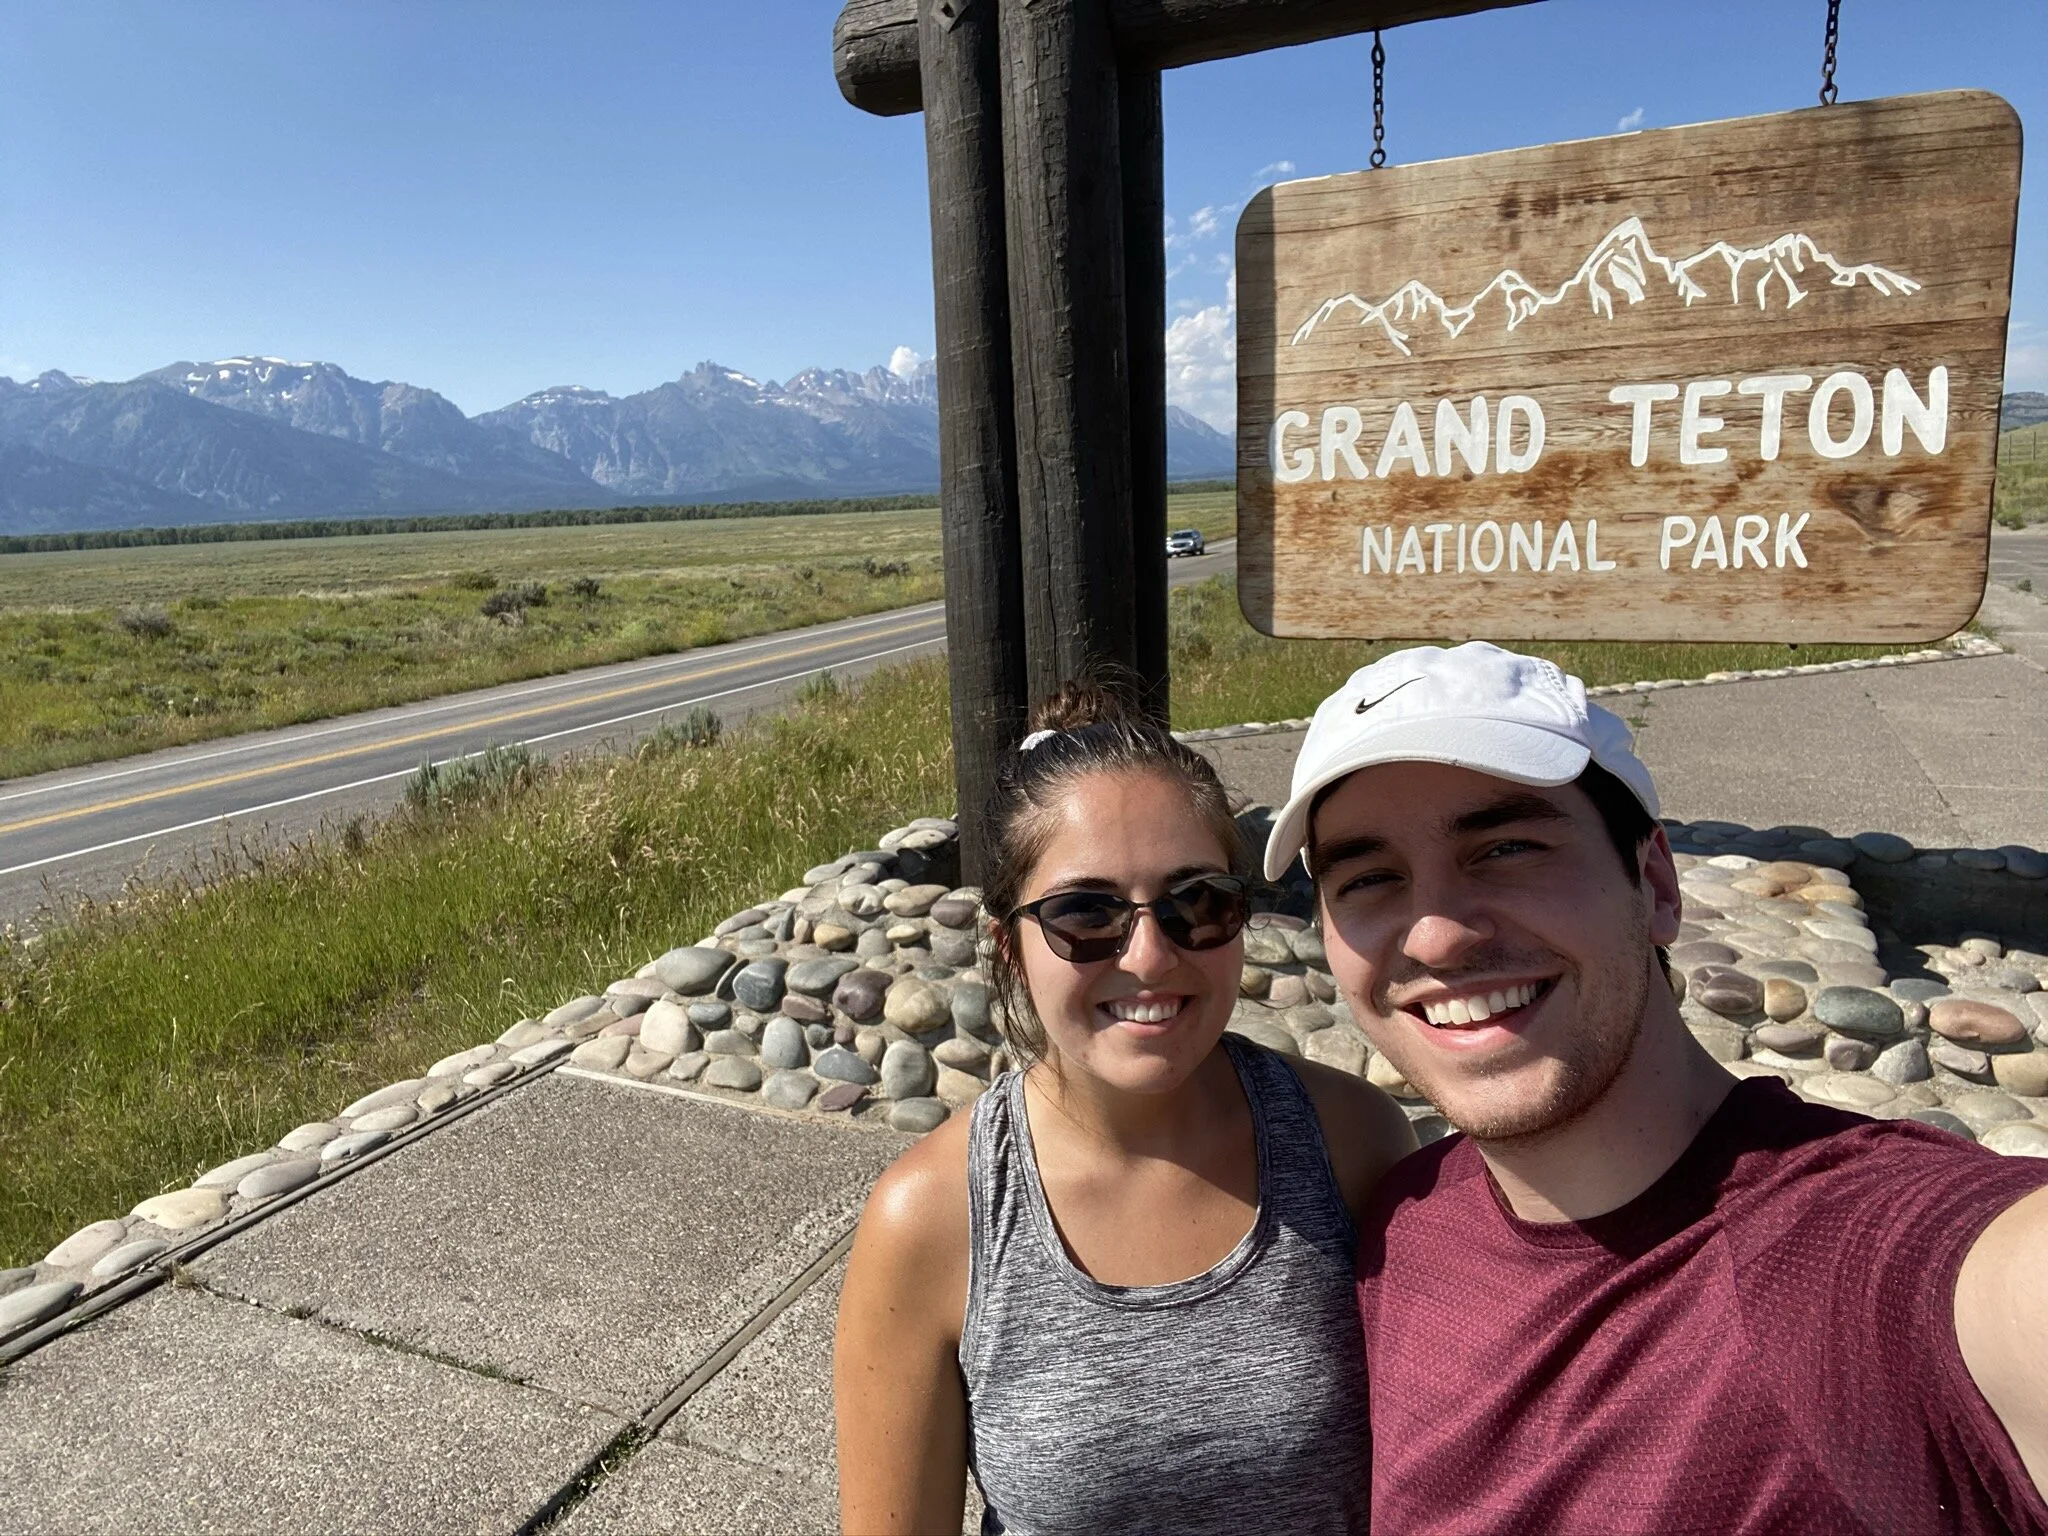
Once back at the trailhead we waded a bit in String Lake but the beach area was small and very crowded. Later, we headed to the south of the park to snap a photo with the Grand Teton National Park sign. We went for a refreshing swim in the river at Gros Ventre (none of the showers in the park are open due to COVID-19 so this was much needed)! Then we had a nice relaxing night and enjoyed another one of our homemade dinners.
TRAVEL TIP: Pack a bag and have a perfect beach day along one of these lakes! You only need to hike in about 10-20 minutes for the crowds to diminish. There are plenty of small cutouts along the shore that you could claim as your own private beach for the day!
The trail that will take us past String, Leigh, and Bearpaw Lakes
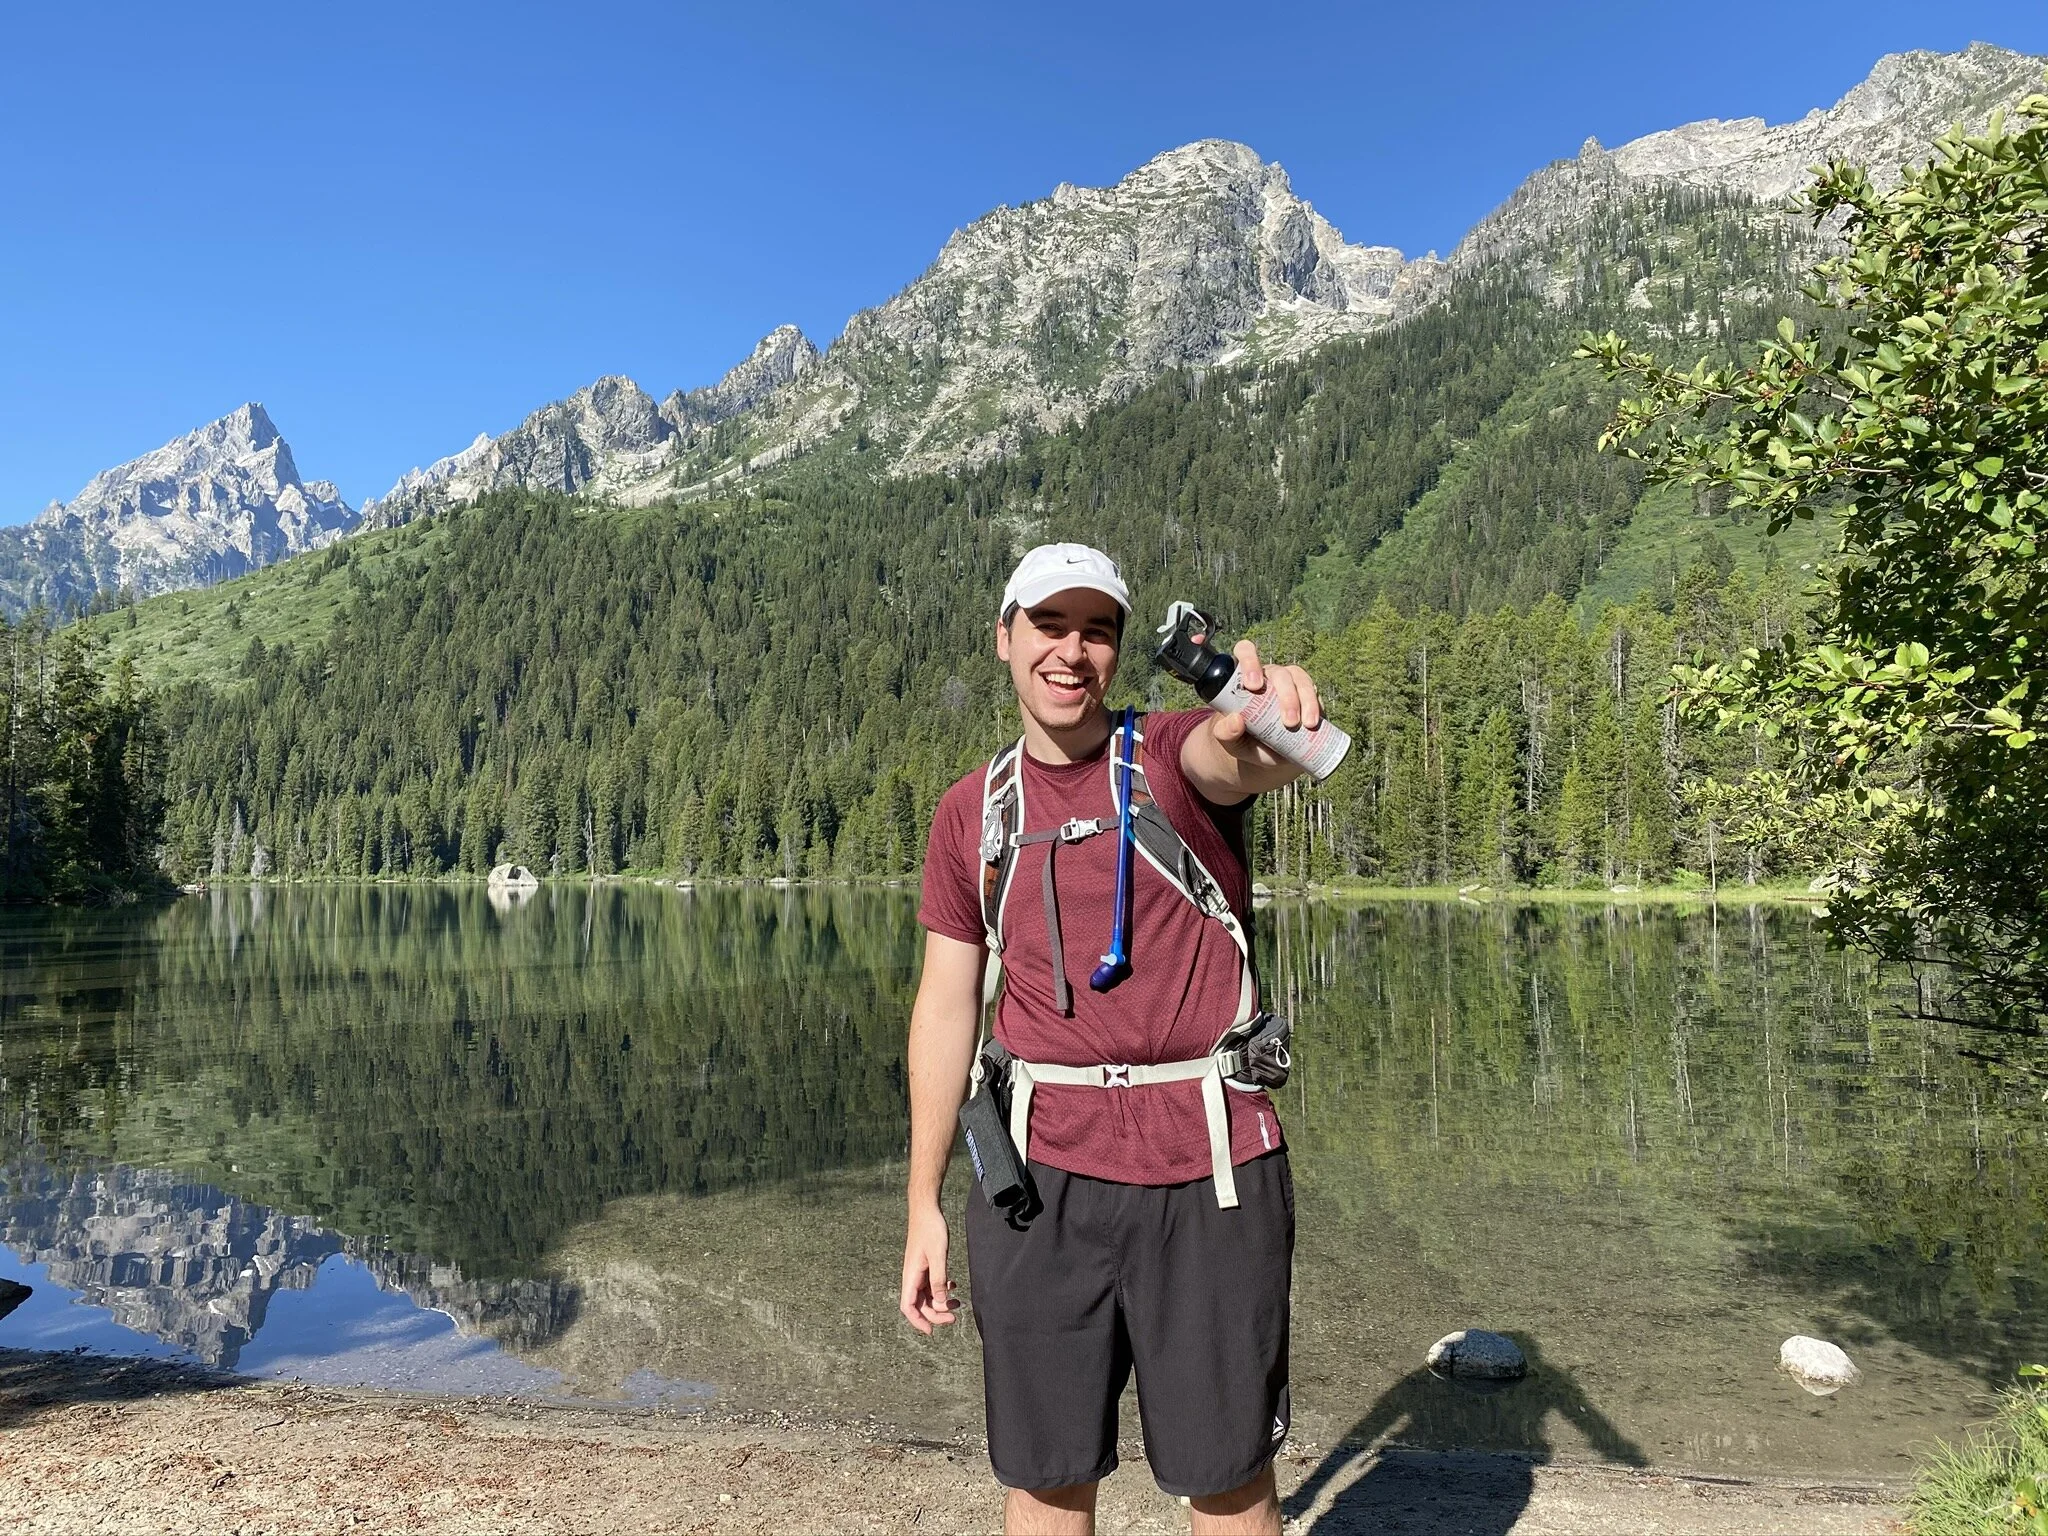
Ready to fend off any bears!
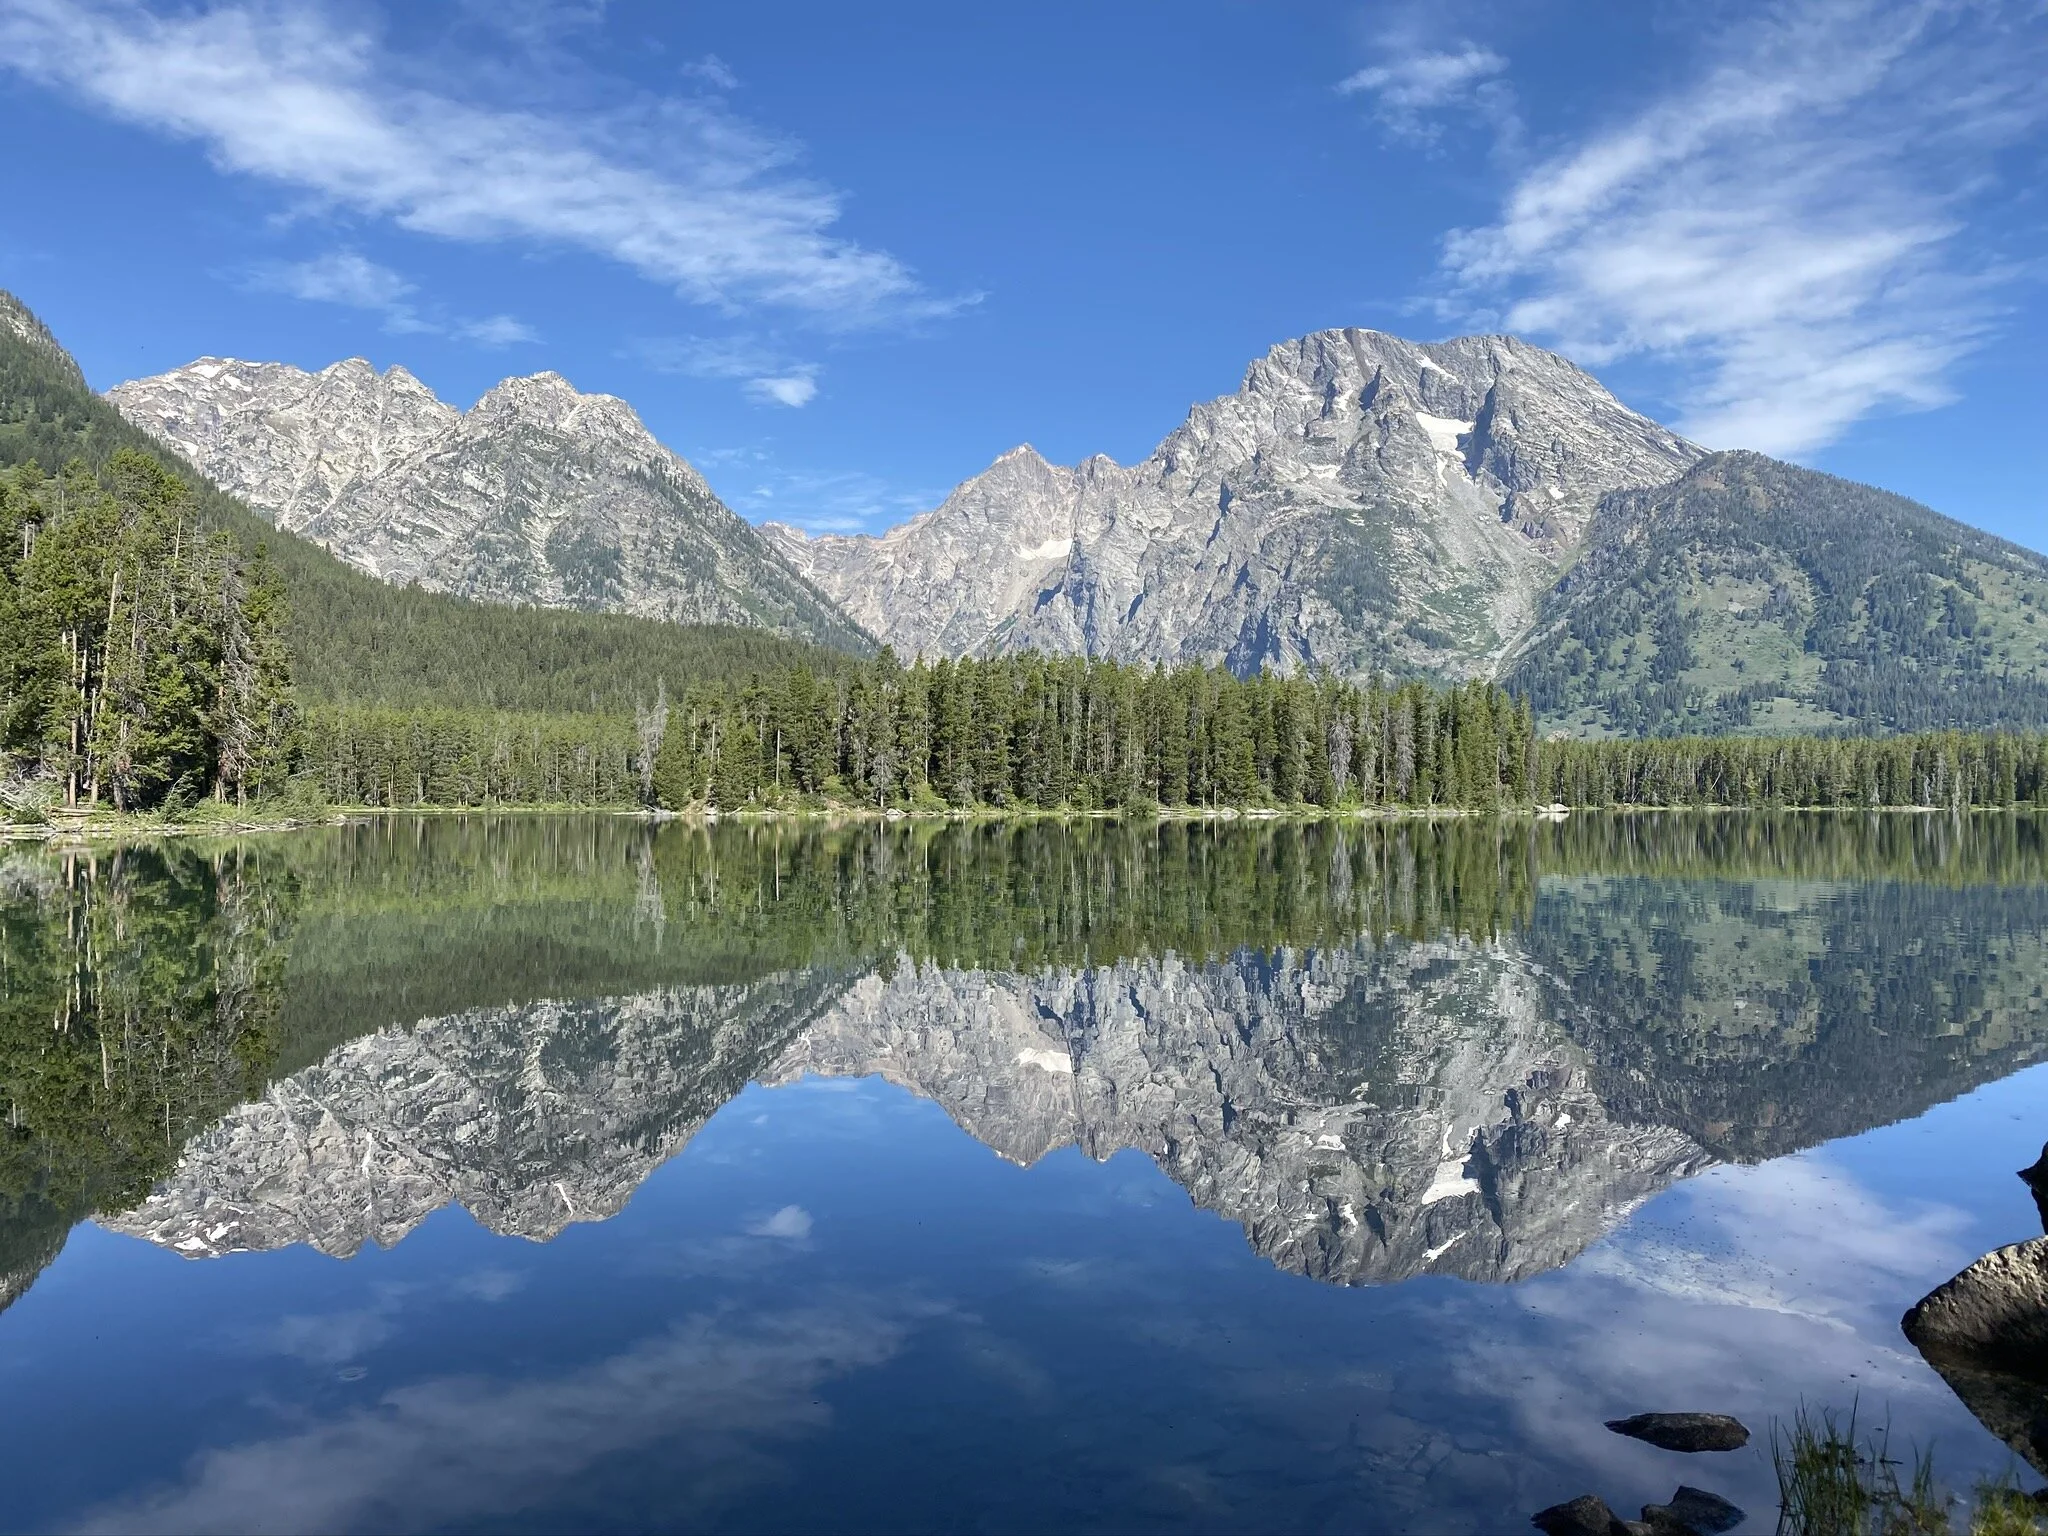
The best time to see the Tetons is in the morning while the lakes are still
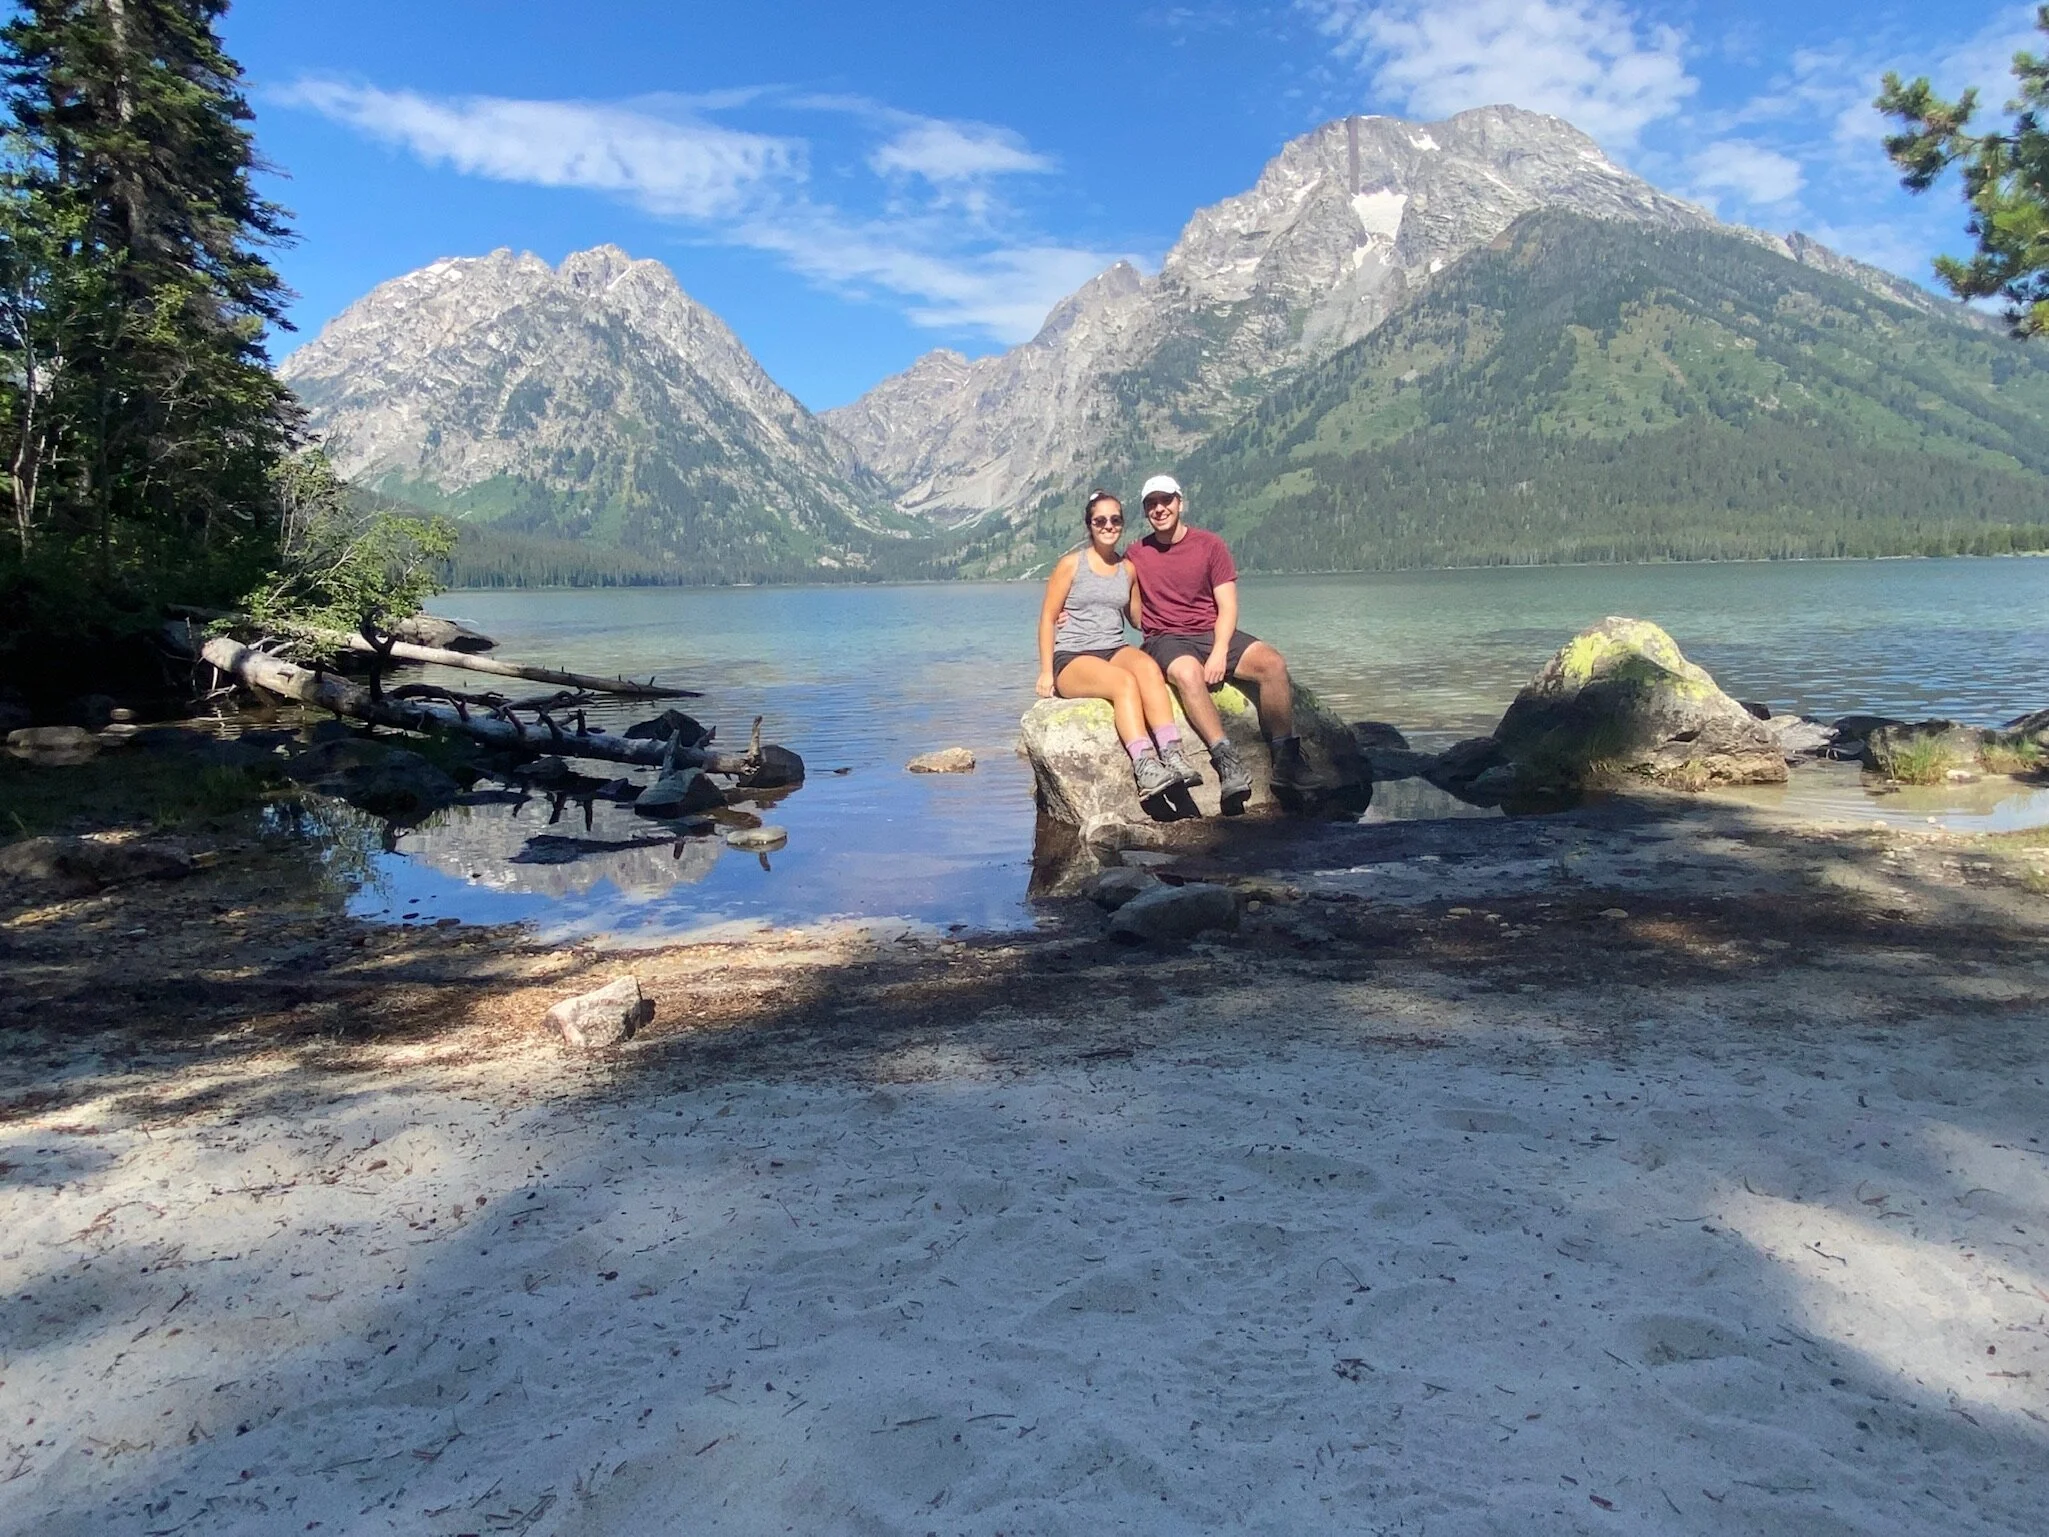
One of the many small beach areas - shout out to our tripod for all of our photos this week!
We had to go way south of the park to find this sign but we are glad we did!
Taco Mac - our favorite homemade dehydrated meal
DAY 4: colter bay & heading to yellowstone
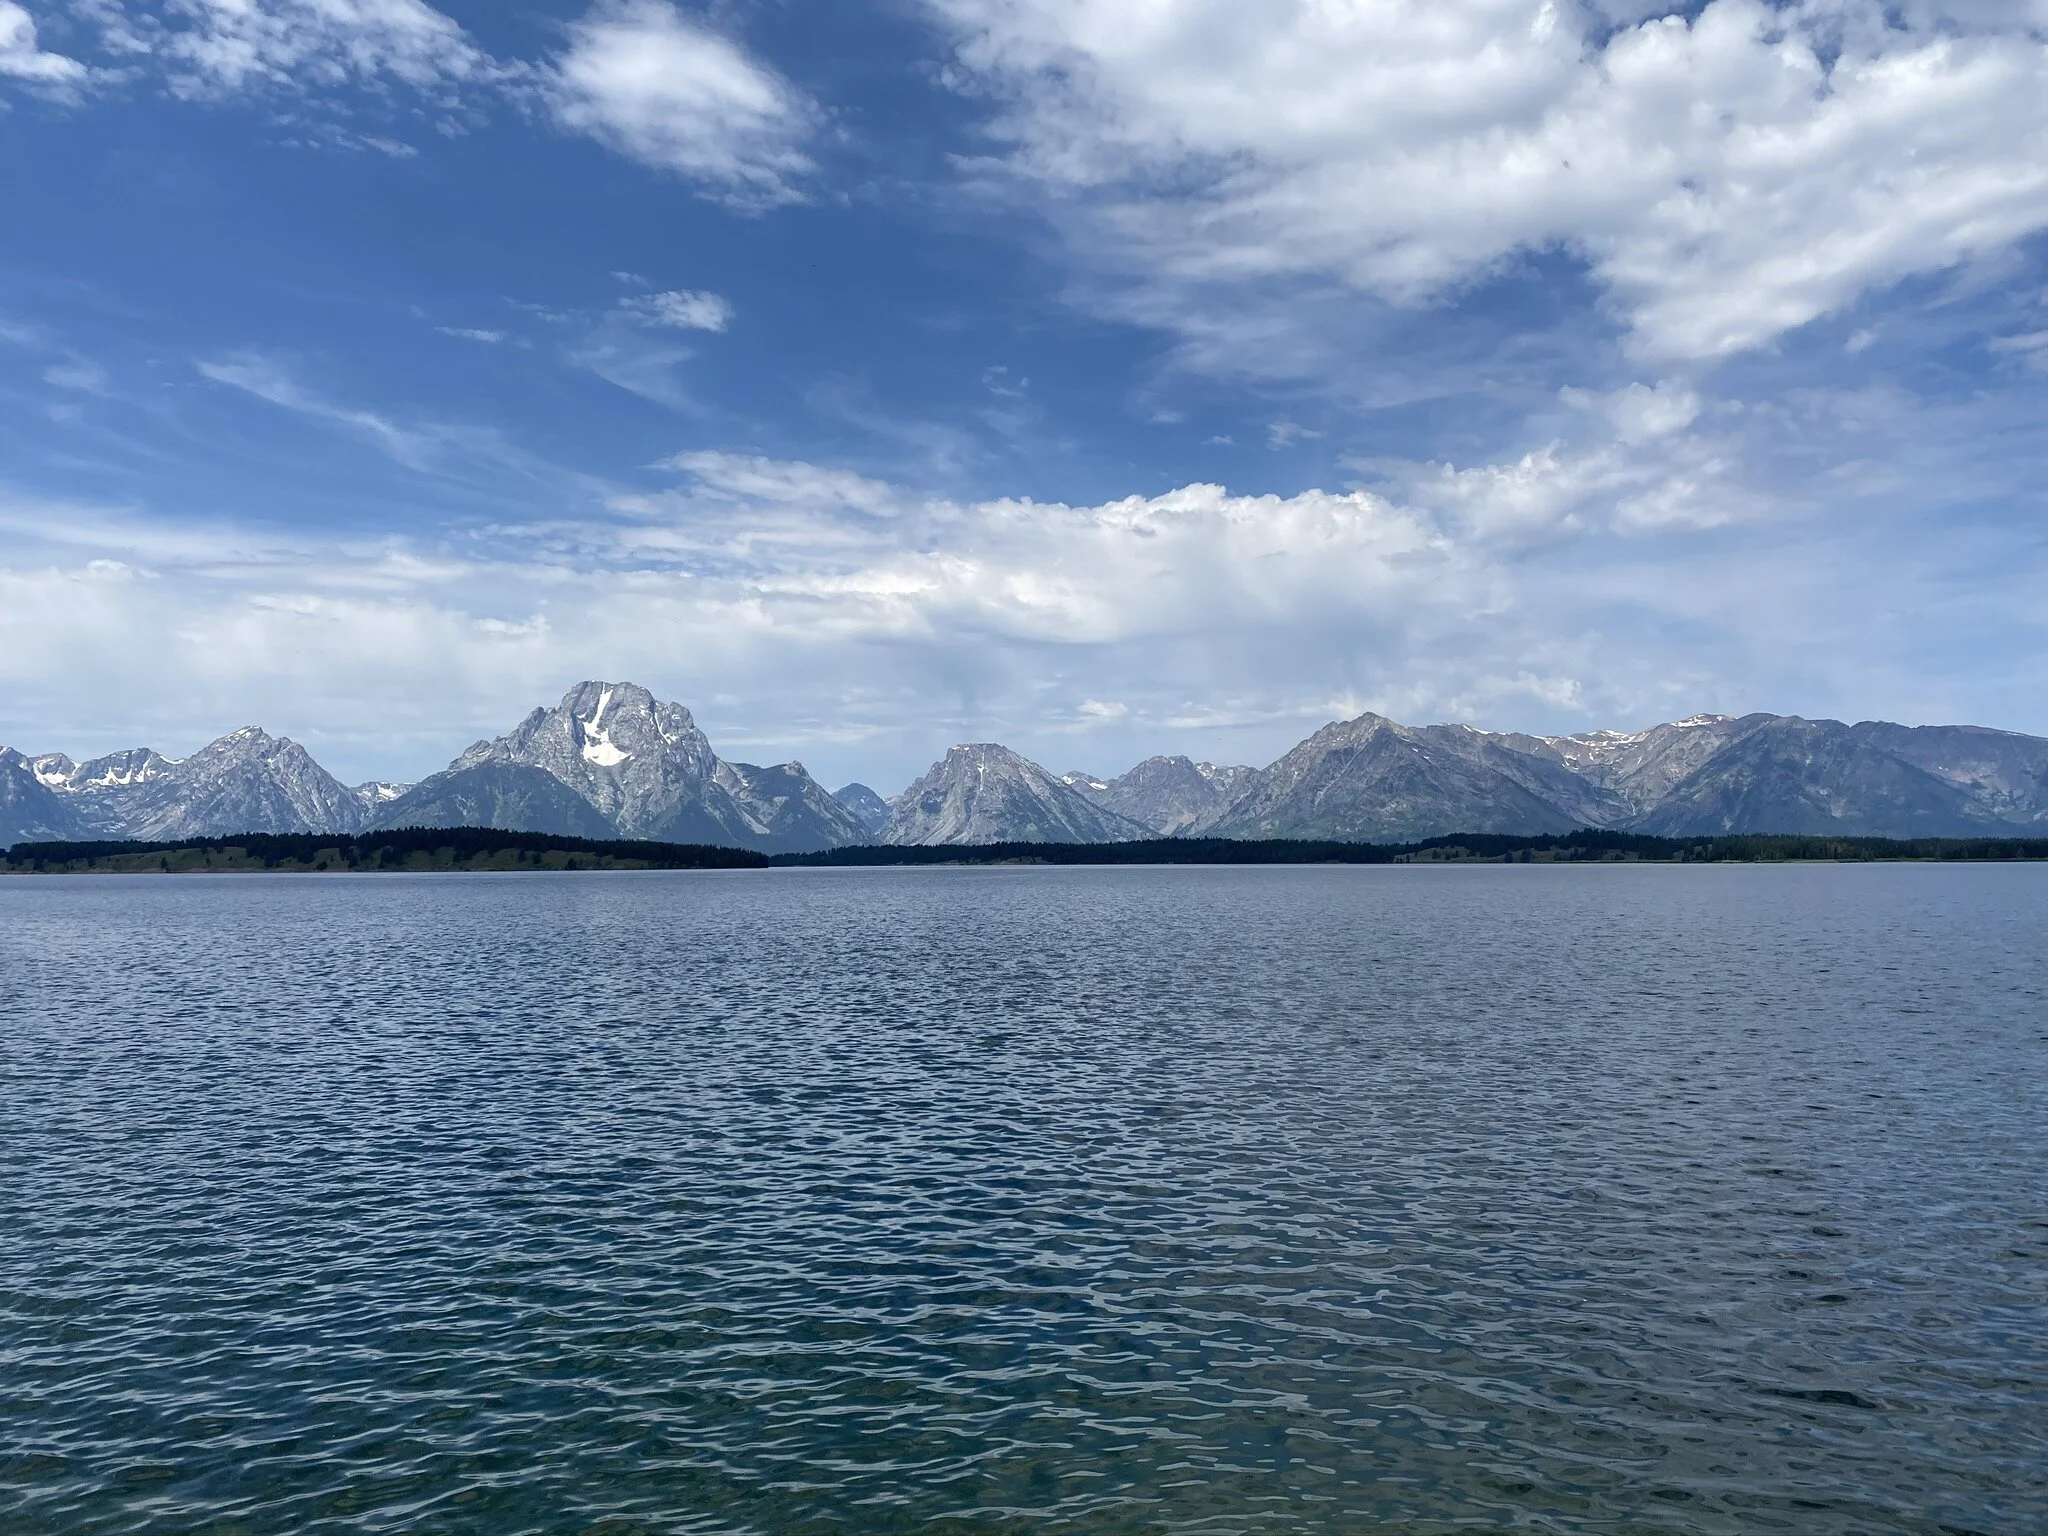
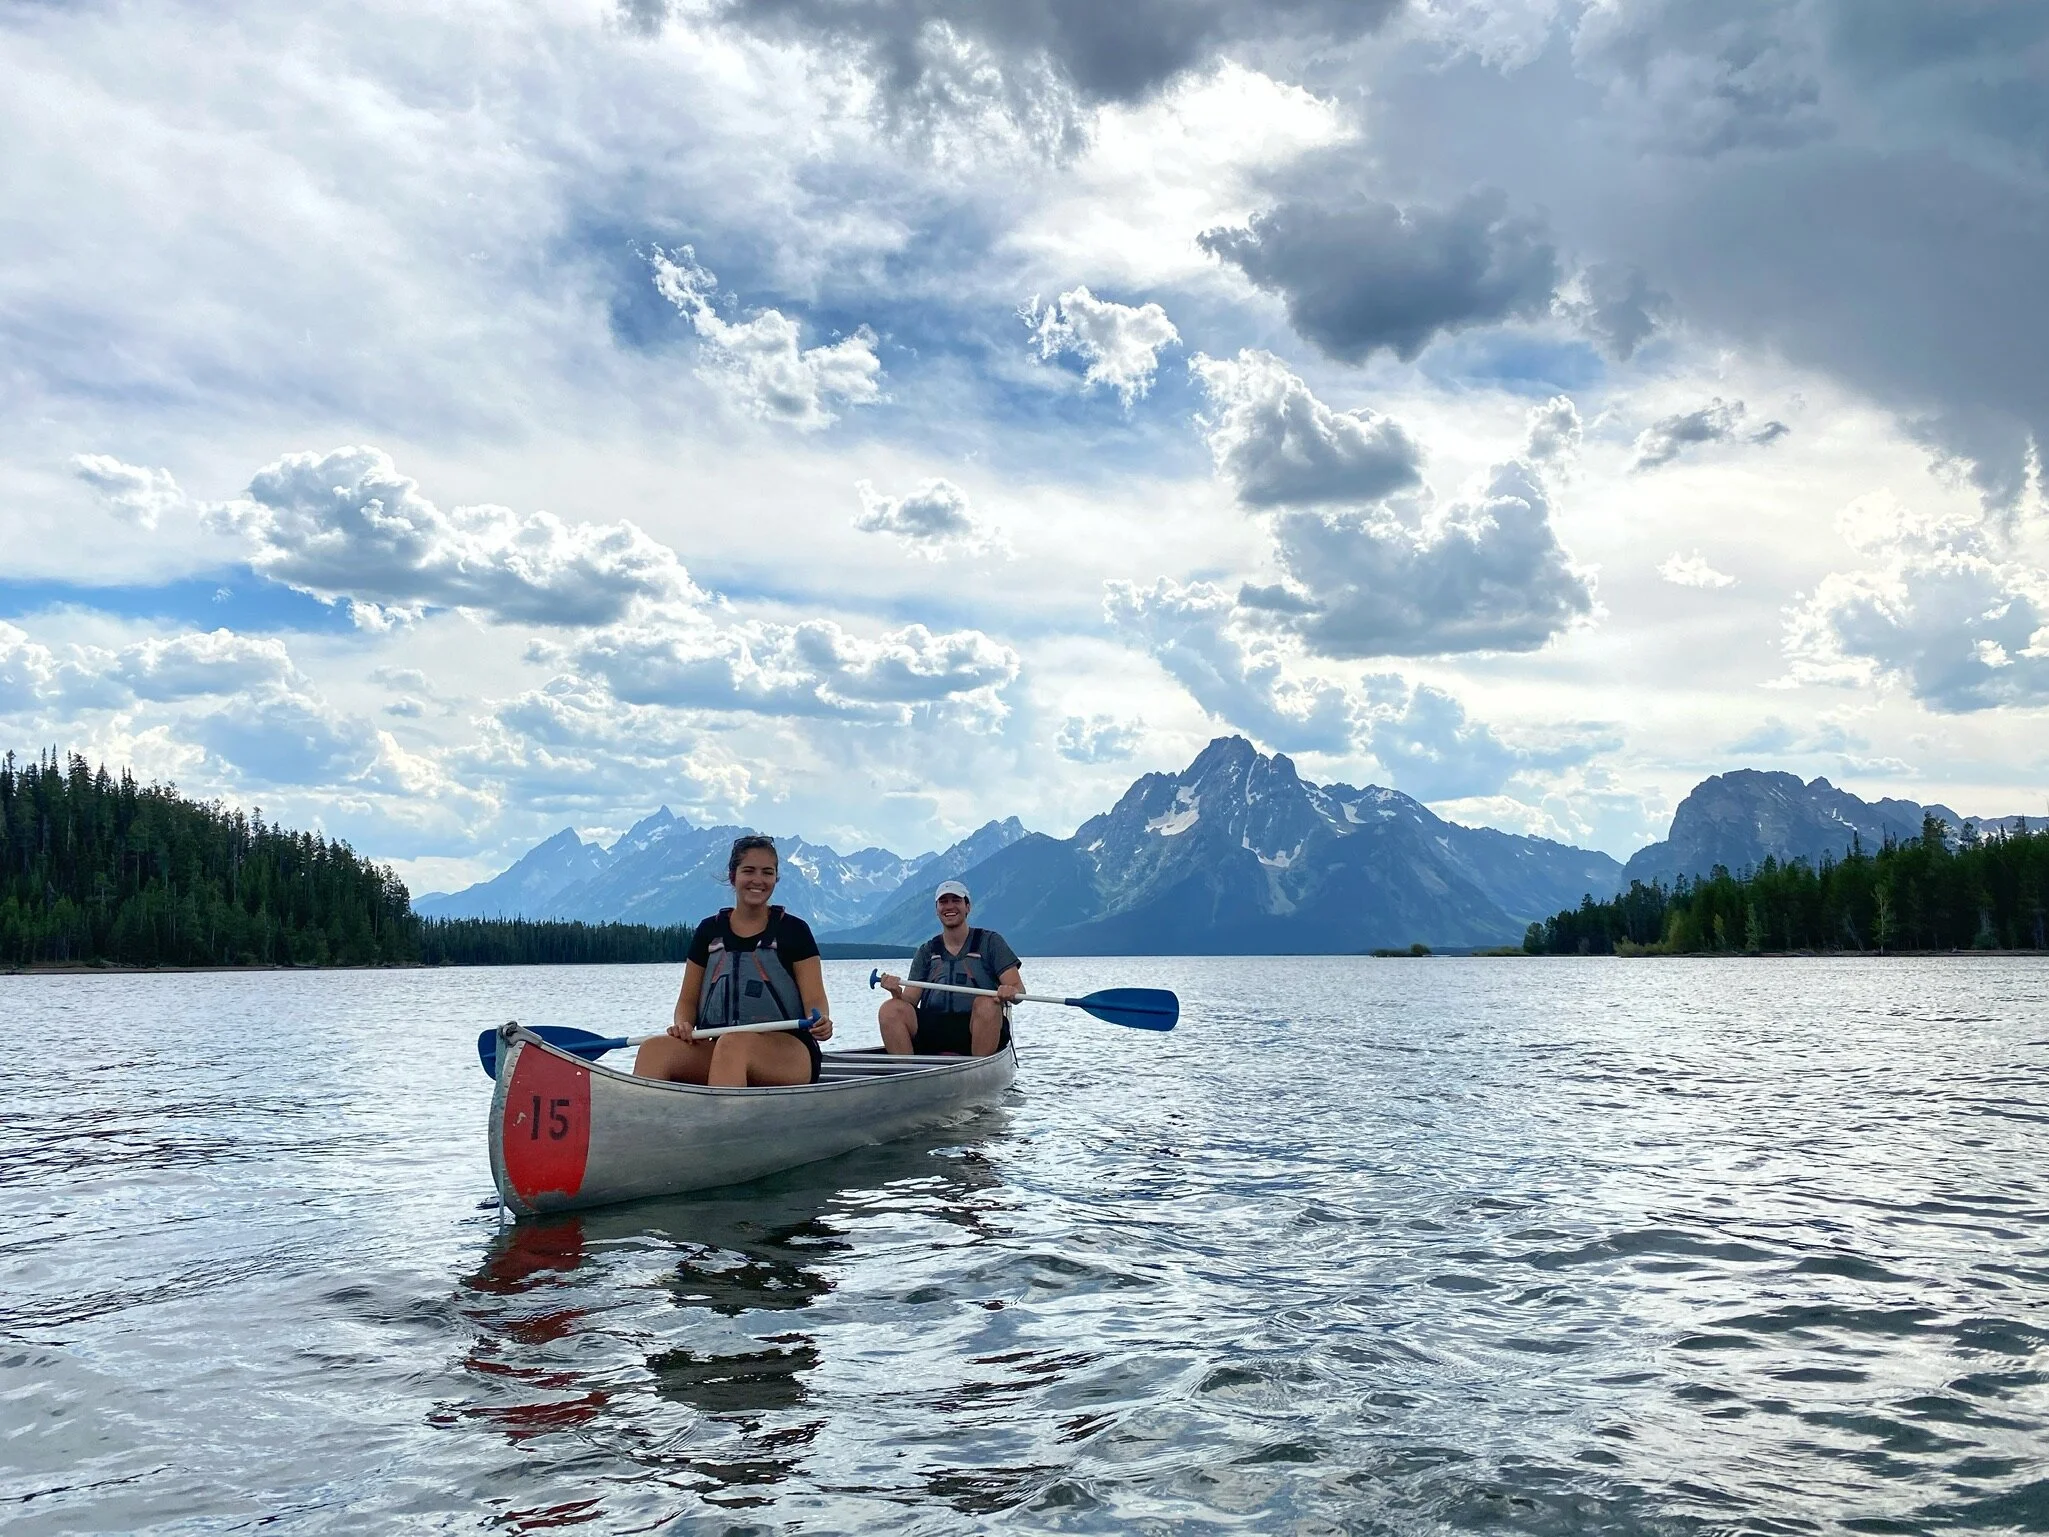
This was our third and final day in the Tetons! We packed up our campsite and headed to the Northern part of the park. There were many cool stops along the way. We took a sketchy ride up Signal Mountain which offered great views into the valley. Be careful on this road! It is steep, windy, narrow and people love to bike up it (we could never). Next we stopped at Jackson Lake Dam Reservoir which was our first time seeing the Tetons towering over the famous Jackson Lake. Then we made our way to the Colter Bay Village because they offer kayak and canoe rentals out on Jackson Lake. We rented a canoe because no kayaks were available and OF COURSE this afternoon was one of two times it rained our entire trip. Not only did it rain - it stormed! We beached the canoe while we waited for the storm to pass but it definitely wasn’t a bad view.
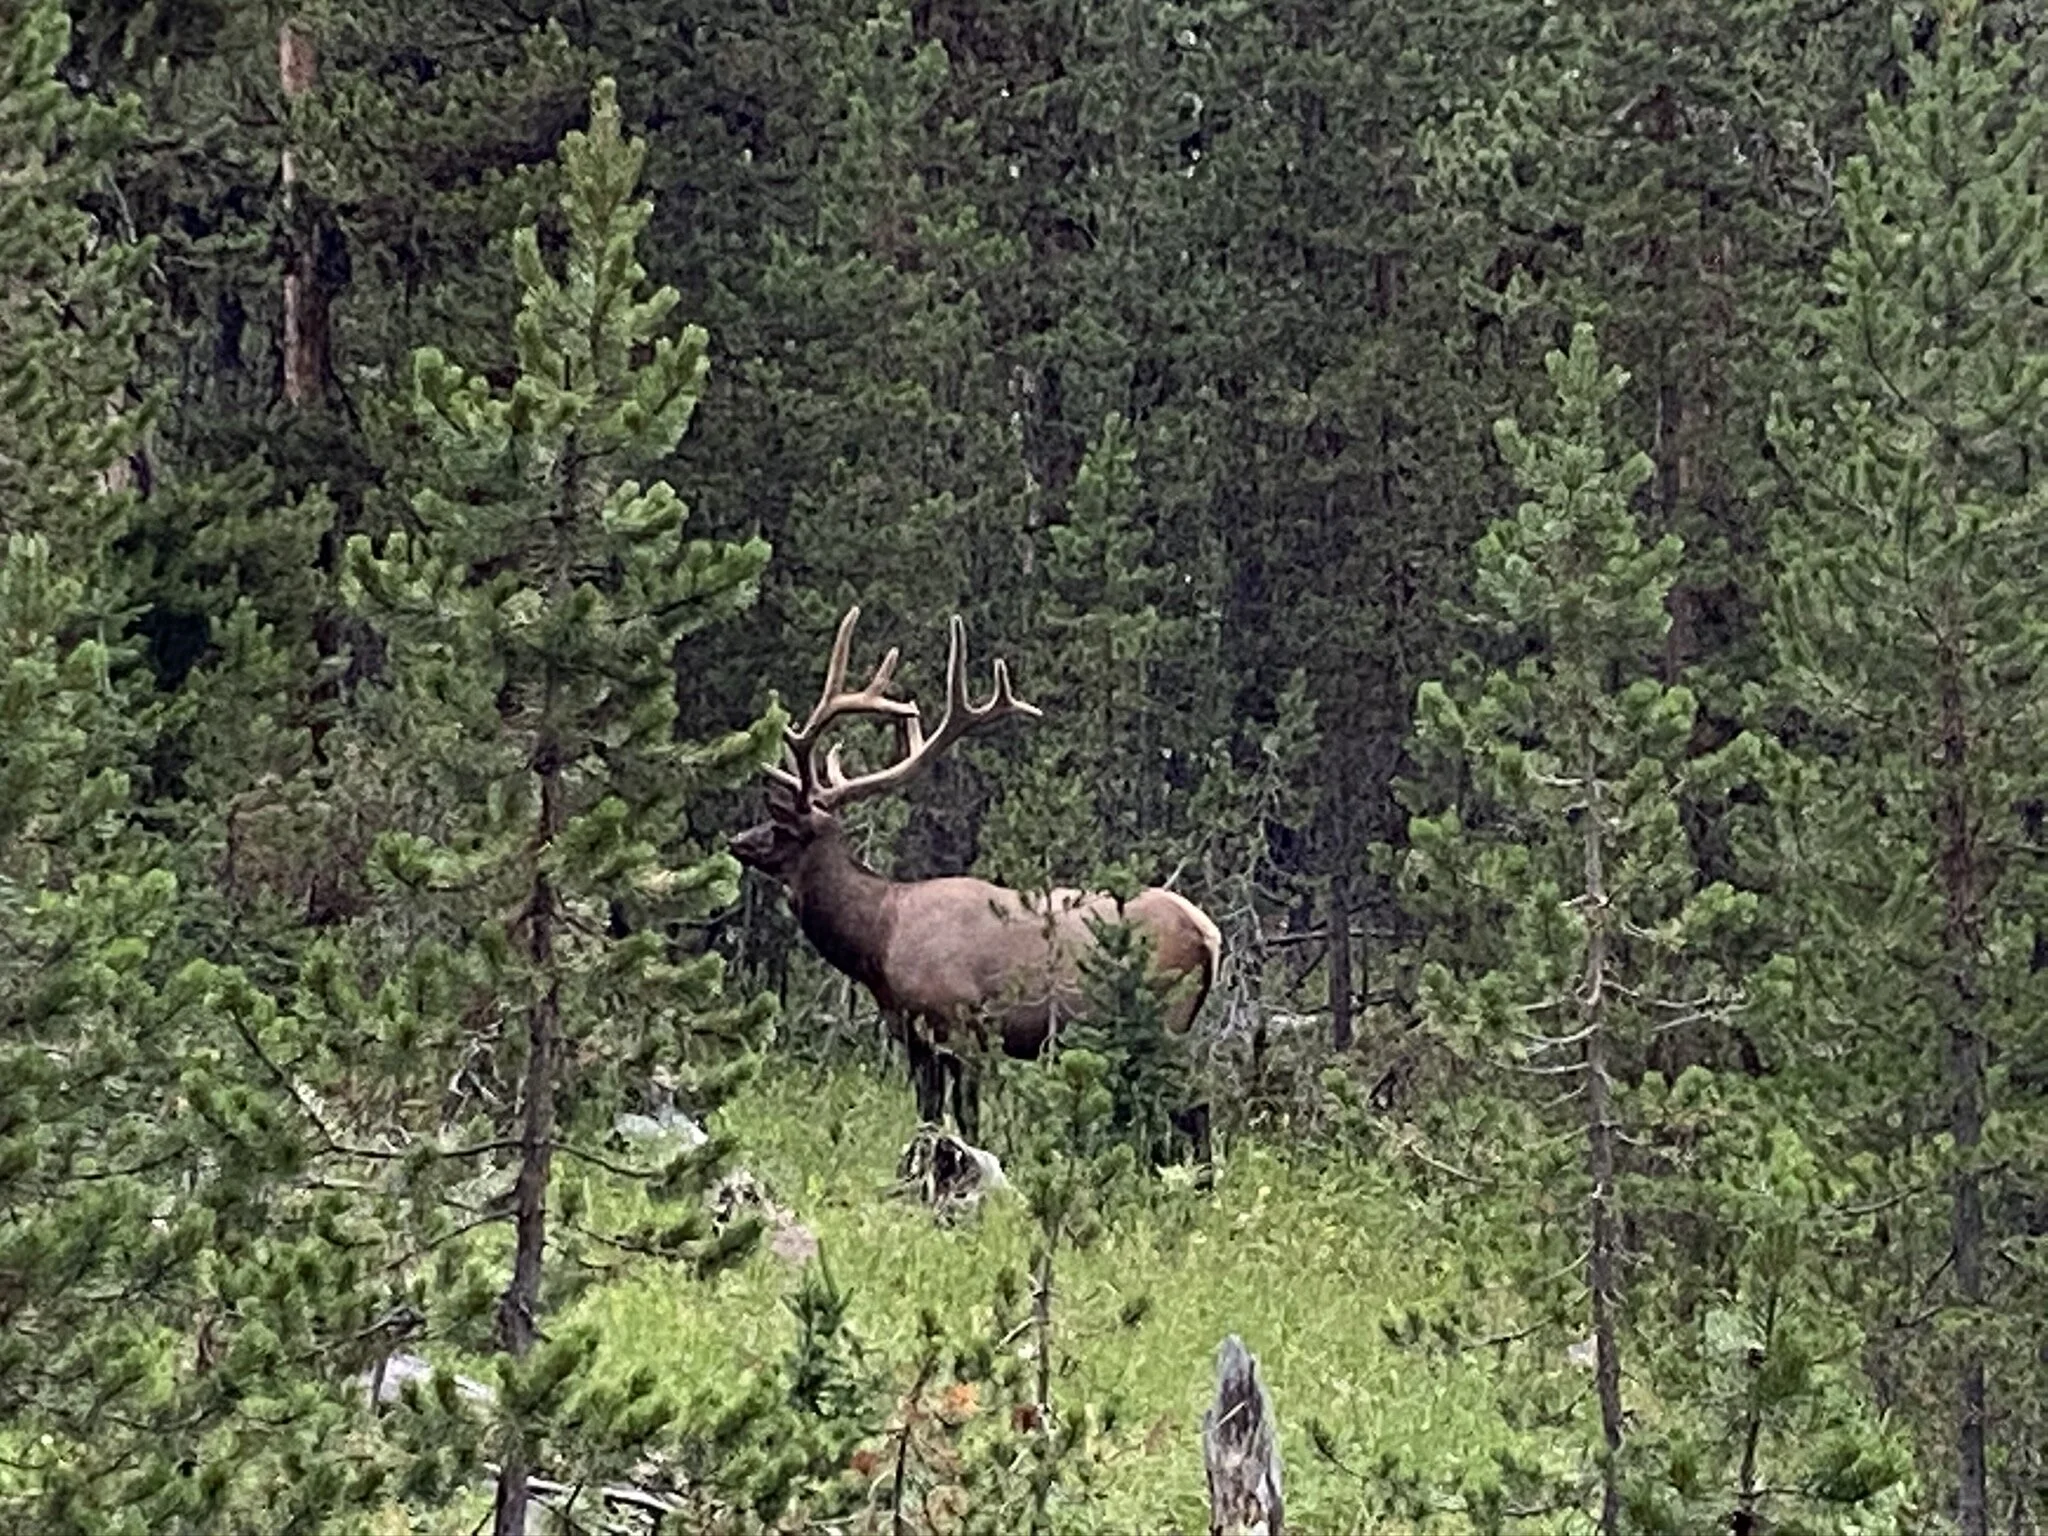
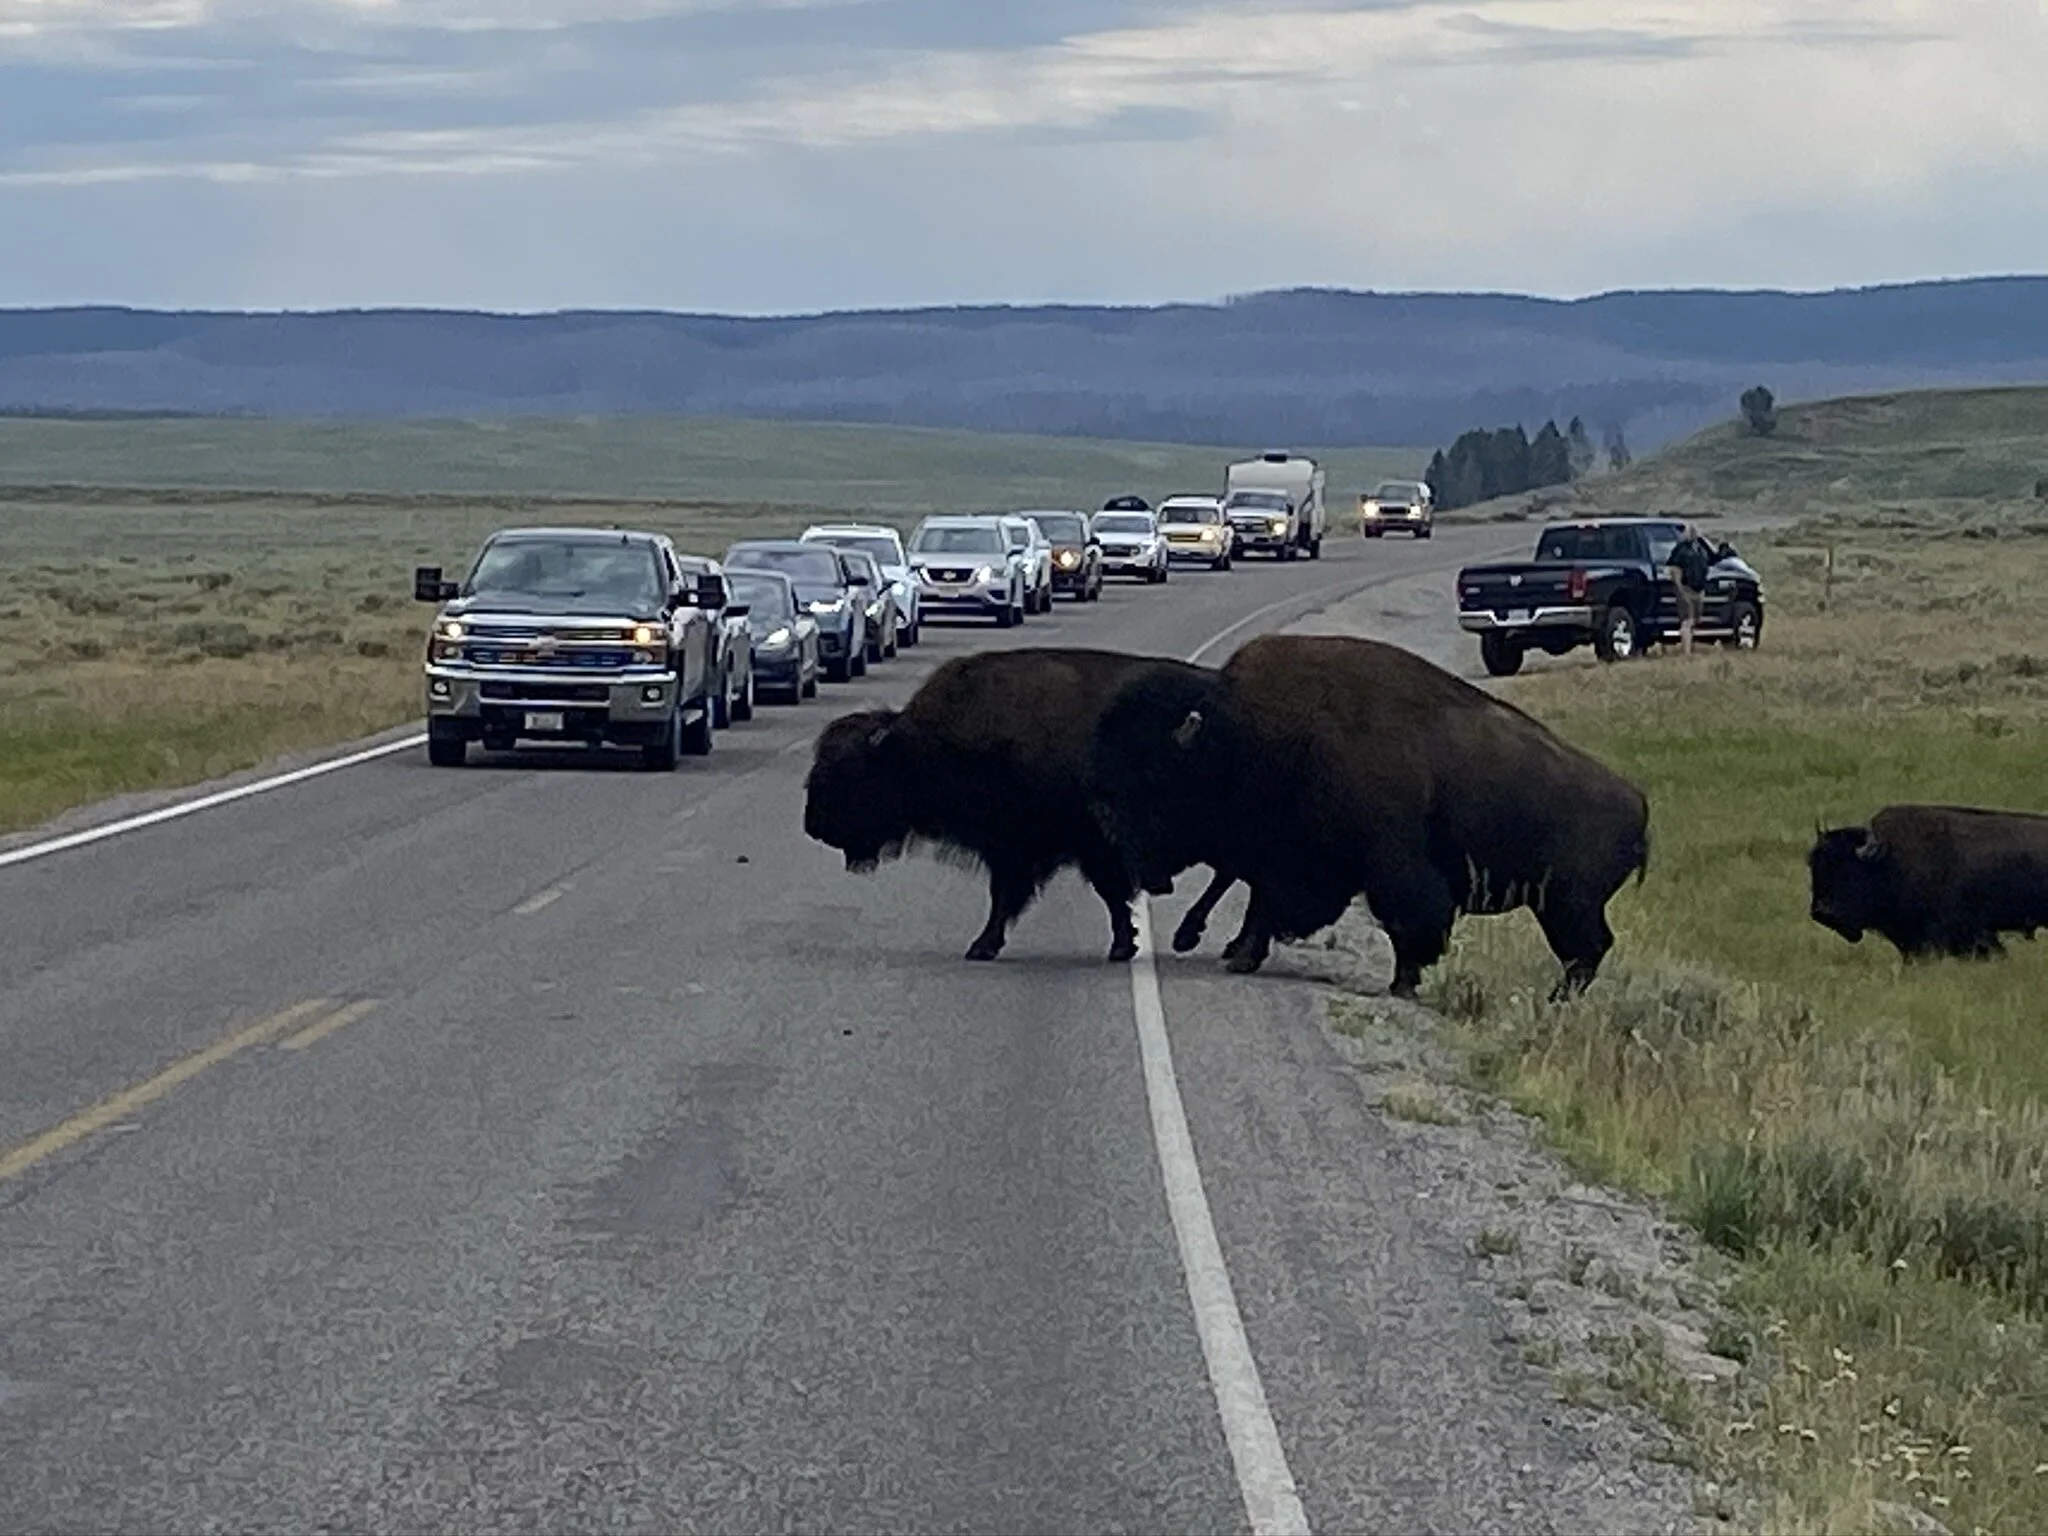
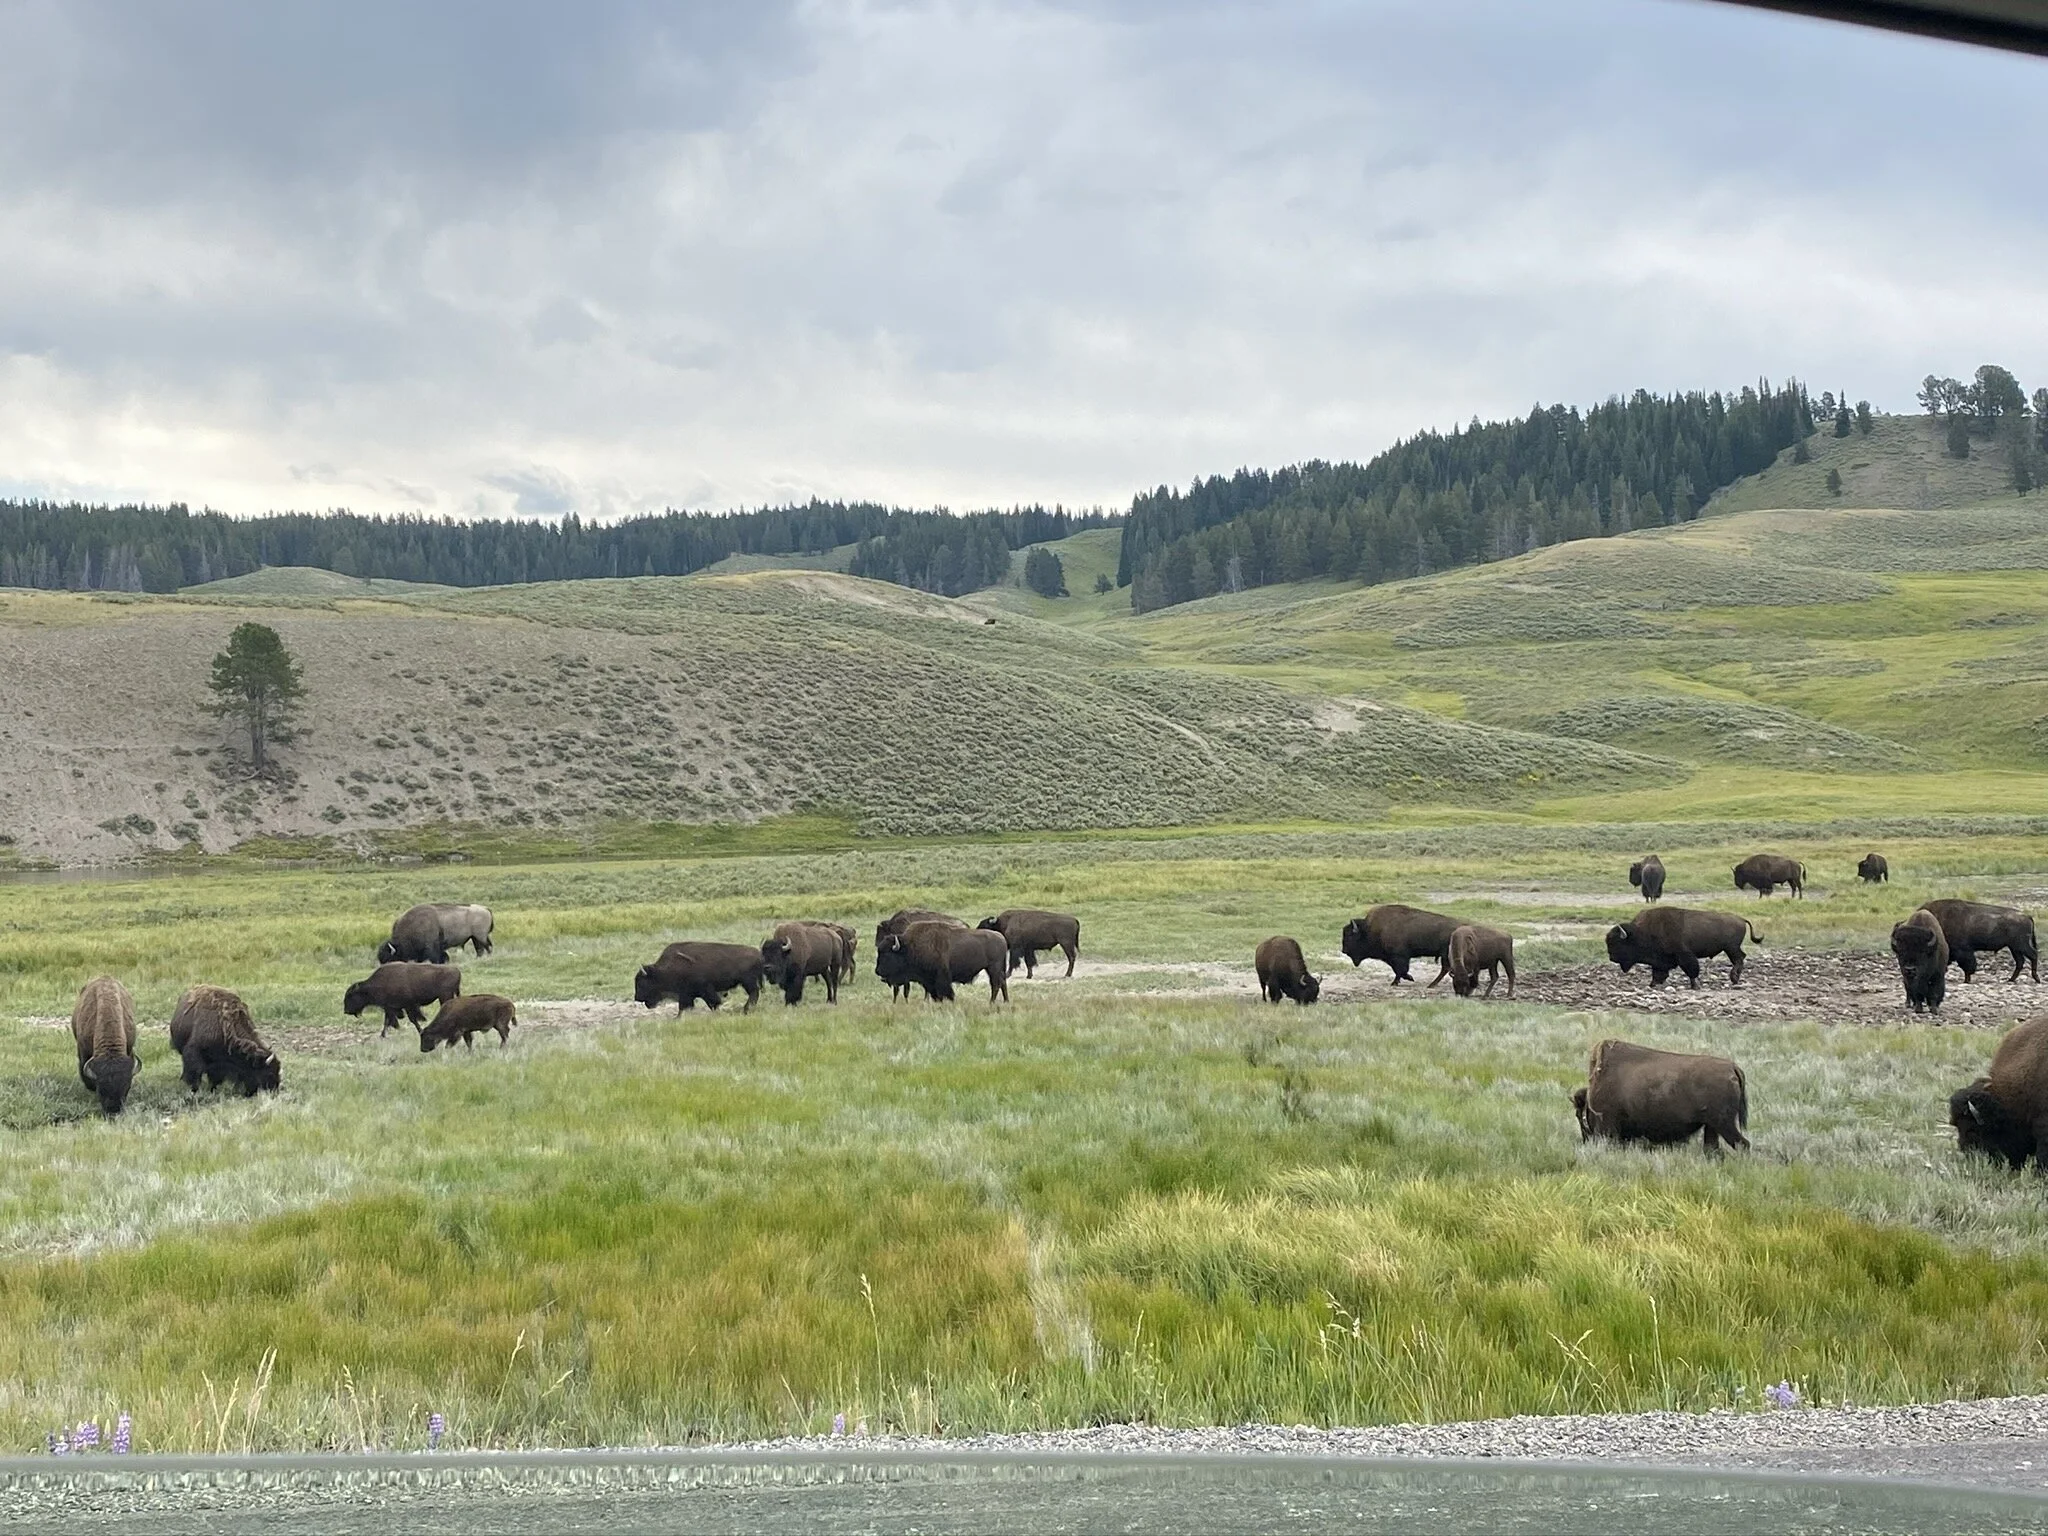
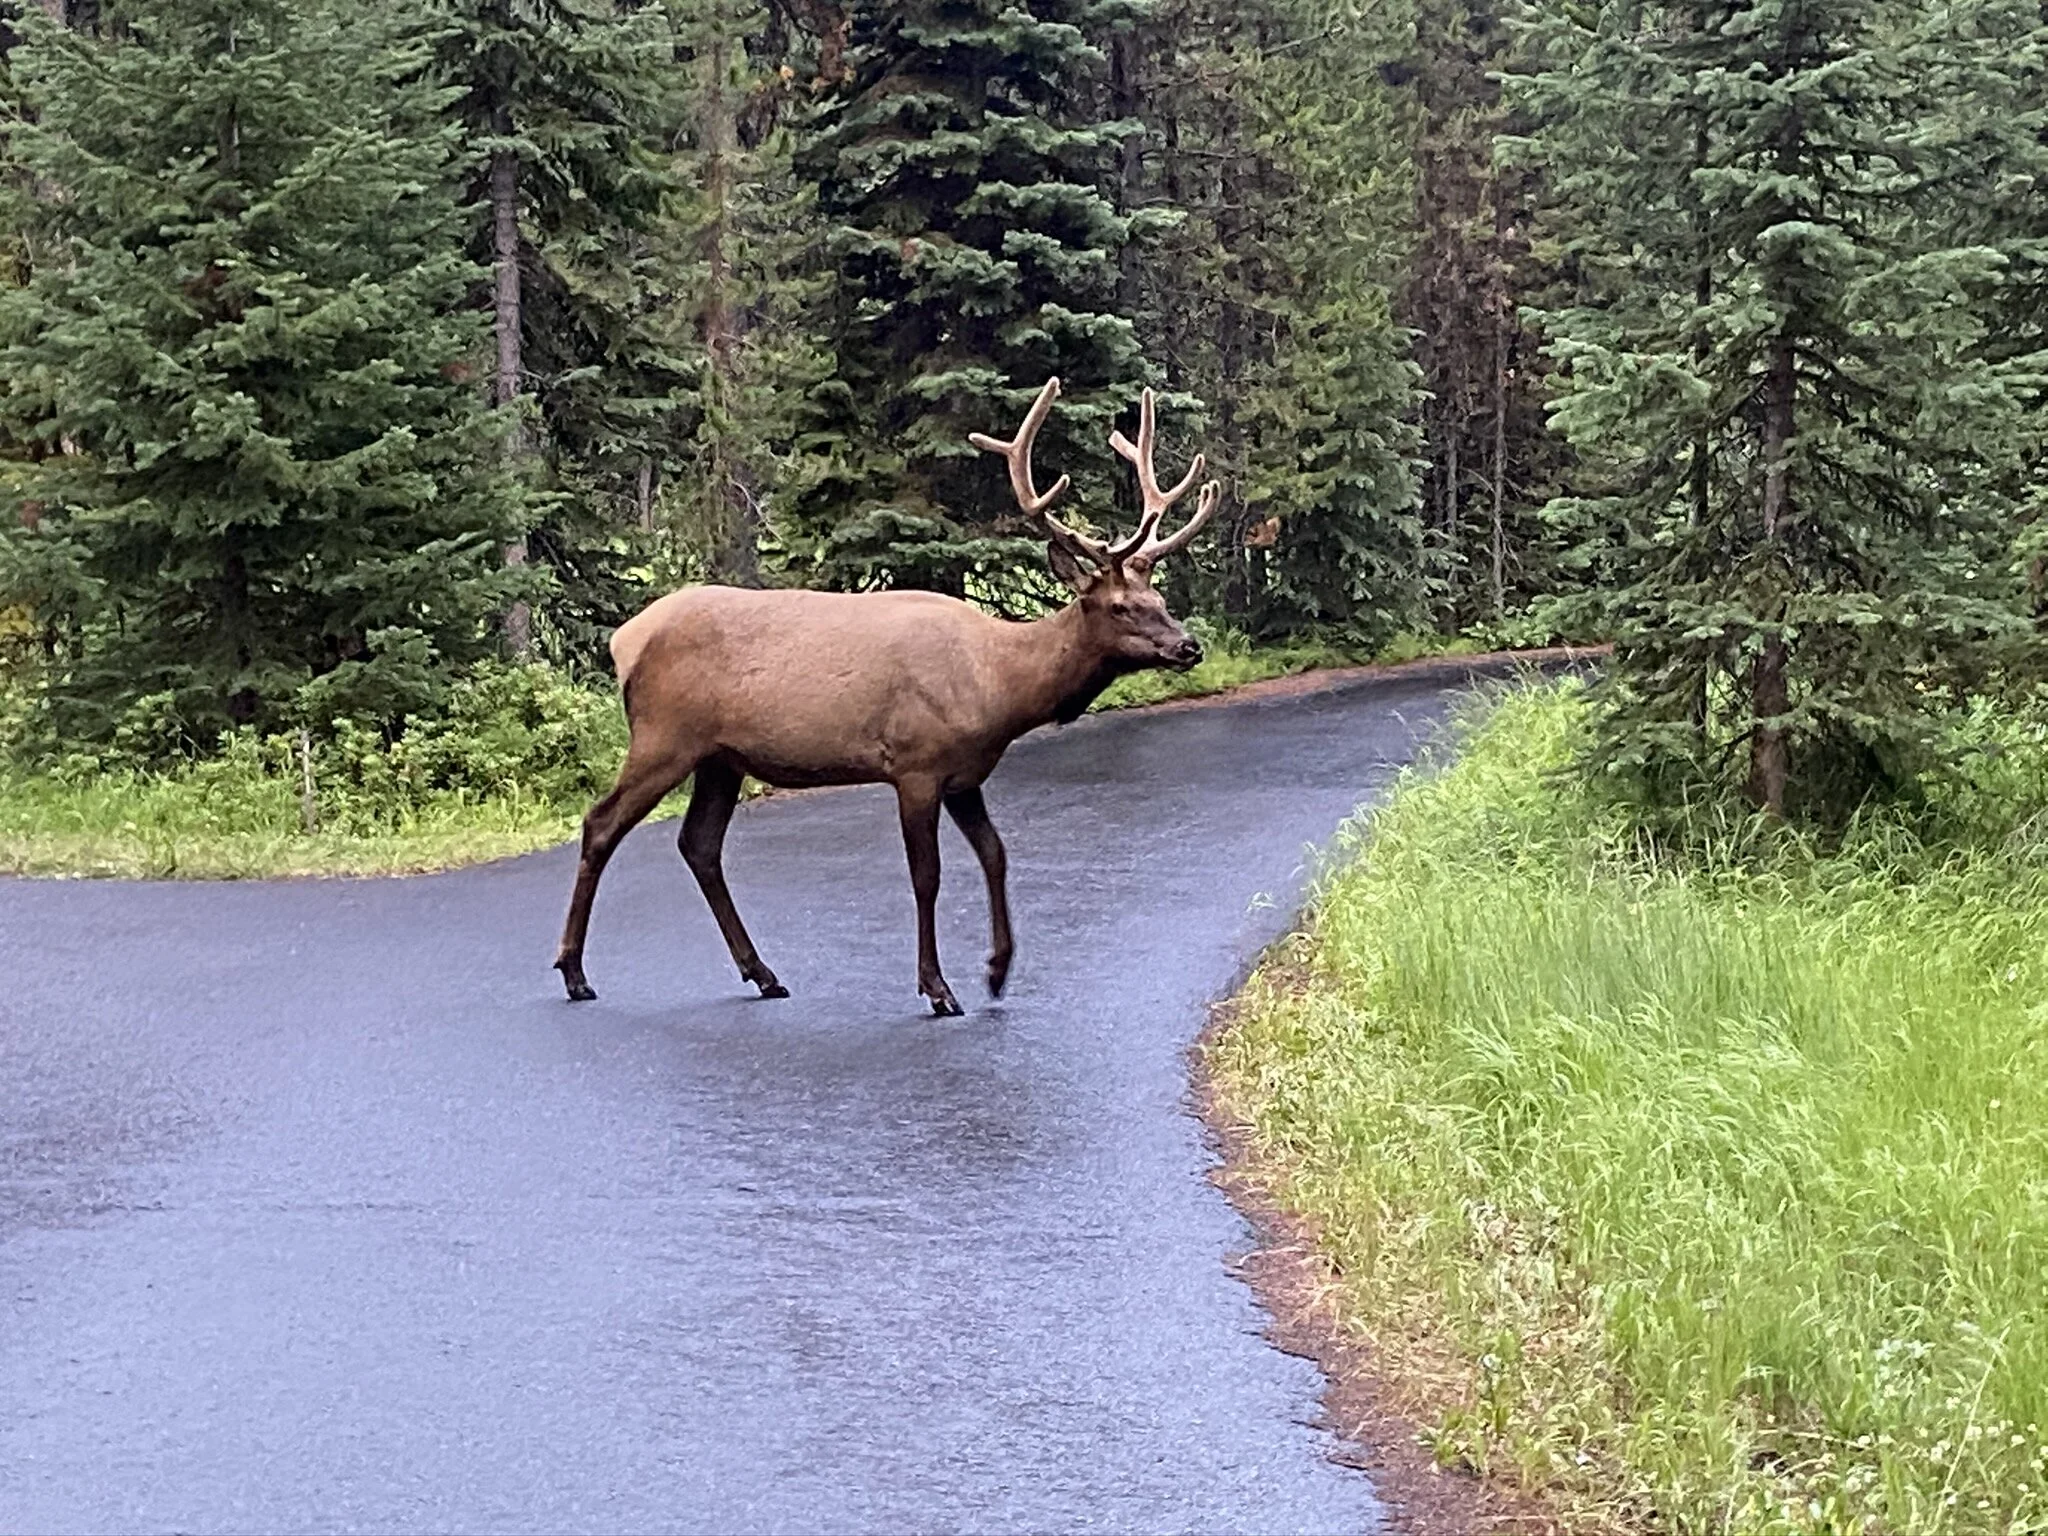
After our wet canoe ride we began the 2 hour drive to our campground in Yellowstone National Park. The best part about driving through the park is stopping to look at wildlife. Whenever you see people parked on the side of the road and pointing you can bet that something good is there! On our way in we were lucky to see a massive elk grazing just beyond the side of the road. We also saw a ton of bison in Hayden Valley! We learned the next day that they frequent this area as they could be seen every time we drove by. When you’re driving through the park make sure you drive slow so that you can stop easily because animals love to run into the road! For our first 2 nights we stayed at Canyon Campground.
TRAVEL TIP: Want to rent a boat for Jackson Lake at Colter Bay? Everything is first come, first serve, but you can sign up first thing in the morning at 8:00am! Put your name down before going to do other stuff throughout the day! We didn’t sign up until 1:30 (even though we were in the area and could have stopped by earlier) and we had to wait until 4:00 to get on a canoe. If you do have to wait, the general store has the most DELICIOUS huckleberry cheesecake ice cream!
The view from Signal Mountain
The view from the Jackson Lake Dam
These signs are so high quality!
Out on Jackson Lake right before it started pouring
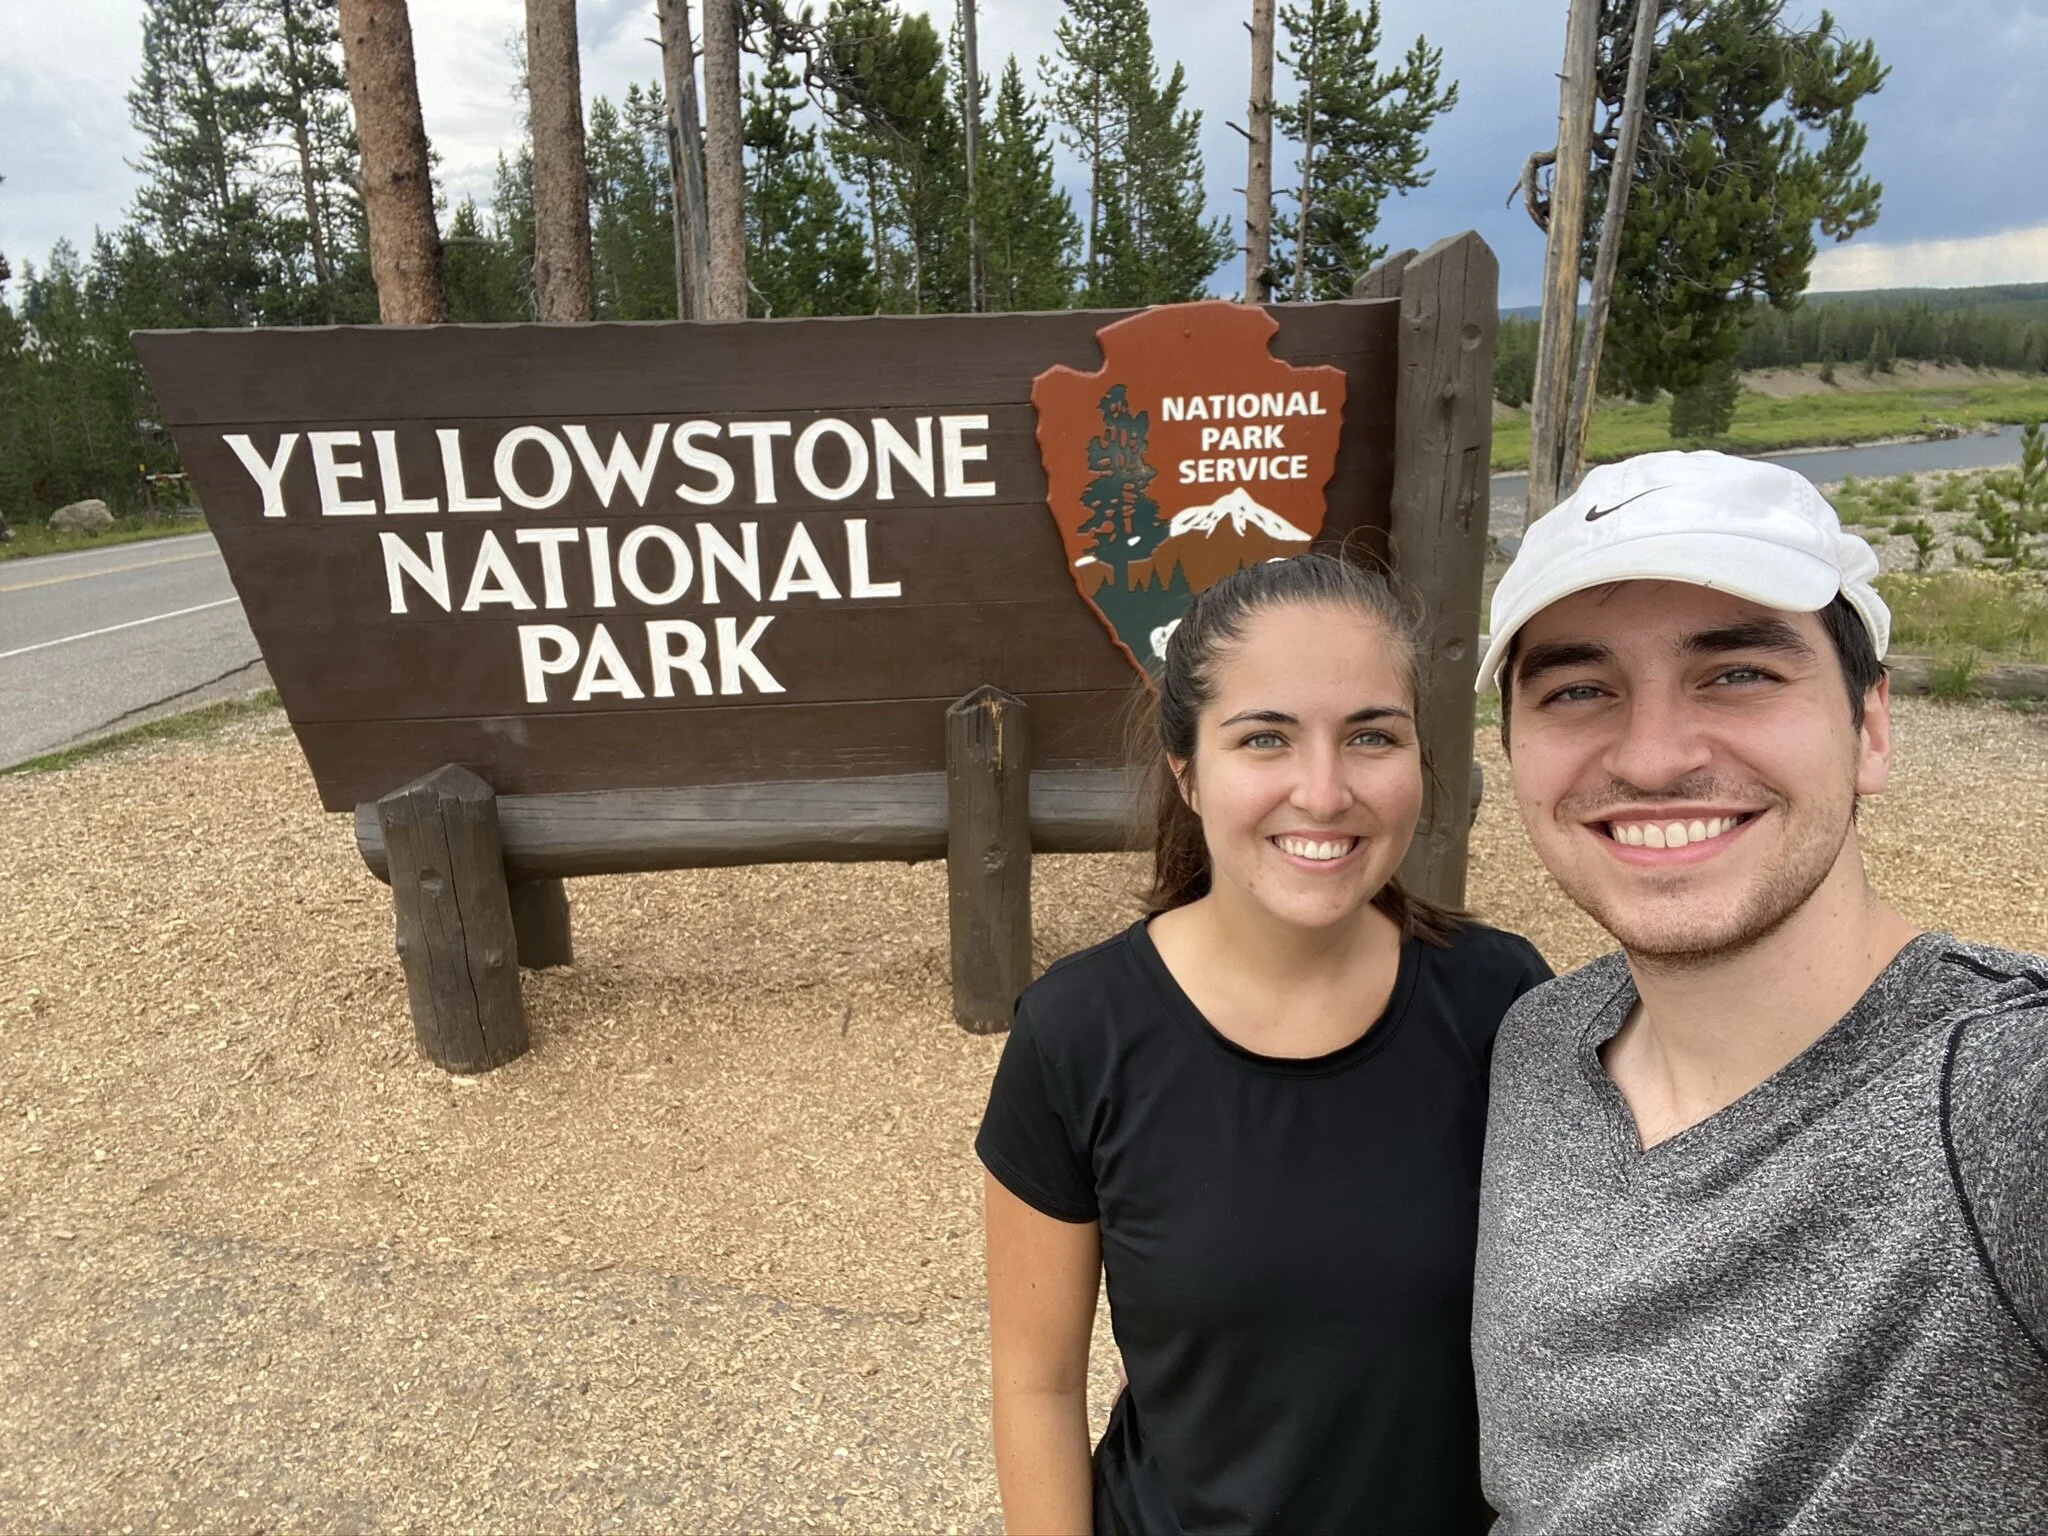
We made it to Yellowstone!
An elk on the side of the road on our way into Yellowstone!
DAY 5: the grand canyon of yellowstone
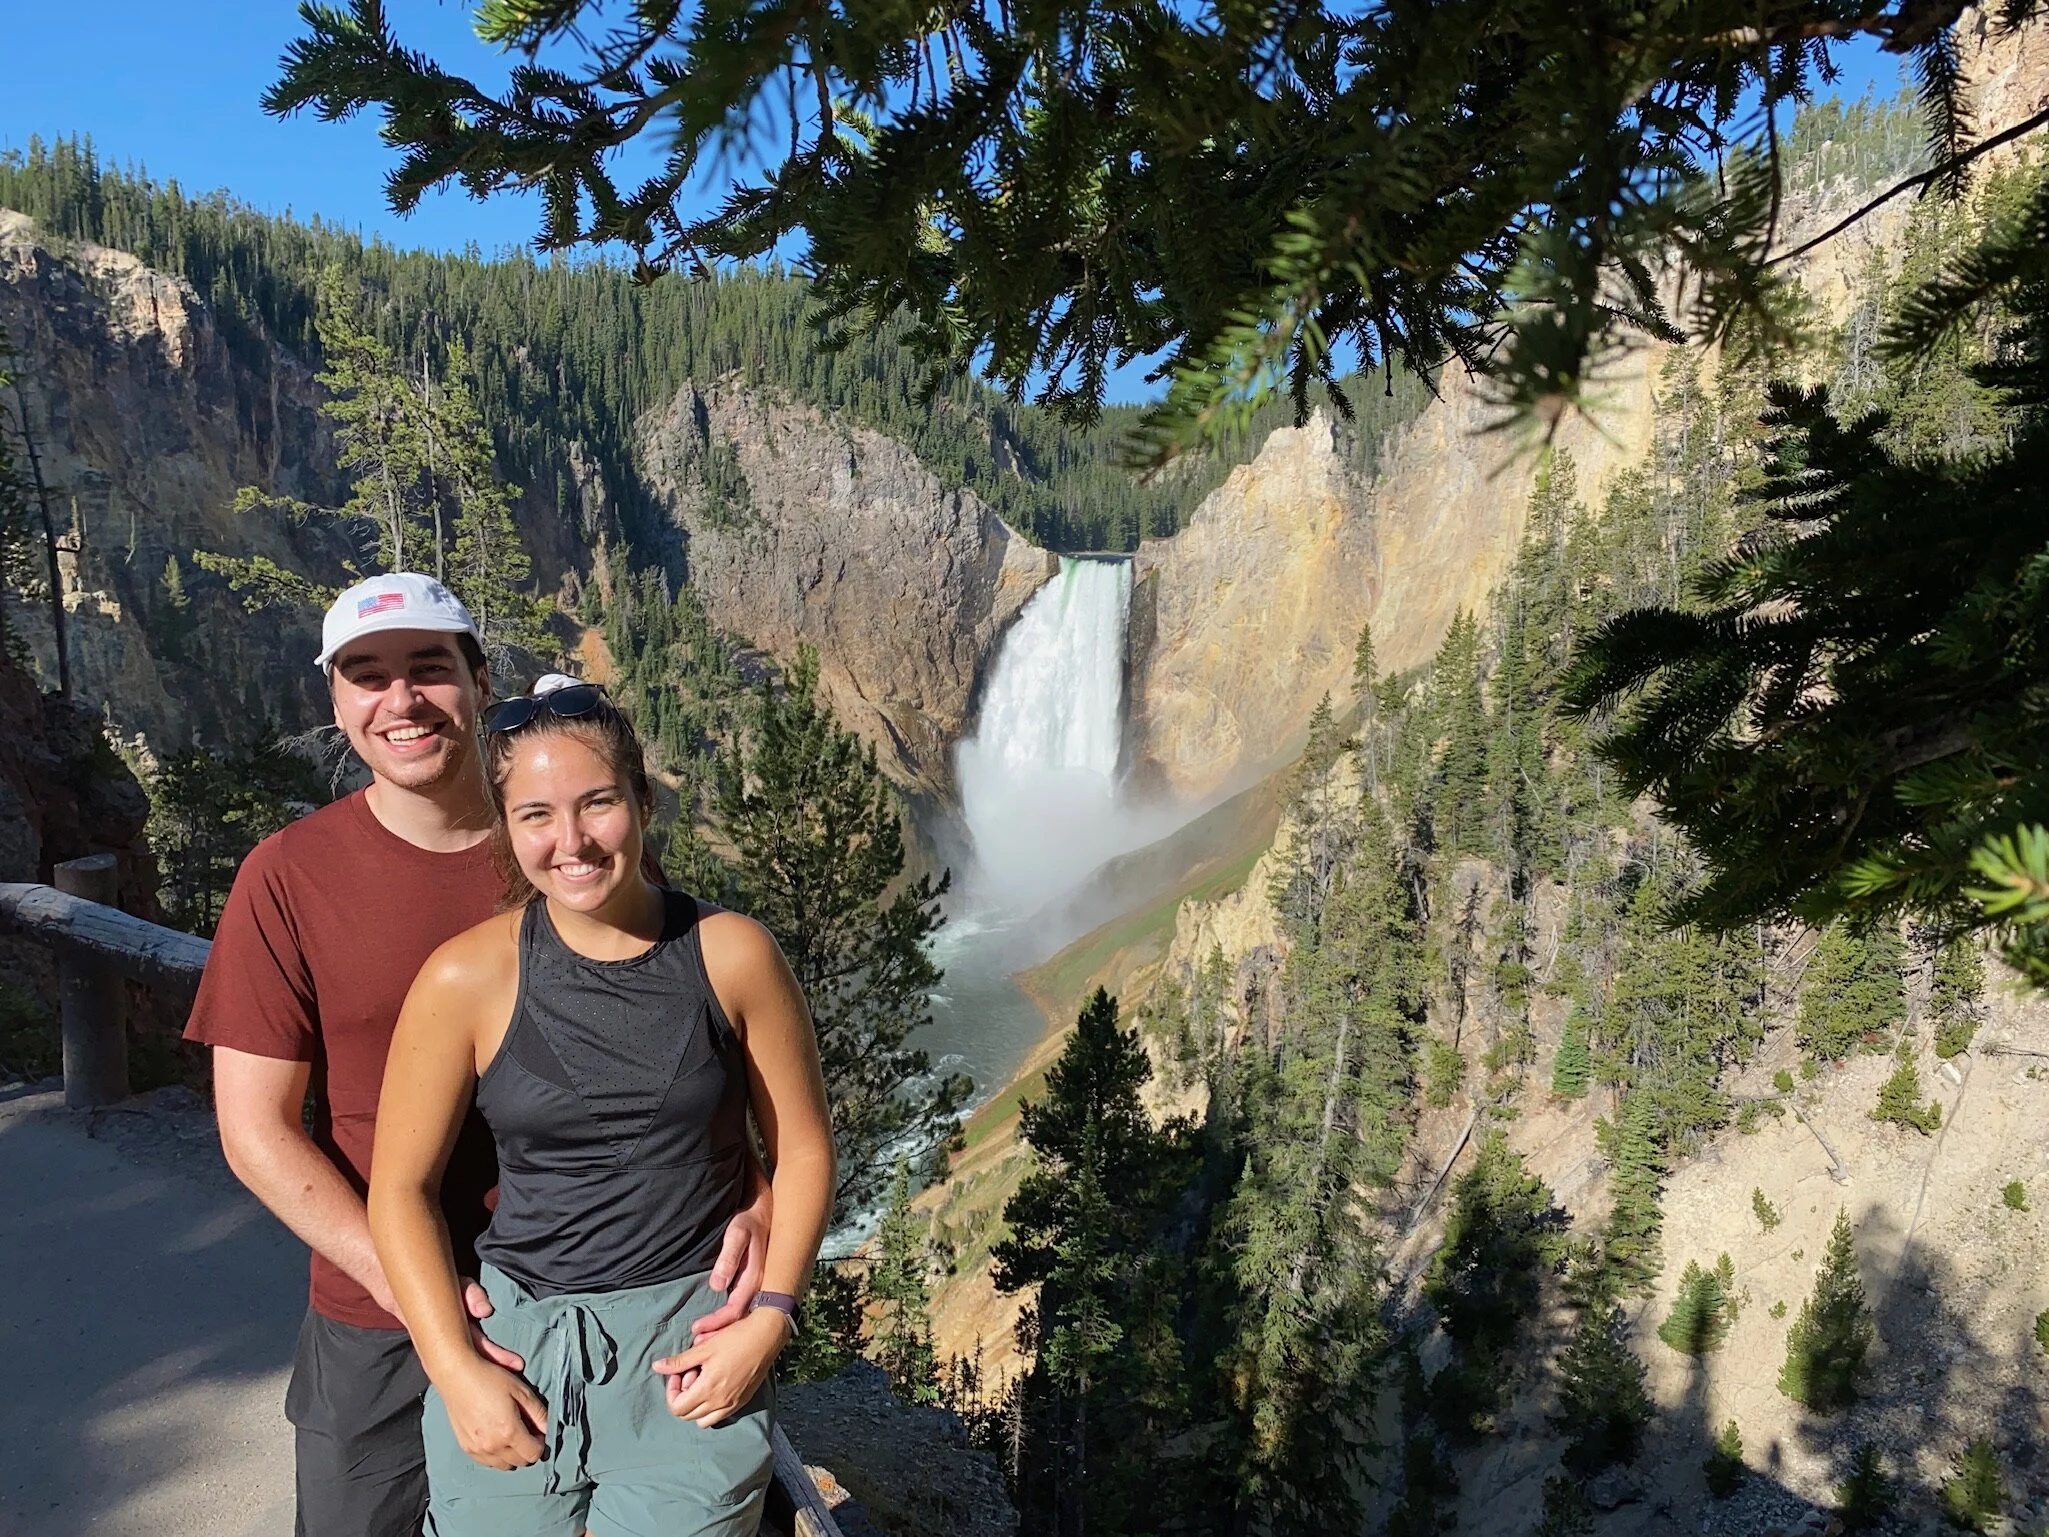
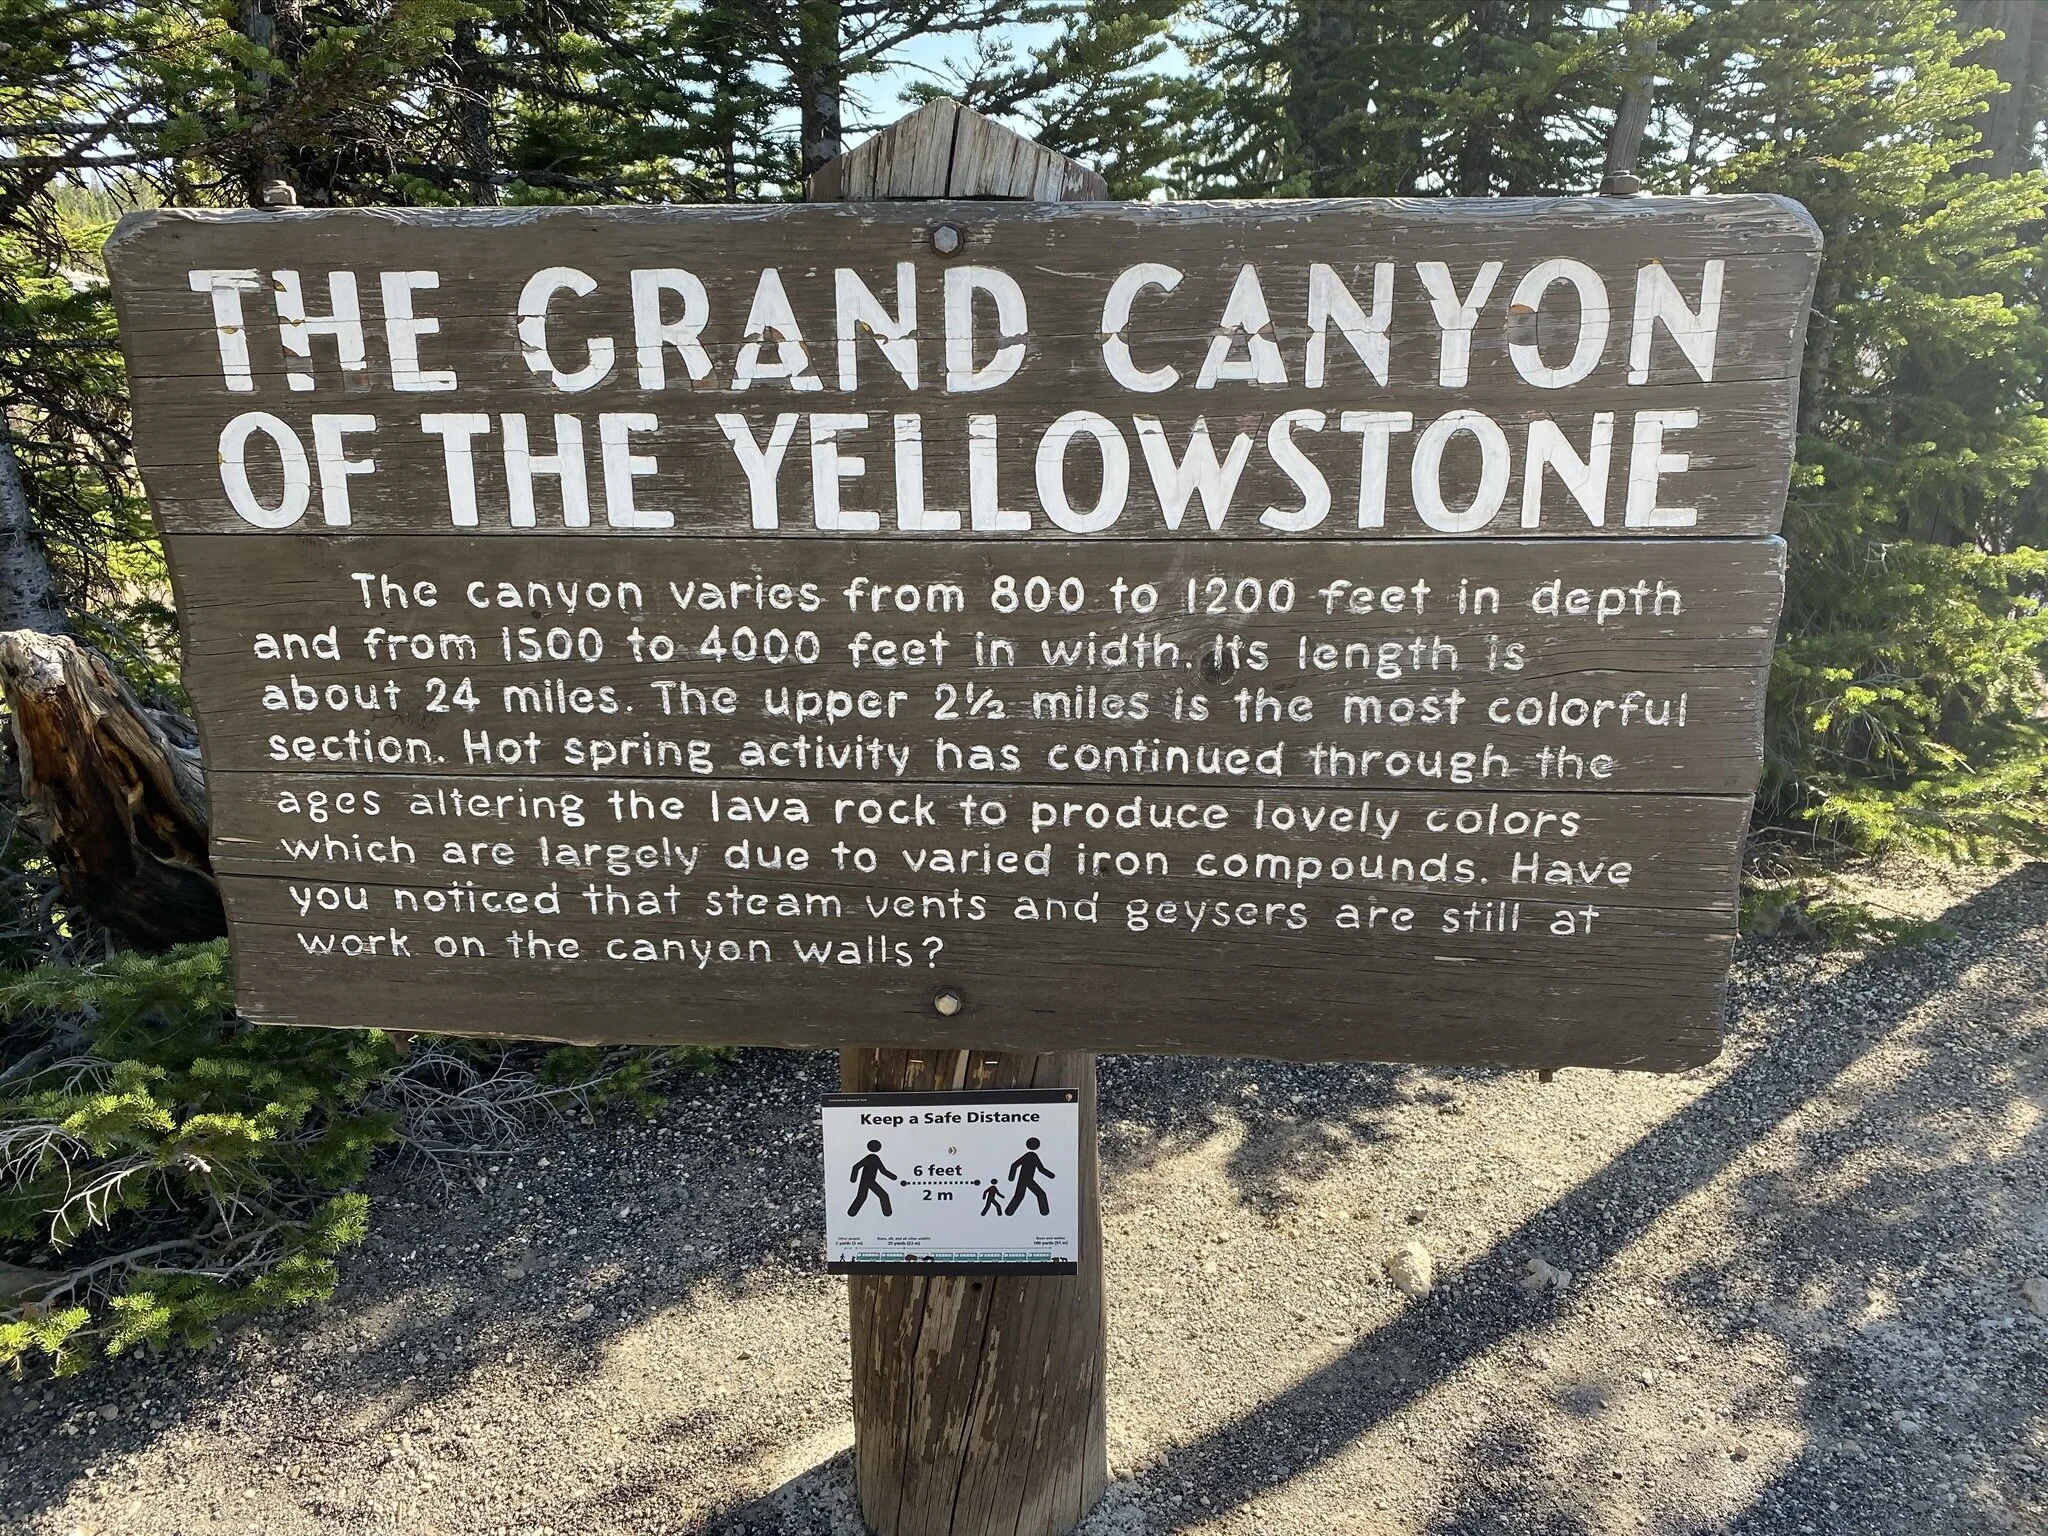
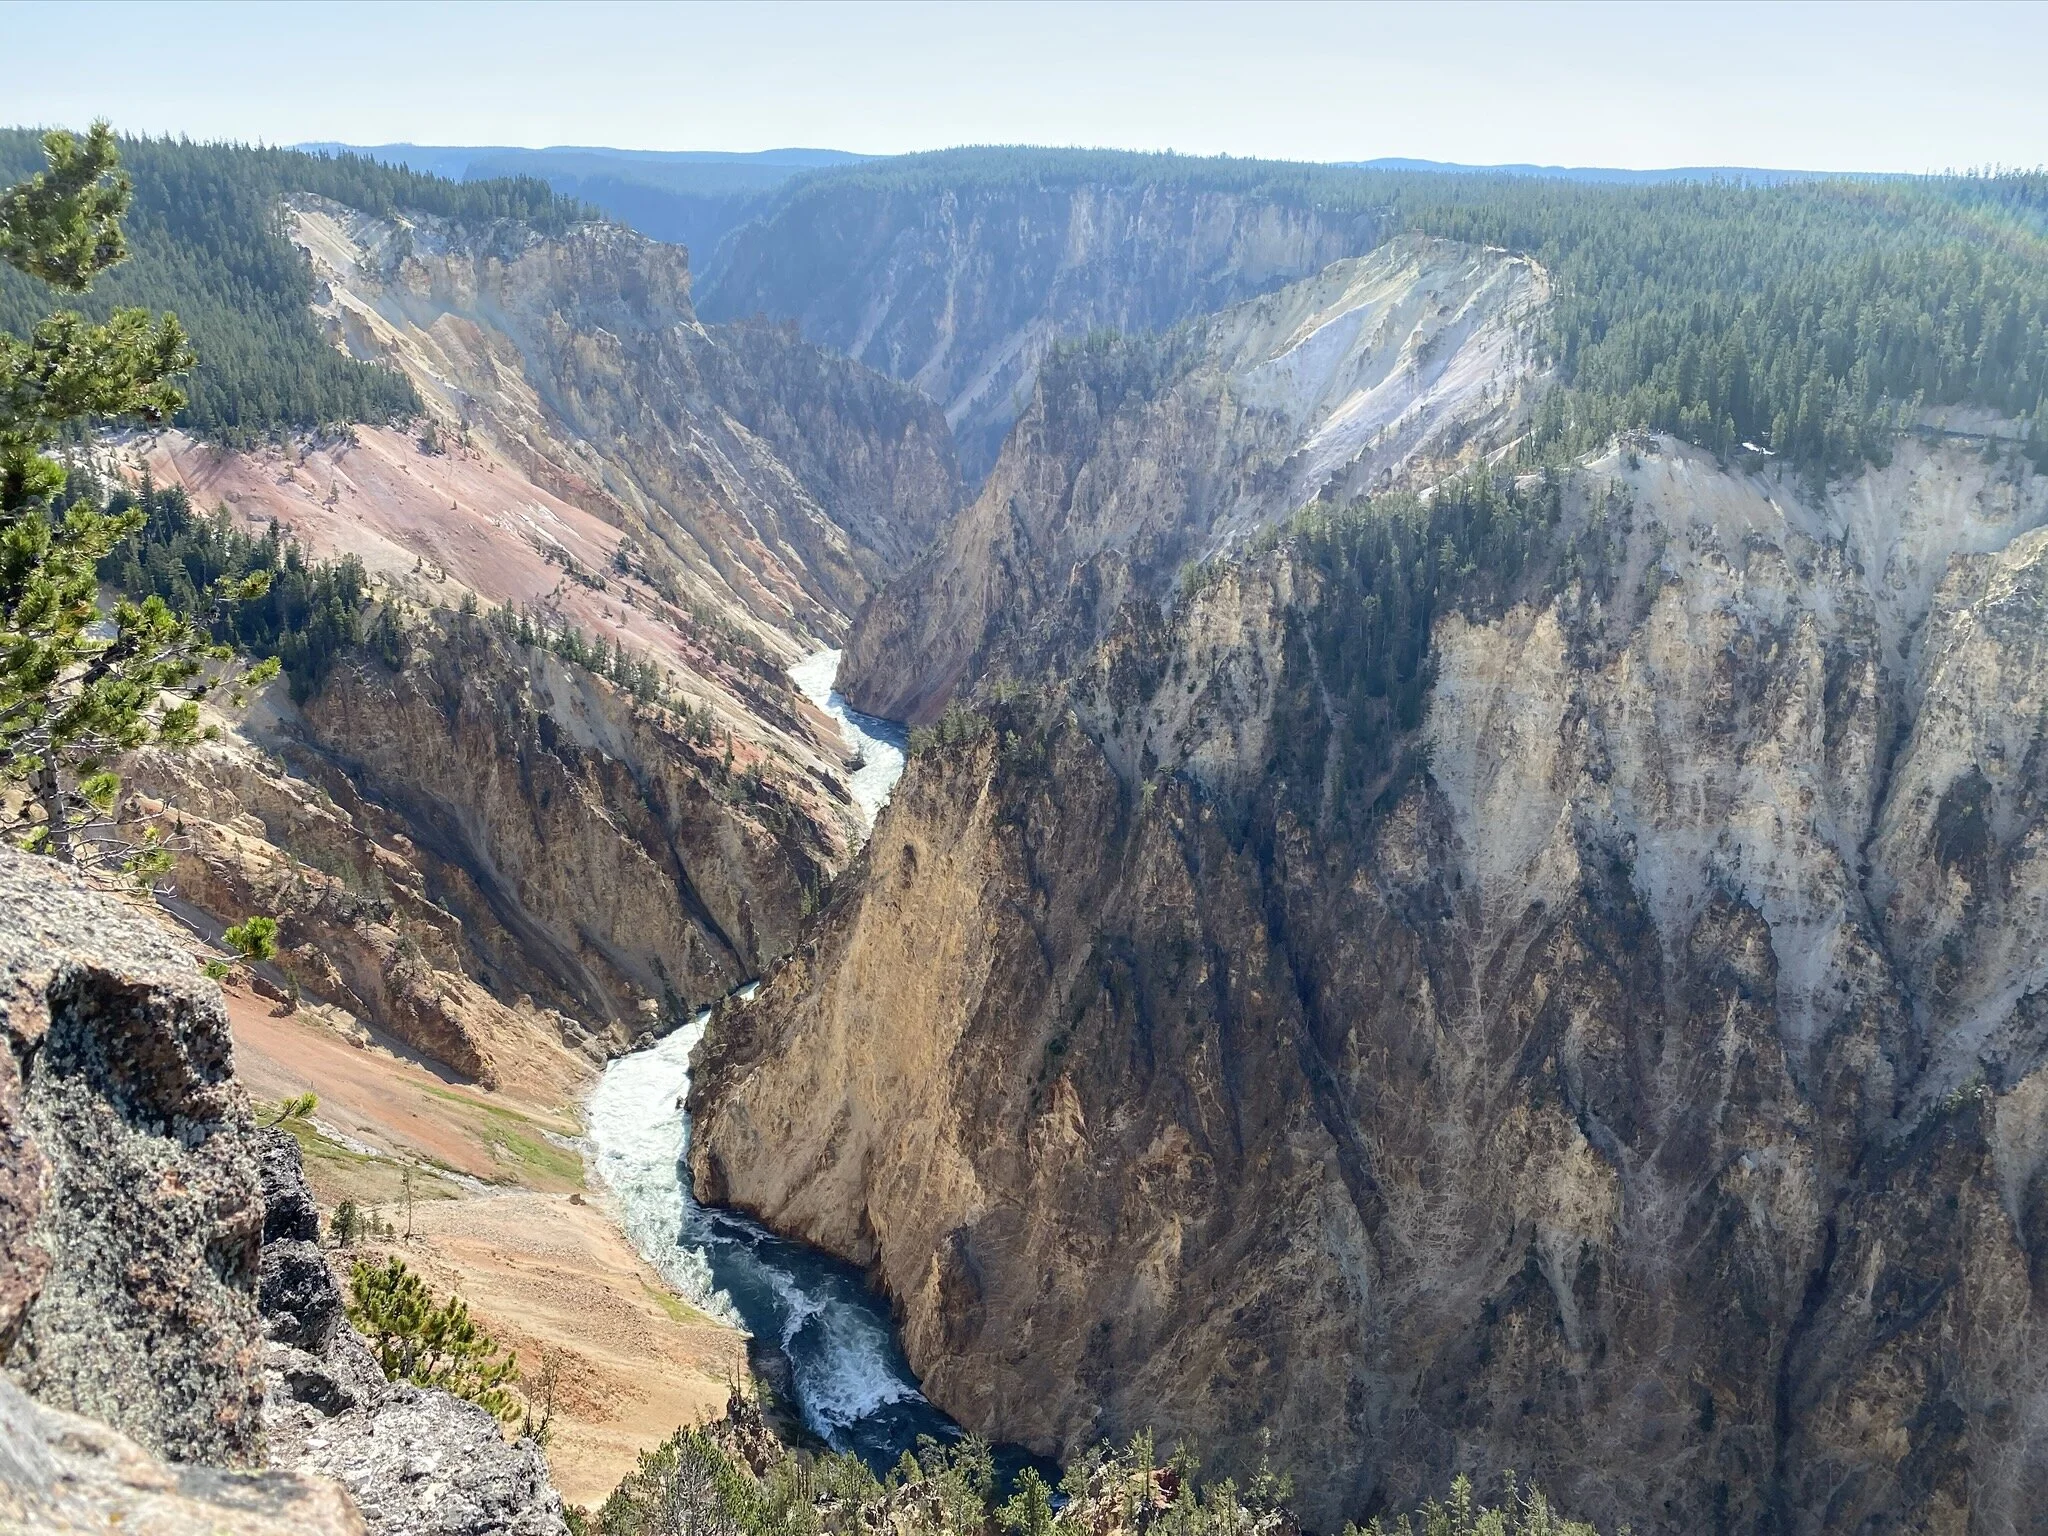
We woke up early to try to beat the Yellowstone crowds. We spent most of the day checking out the Grand Canyon of Yellowstone National Park! We began along the North Rim of the Canyon which is a one-way road so we worked our way down. At the first stop, Brink of the Lower Falls, the trail that brings you up close to Lower Falls was unfortunately closed. At the next stop, we were able to get a great view of the falls from Lookout Point. Want to get closer? Get ready to hike 260 feet down to Red Rock Point. The trail consists of some steep gravel switch backs and wooden stairs as you get closer to the bottom. On your way, be sure to take some breaks and look around! The canyon walls are full of rich colors and lots of cool textures. Once we got to the bottom, we got a stunning view of Lower Falls which is 308 feet tall! We were happy that we came in the morning because all of the viewing platforms were quite small. Our next stop on the North Rim was Grand View. We enjoyed this lookout because it gave us a better view into the Canyon itself. It was so cool to see a variety of colors and the sides of the canyon looked like trees are hanging on by a thread! We were told that you can see osprey nests perched in the canyon but our detective skills were not good enough! Our final stop on the North Rim was Inspiration Point. Here we could see Yellowstone River winding roughly through the canyon. Nearby, there is a massive glacial boulder that is definitely worth the stop.
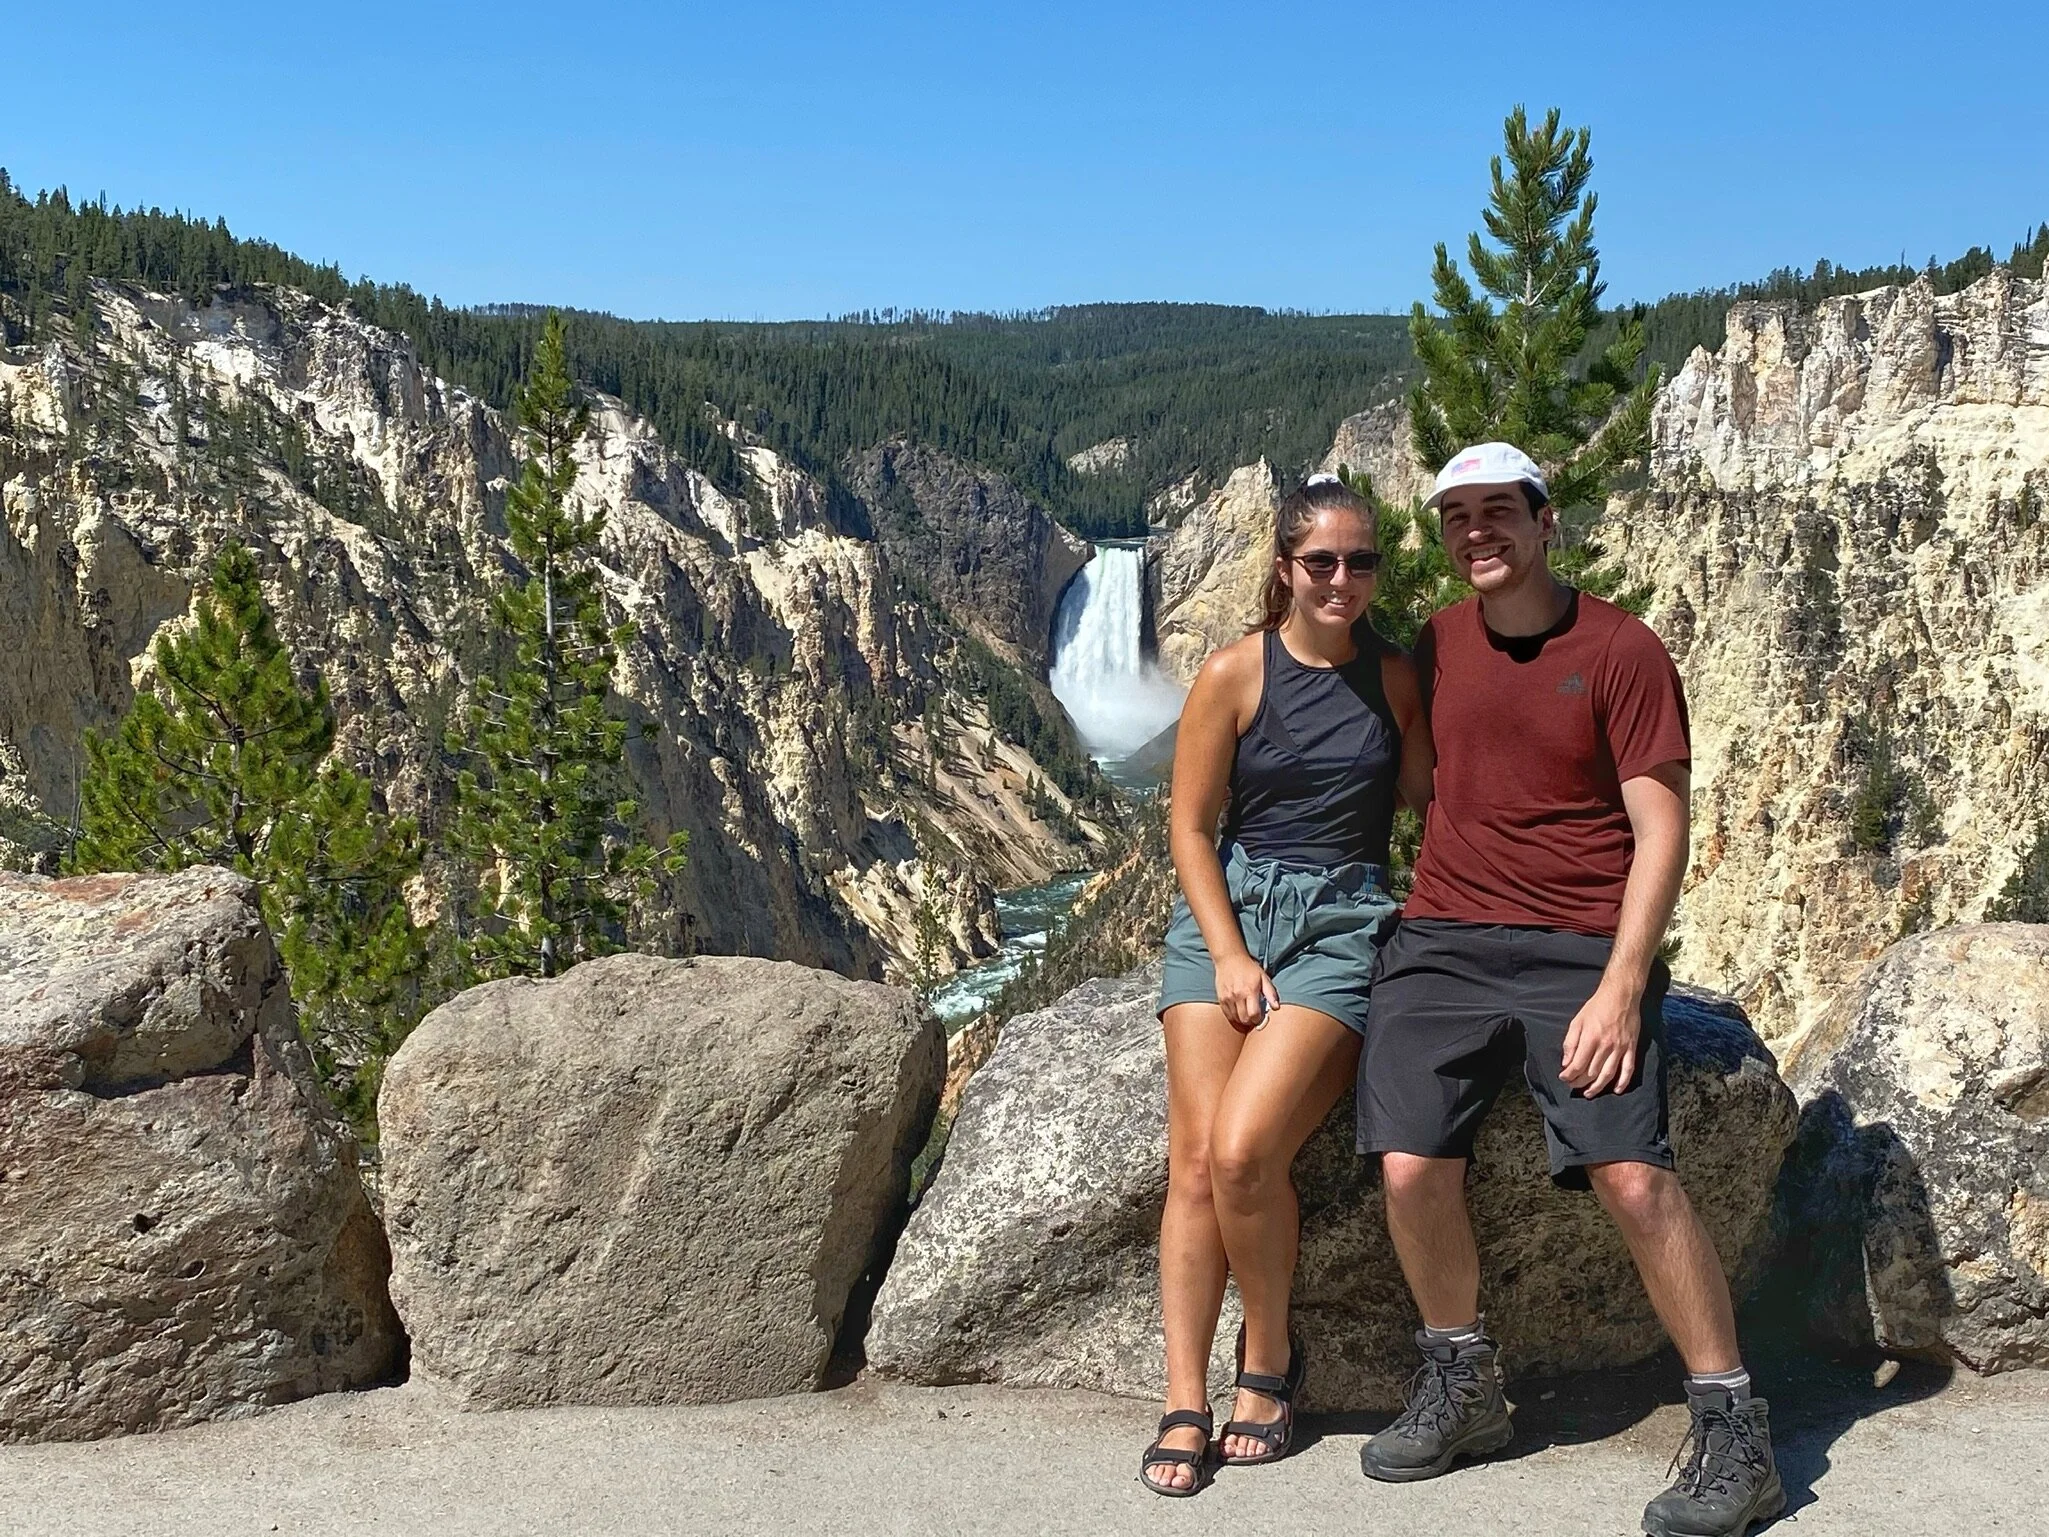
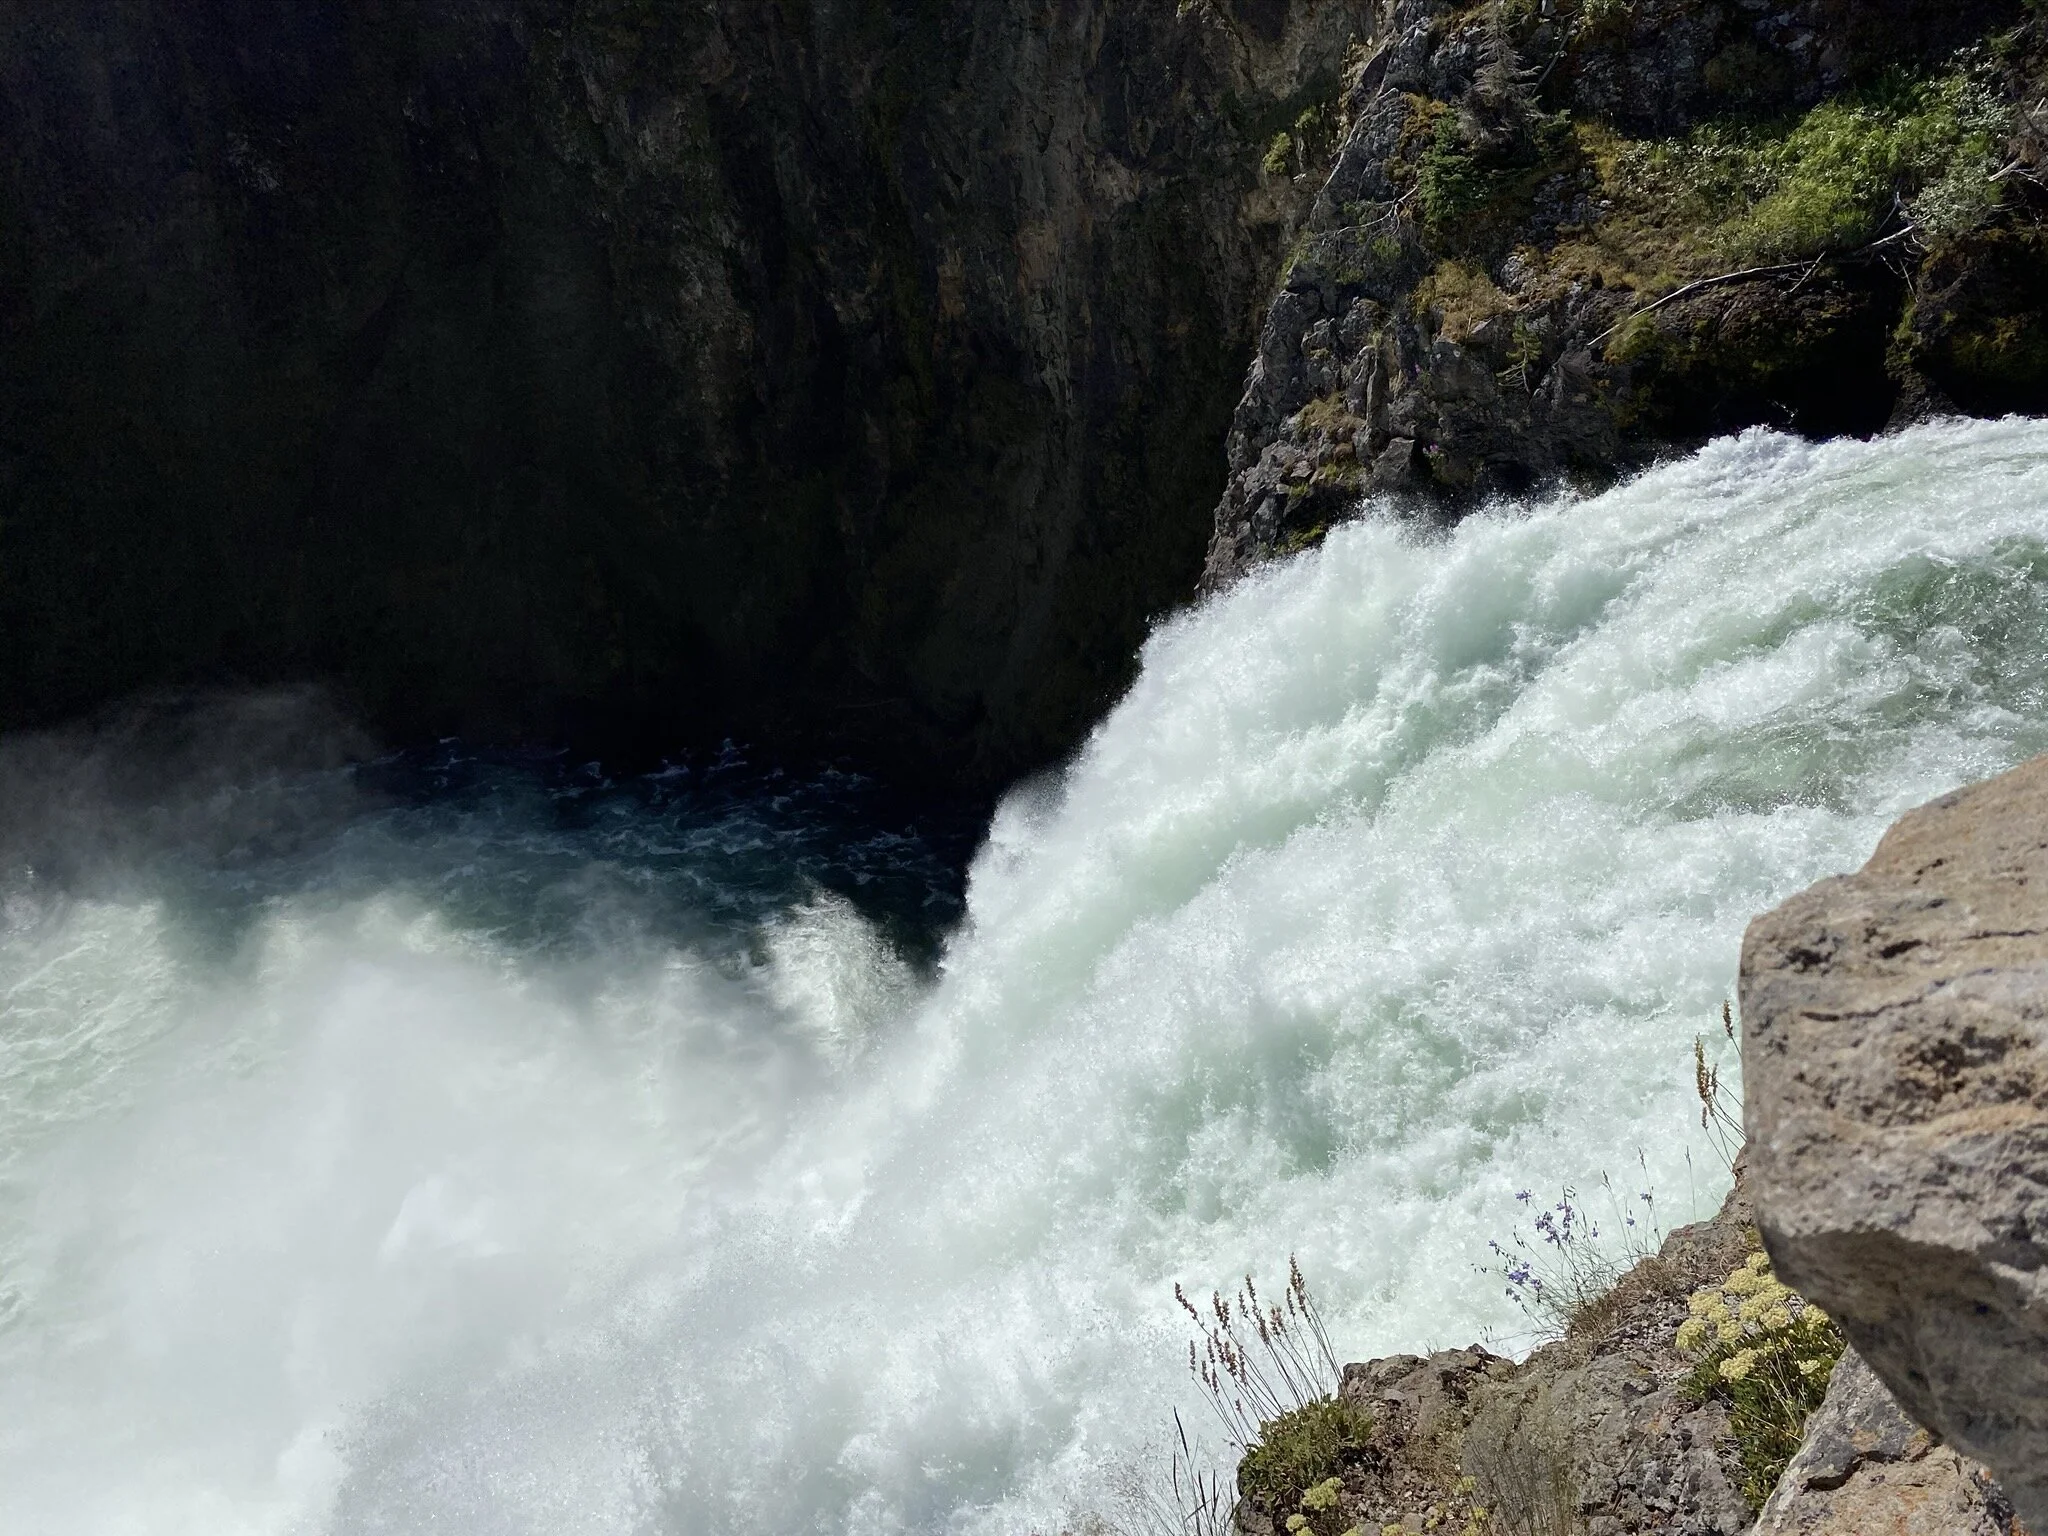
Next, driving along the main road, we stopped at Brink of the Upper Falls. The Upper Falls are smaller than the Lower Falls with a 109 foot drop, but since we were able to get nice and close it seemed just as impressive! Here there are a few different viewpoints depending on how close you want to get. After that, it was time to explore the South Rim of the canyon. The road for the South Rim is two-ways so you don’t have to worry about going in any particular order. The two main points on the South Rim are Artist’s Point and Uncle Tom’s Point. Artist’s Point is one of the most famous views in Yellowstone because you can see the Lower Falls pounding down into Yellowstone River and the river flowing through the canyon. This area was very crowded, but we set up our tripod and waited for our opening to snap a shot! Uncle Tom’s Point typically is popular due to Uncle Tom’s Trail which takes you up close to the Lower Falls, but it is currently closed for construction.
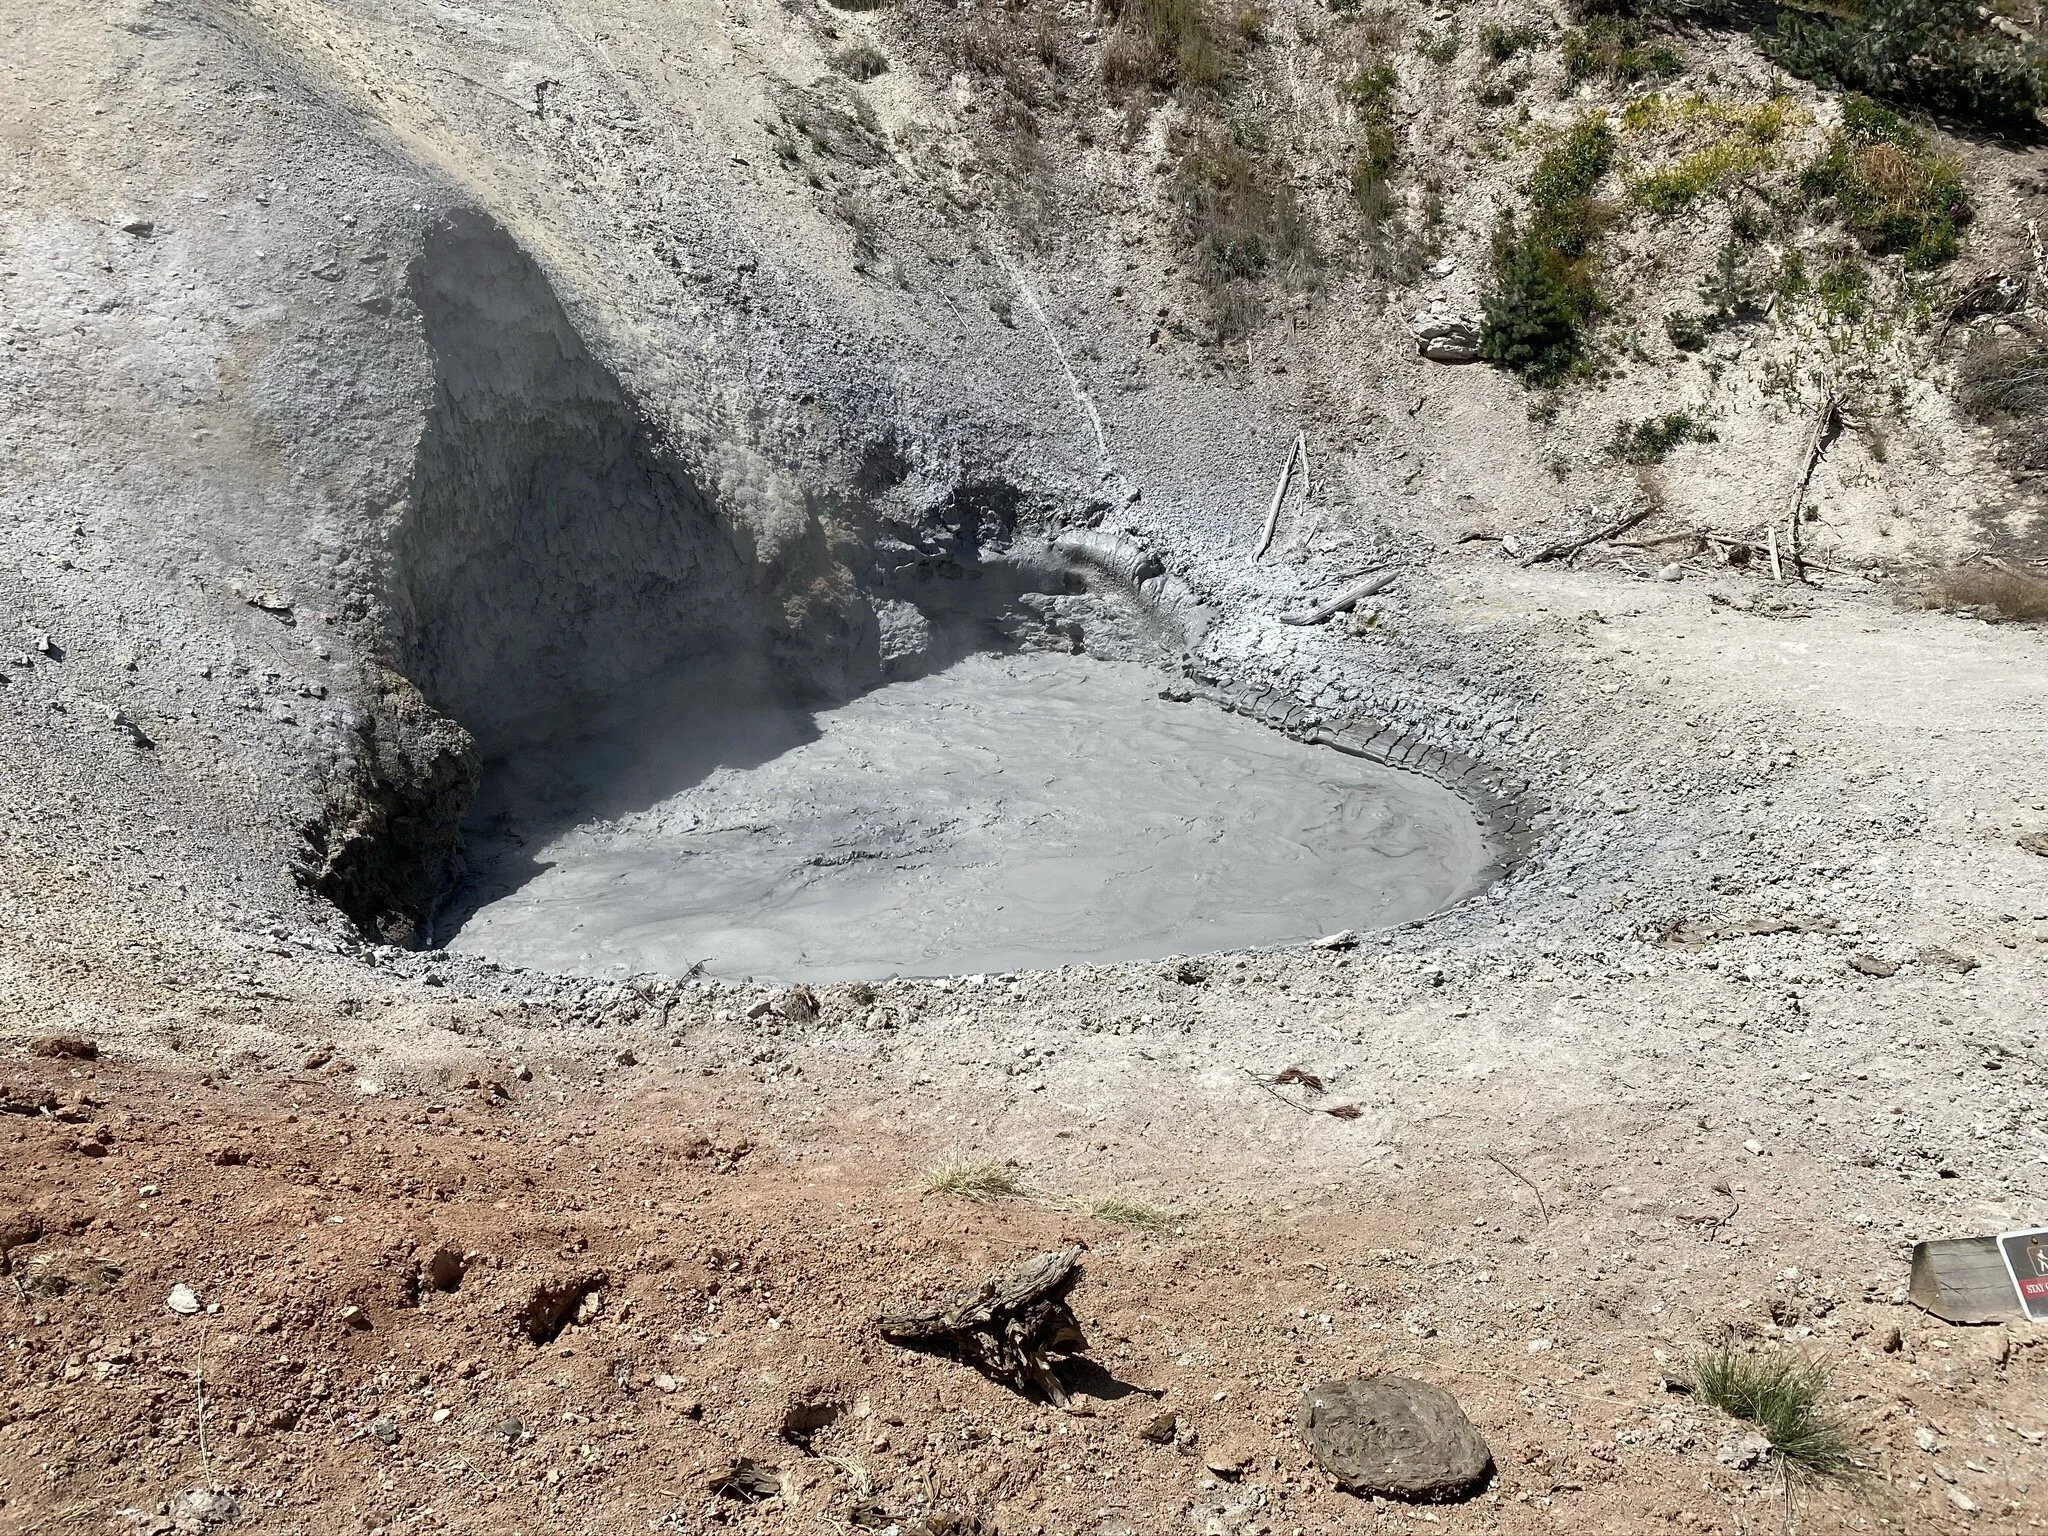
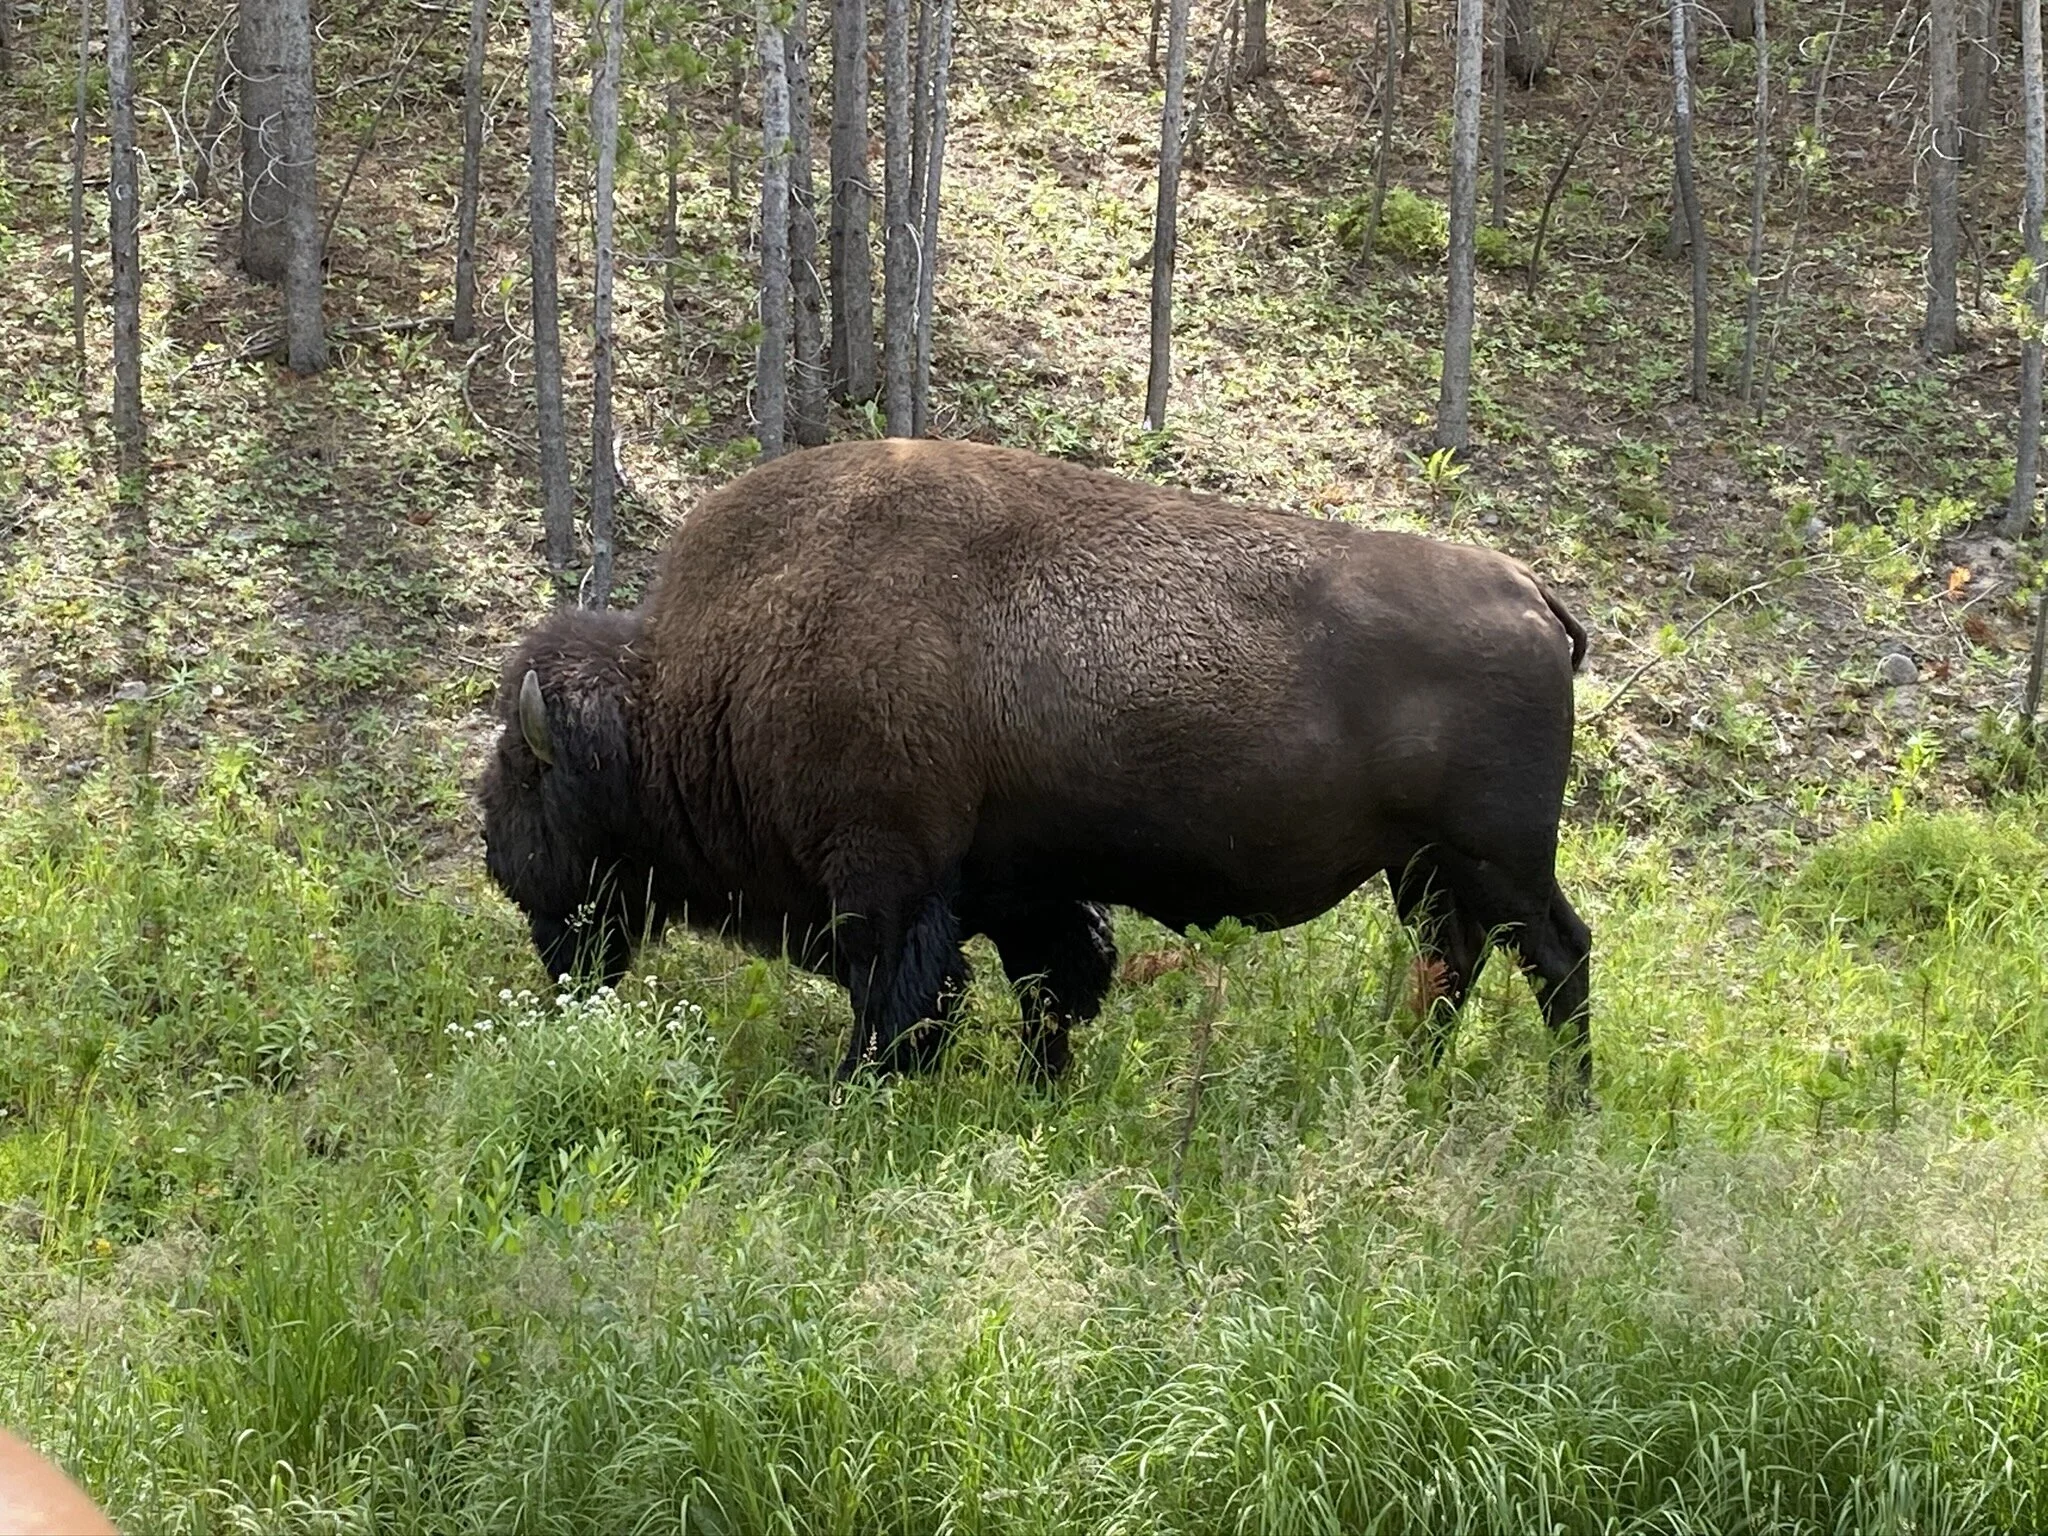
After a scenic lunch along the Yellowstone River near Oxbow picnic area, we went to the Mud Volcano. The Mud Volcano is surrounded by a few other geysers and you can see them all by hiking on a half mile plank trail. Sections are steep so be prepared! The geysers here definitely have some of the coolest names including Dragon’s Mouth Spring, Grizzly Fumarole and Churning Caldron! On our way back to our campsite we saw so many bison!! We couldn’t help ourselves from pulling over at every opportunity!
TRAVEL TIP: At each area in Yellowstone they were have self-service boxes where you can buy the map of the area for $1. We highly recommend these because along with the map you are provided with history and information as well as a cool keepsake! If you don’t have $1 you can borrow it and return it after use.
The view of Lower Falls from Red Rock Point
Waiting for a break in the crowds to take our photo at Artist’s Point!
We always love all the info on signs! Always worth the read
Facing straight down at Brink of the Upper Falls
The view of Yellowstone River from Grand View
A bubbly mud volcano!
SO
MANY
BISON!!!!
Day 6: yellowstone lake
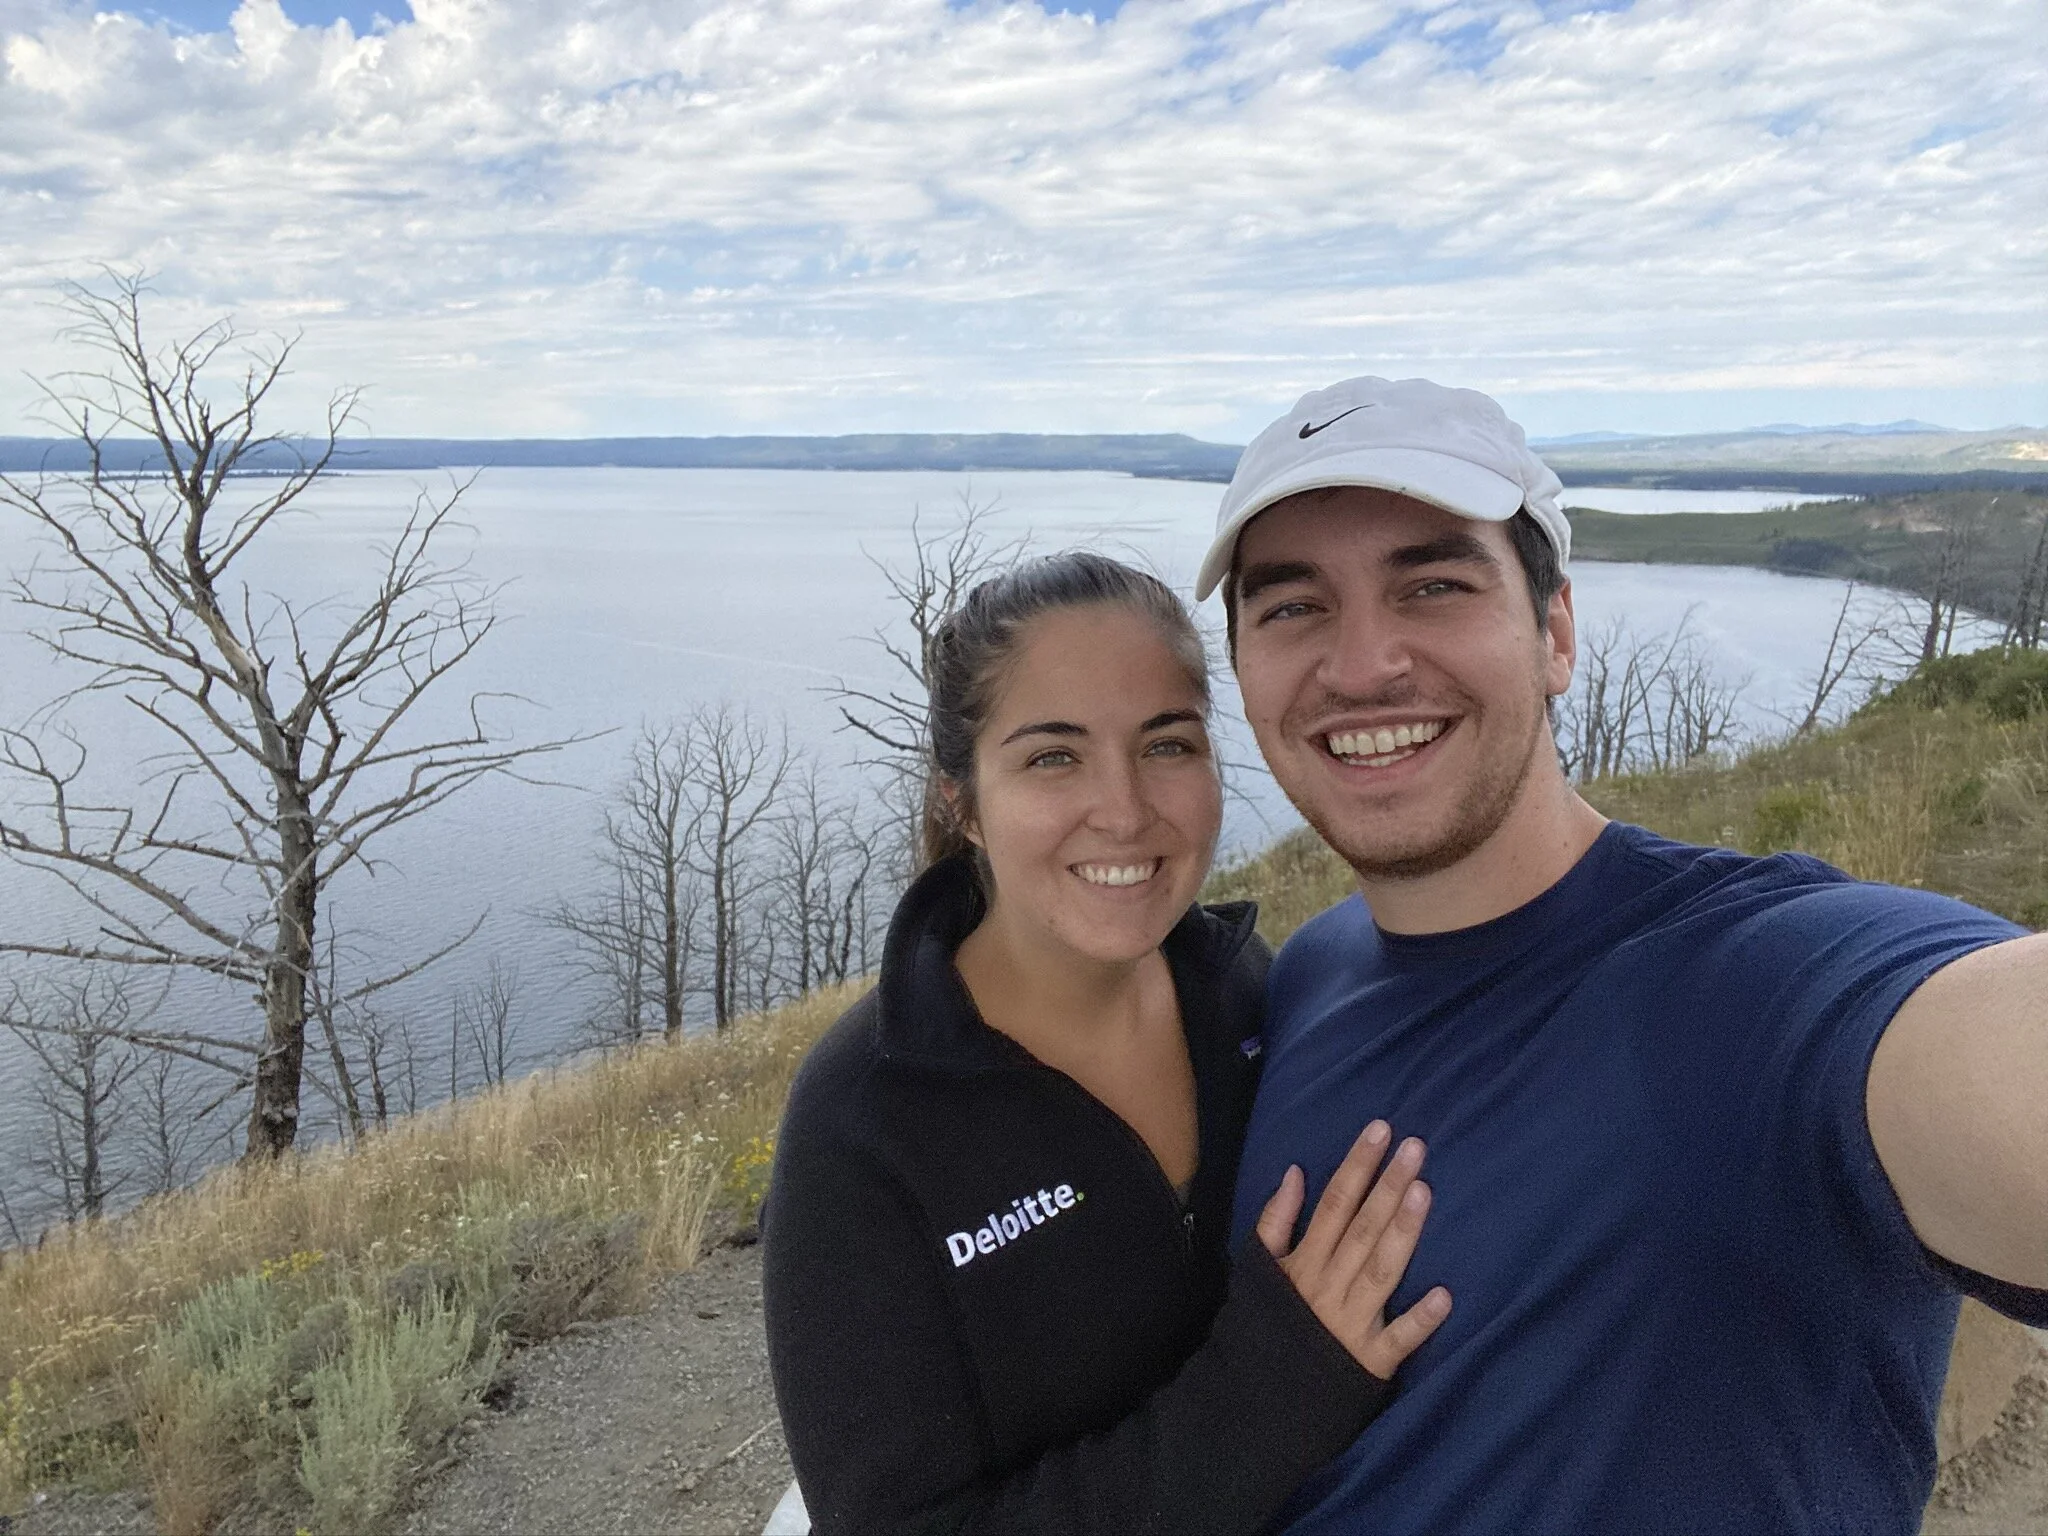
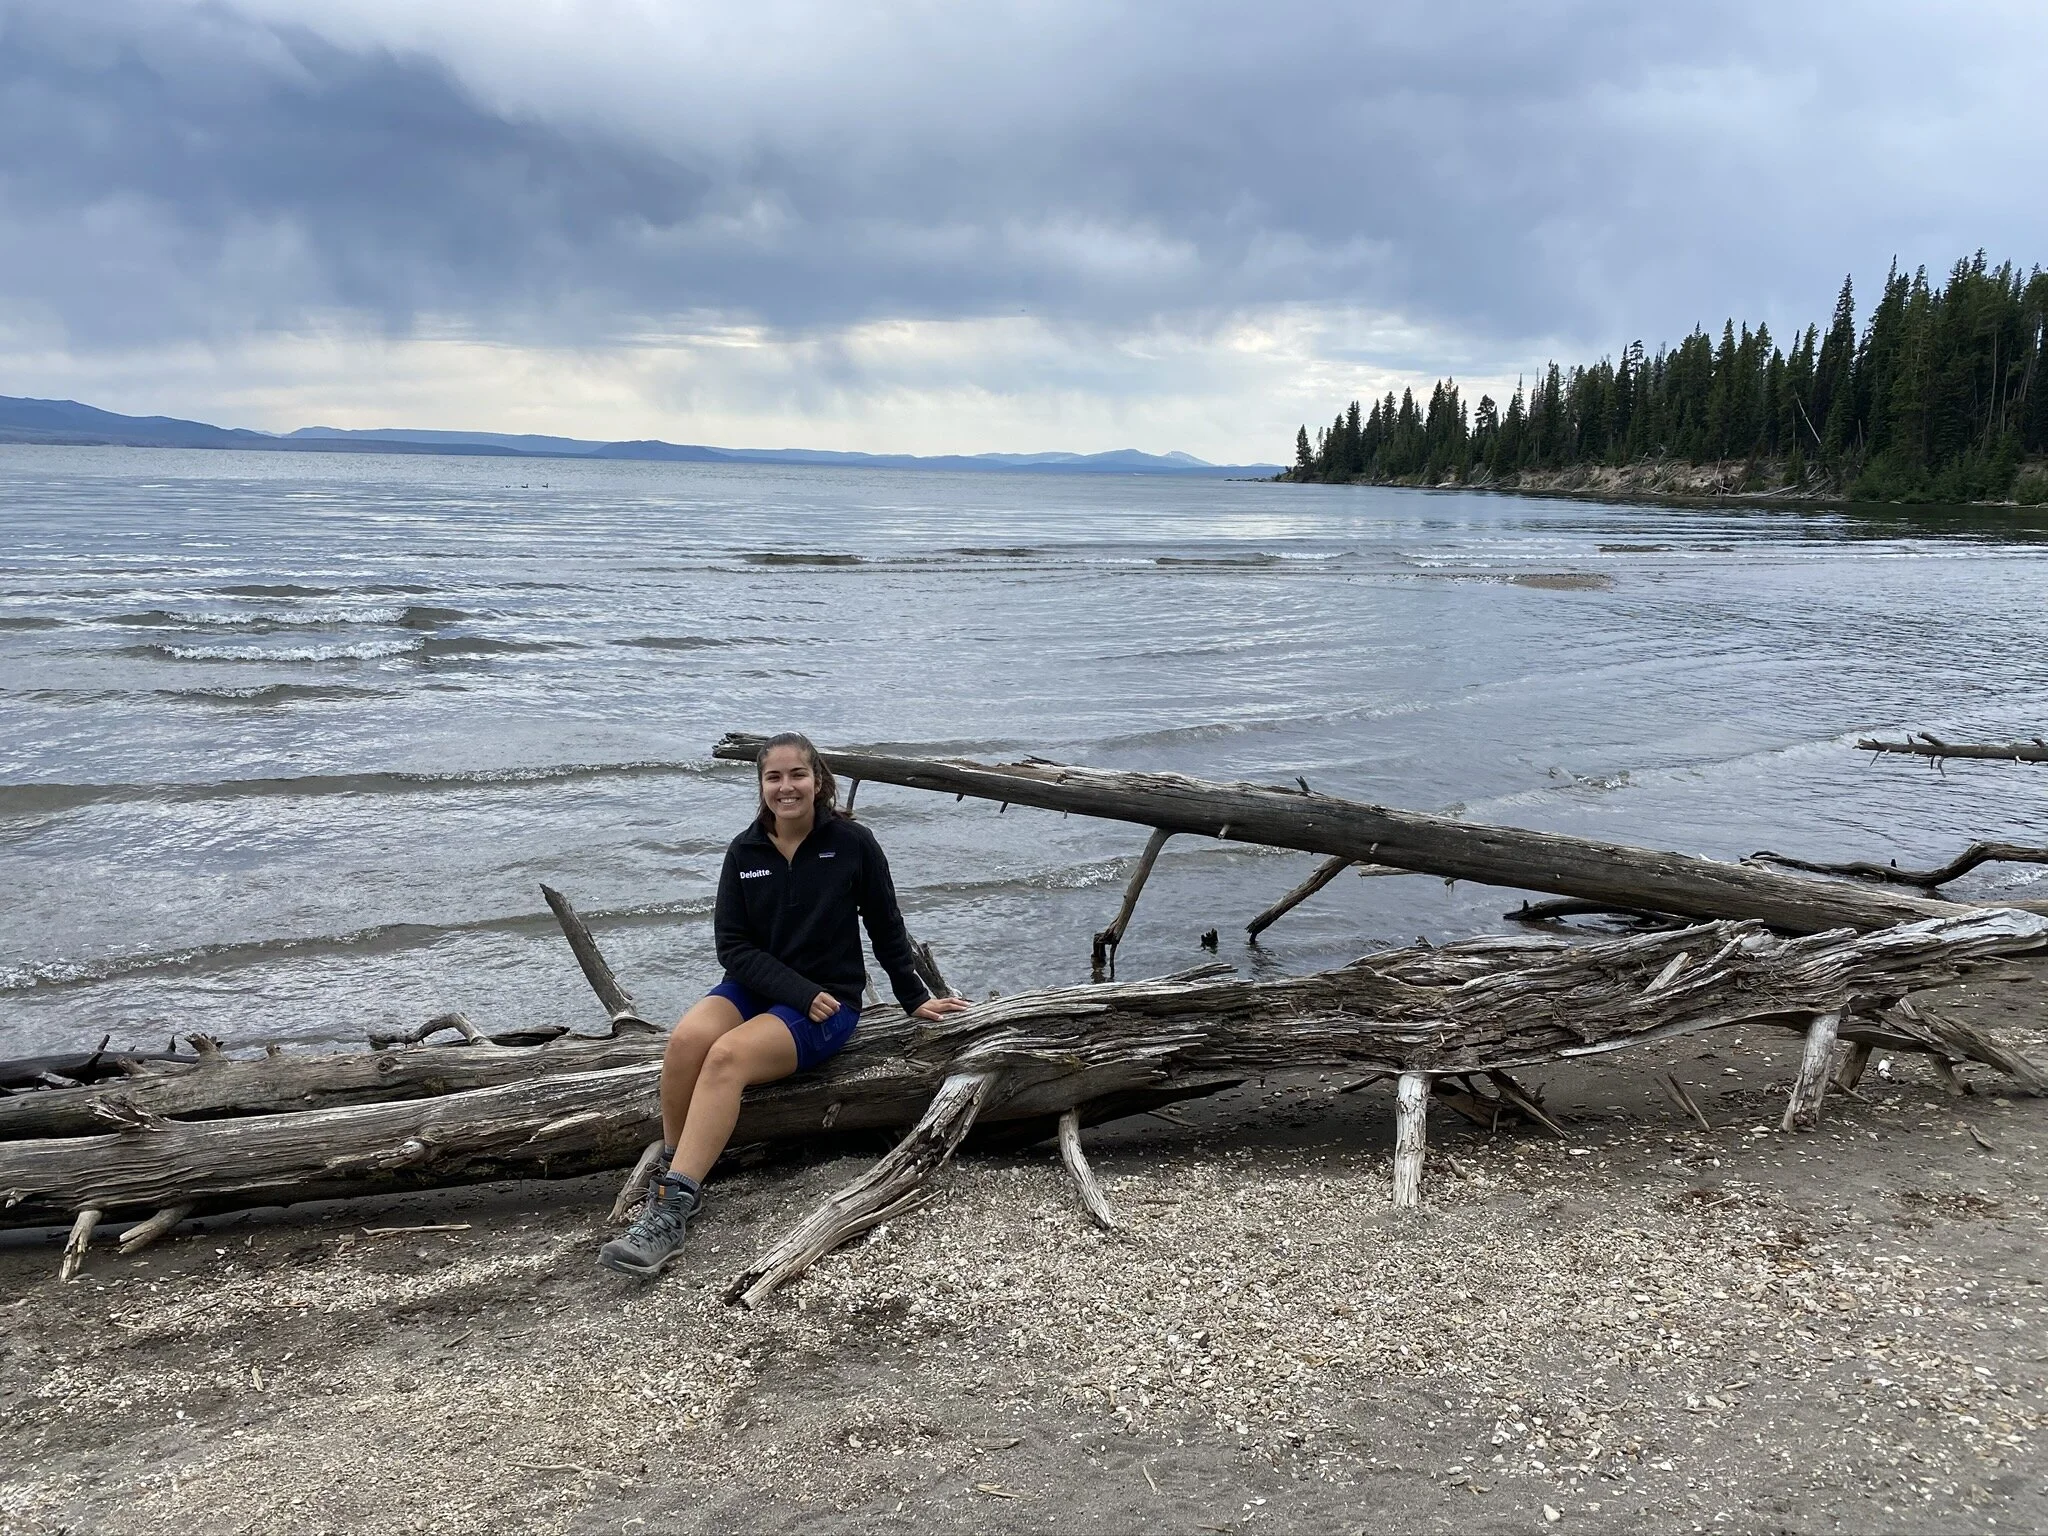
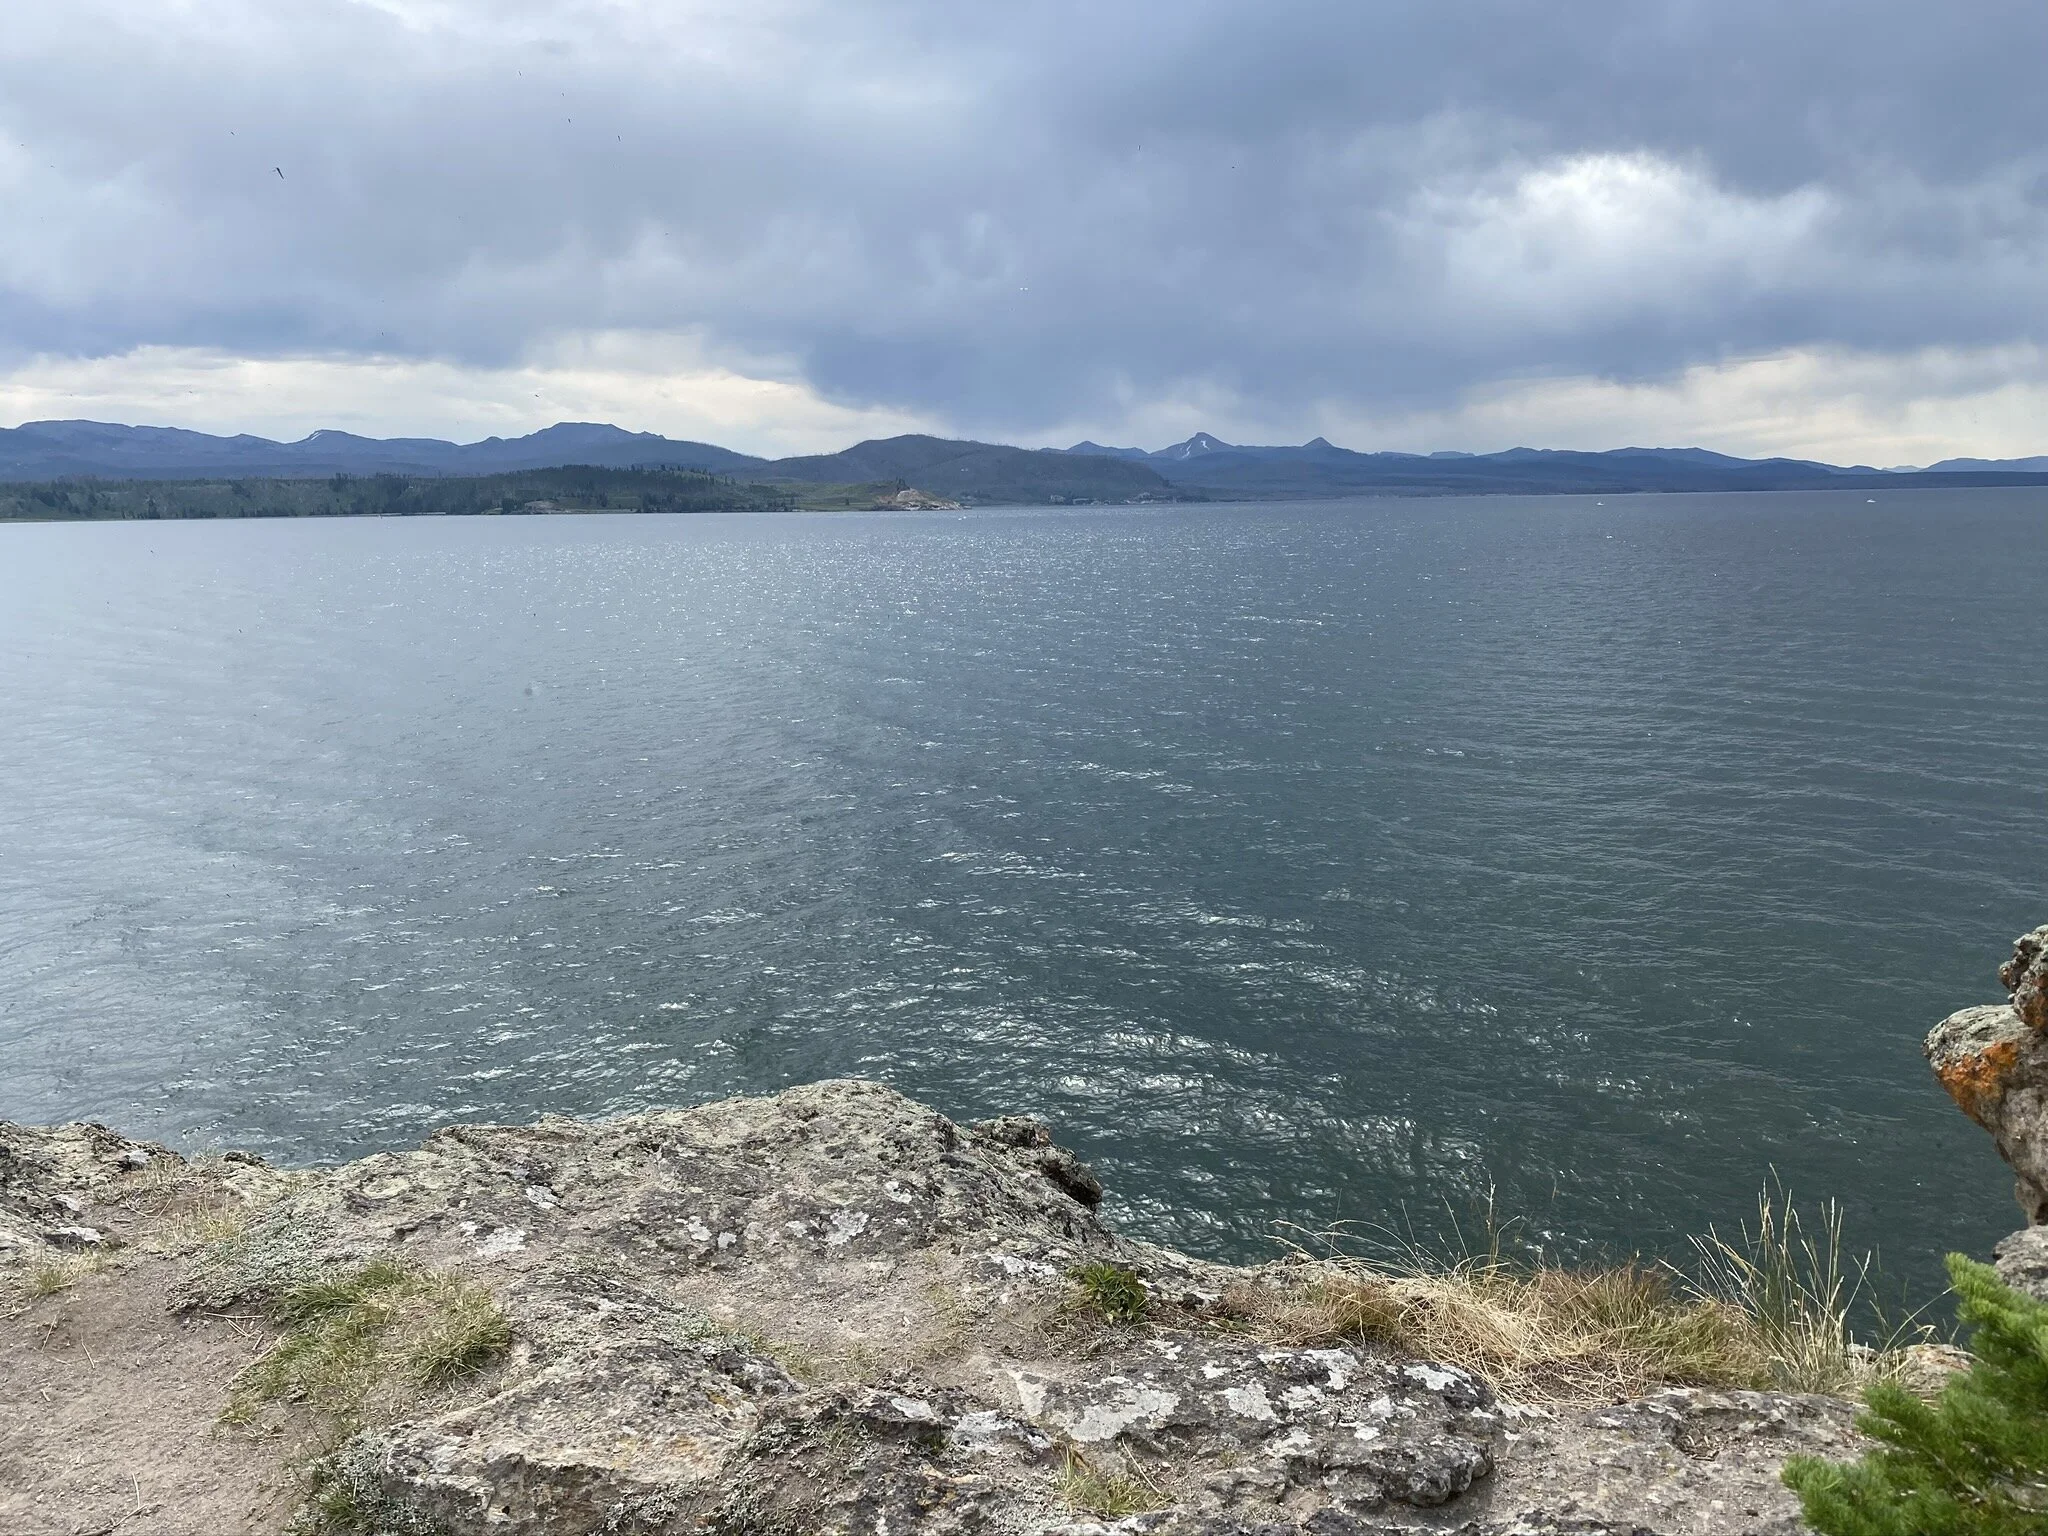
Today we drove from the Canyon area of Yellowstone to the Bridge Bay area. We stopped at Fishing Bridge which is ironically named since it is now illegal to fish there. The bridge is beautifully constructed and has built in sidewalks and benches carved out so you can look out to Yellowstone River on one side and Yellowstone Lake on the other side. Next, we hiked the Storm Point Trail. This trail is mapped as a loop trail, but we did it as an in-and-out along the shore because the other half of the loop was very overgrown. This 2 mile round trip trail gives you a mix of beach vibes and forest vibes as you make your way to a rocky viewpoint of Yellowstone Lake. At Storm Point itself the shoreline was cliffy and the bugs were absolutely insane! But about halfway along the trail there is a nice beach with logs to sit on where we chose to hangout. Nearby we took a quick drive up to the Lake Butte Overlook. This was an interesting viewpoint because the weather was looking quite stormy over the lake and the trees were very sparse due to wildfires.
After the storms passed it got HOT like it did everyday on this trip. We heard that there was a great swimming spot at Lake Village so we made our way over there! When you first arrive, it looks like there is no way to access the lake because the cliffs are so tall. But if you keep driving all the way past the general store and the hotel, the road drops down and levels out with the water and there is a small beach area! Swimming in Yellowstone Lake generally isn’t advised because it is cold, but we are used to swimming in New England so we thought it was fine! And the fact that we hadn’t showered in 5 days was definitely a motivator as well. After swimming we enjoyed a nice lunch at some nearby picnic tables.
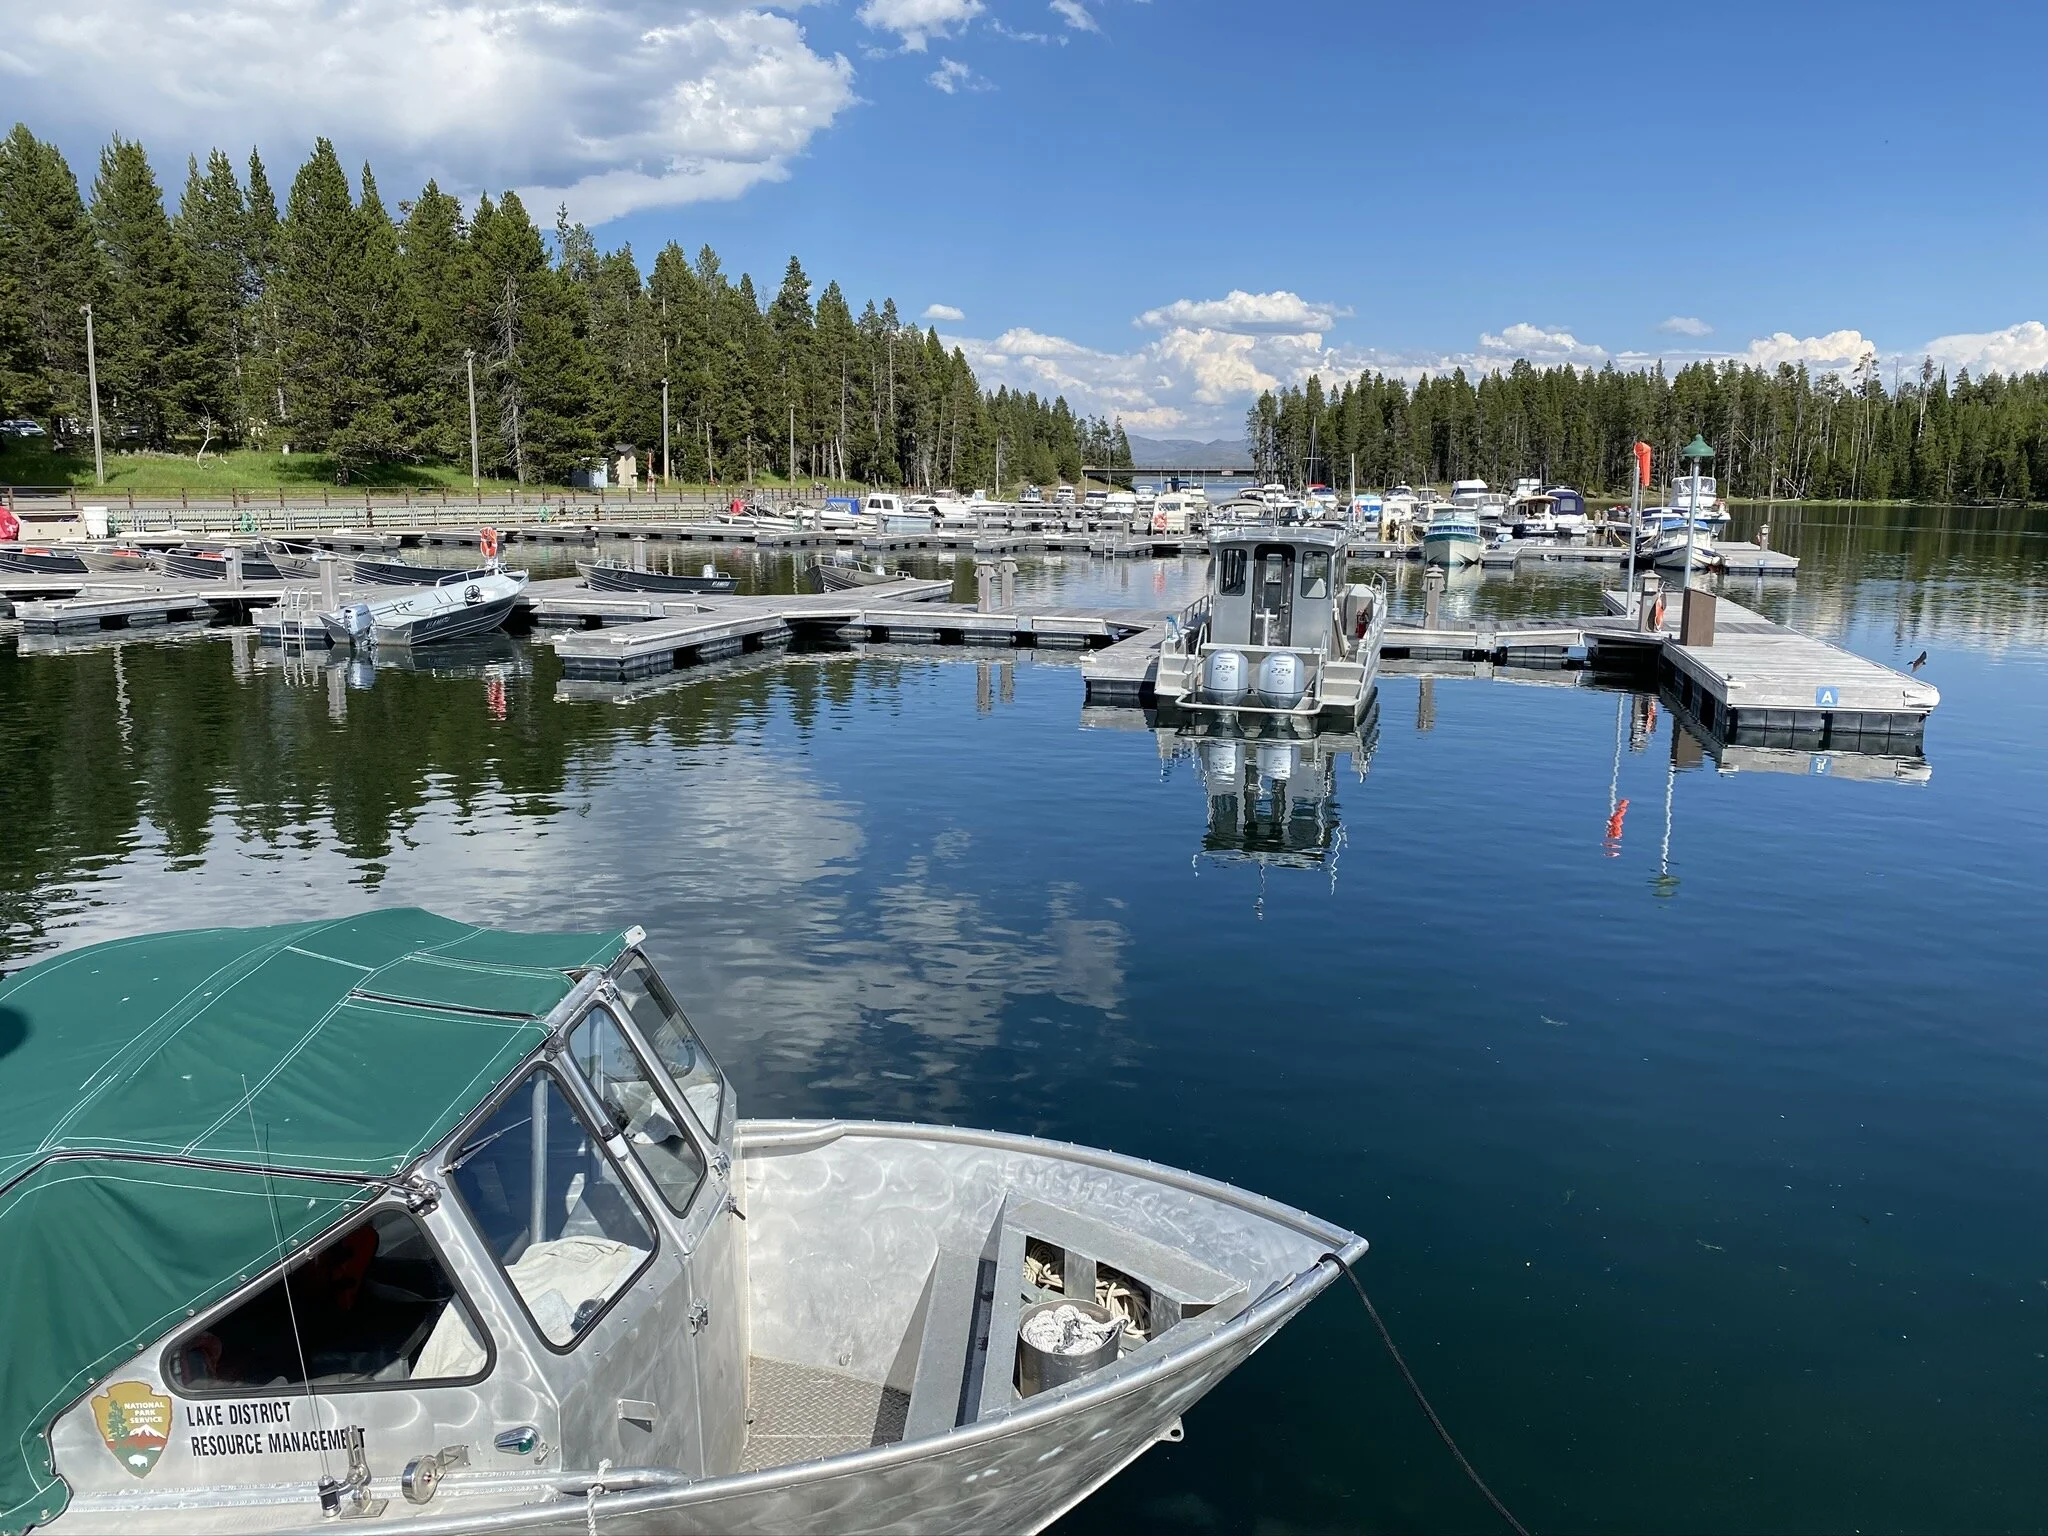
In the afternoon we checked into our campsite at Bridge Bay Campground. There is a small marina there where boat rentals are available and a small general store where of course we had to buy some huckleberry ice cream! While we were checking in, the ranger told us that Elk and Bison like to hangout near our campsite since it was on the outskirts. He was right! While we were cleaning up after dinner an elk walked right into our campsite, over to our neighbor’s site, and eventually made his way across the street! It was so surreal being able to see wildlife so close! Definitely a good reminder to make sure we are storing all of our food and items properly.
TRAVEL TIP: Want to rent a boat to take out on Yellowstone Lake? Bridge Bay Marina rents out small motor boats for $60. However, there are no manual boats such as canoes, kayaks, or rowboats because the wind is too strong on the lake.
Early morning views at Fishing Bridge
A windy lookout at Lake Butte Overlook
A nice beach along the Storm Point Trail
Lots of boats docked at Bridge Bay Marina
The view from Storm Point!
The elk that went right through our campsite!
Day 7: Geyser Day
This geyser day will definitely satisfy your geyser craving for a lifetime! During this day we explored 3 different main geyser areas: West Thumb Geyser Basin, Upper Geyser Basin (includes Old Faithful), and Midway Geyser Basin (includes Grand Prismatic). These were all pretty close to each other and allowed us to see literally every type of geyser that Yellowstone has to offer.
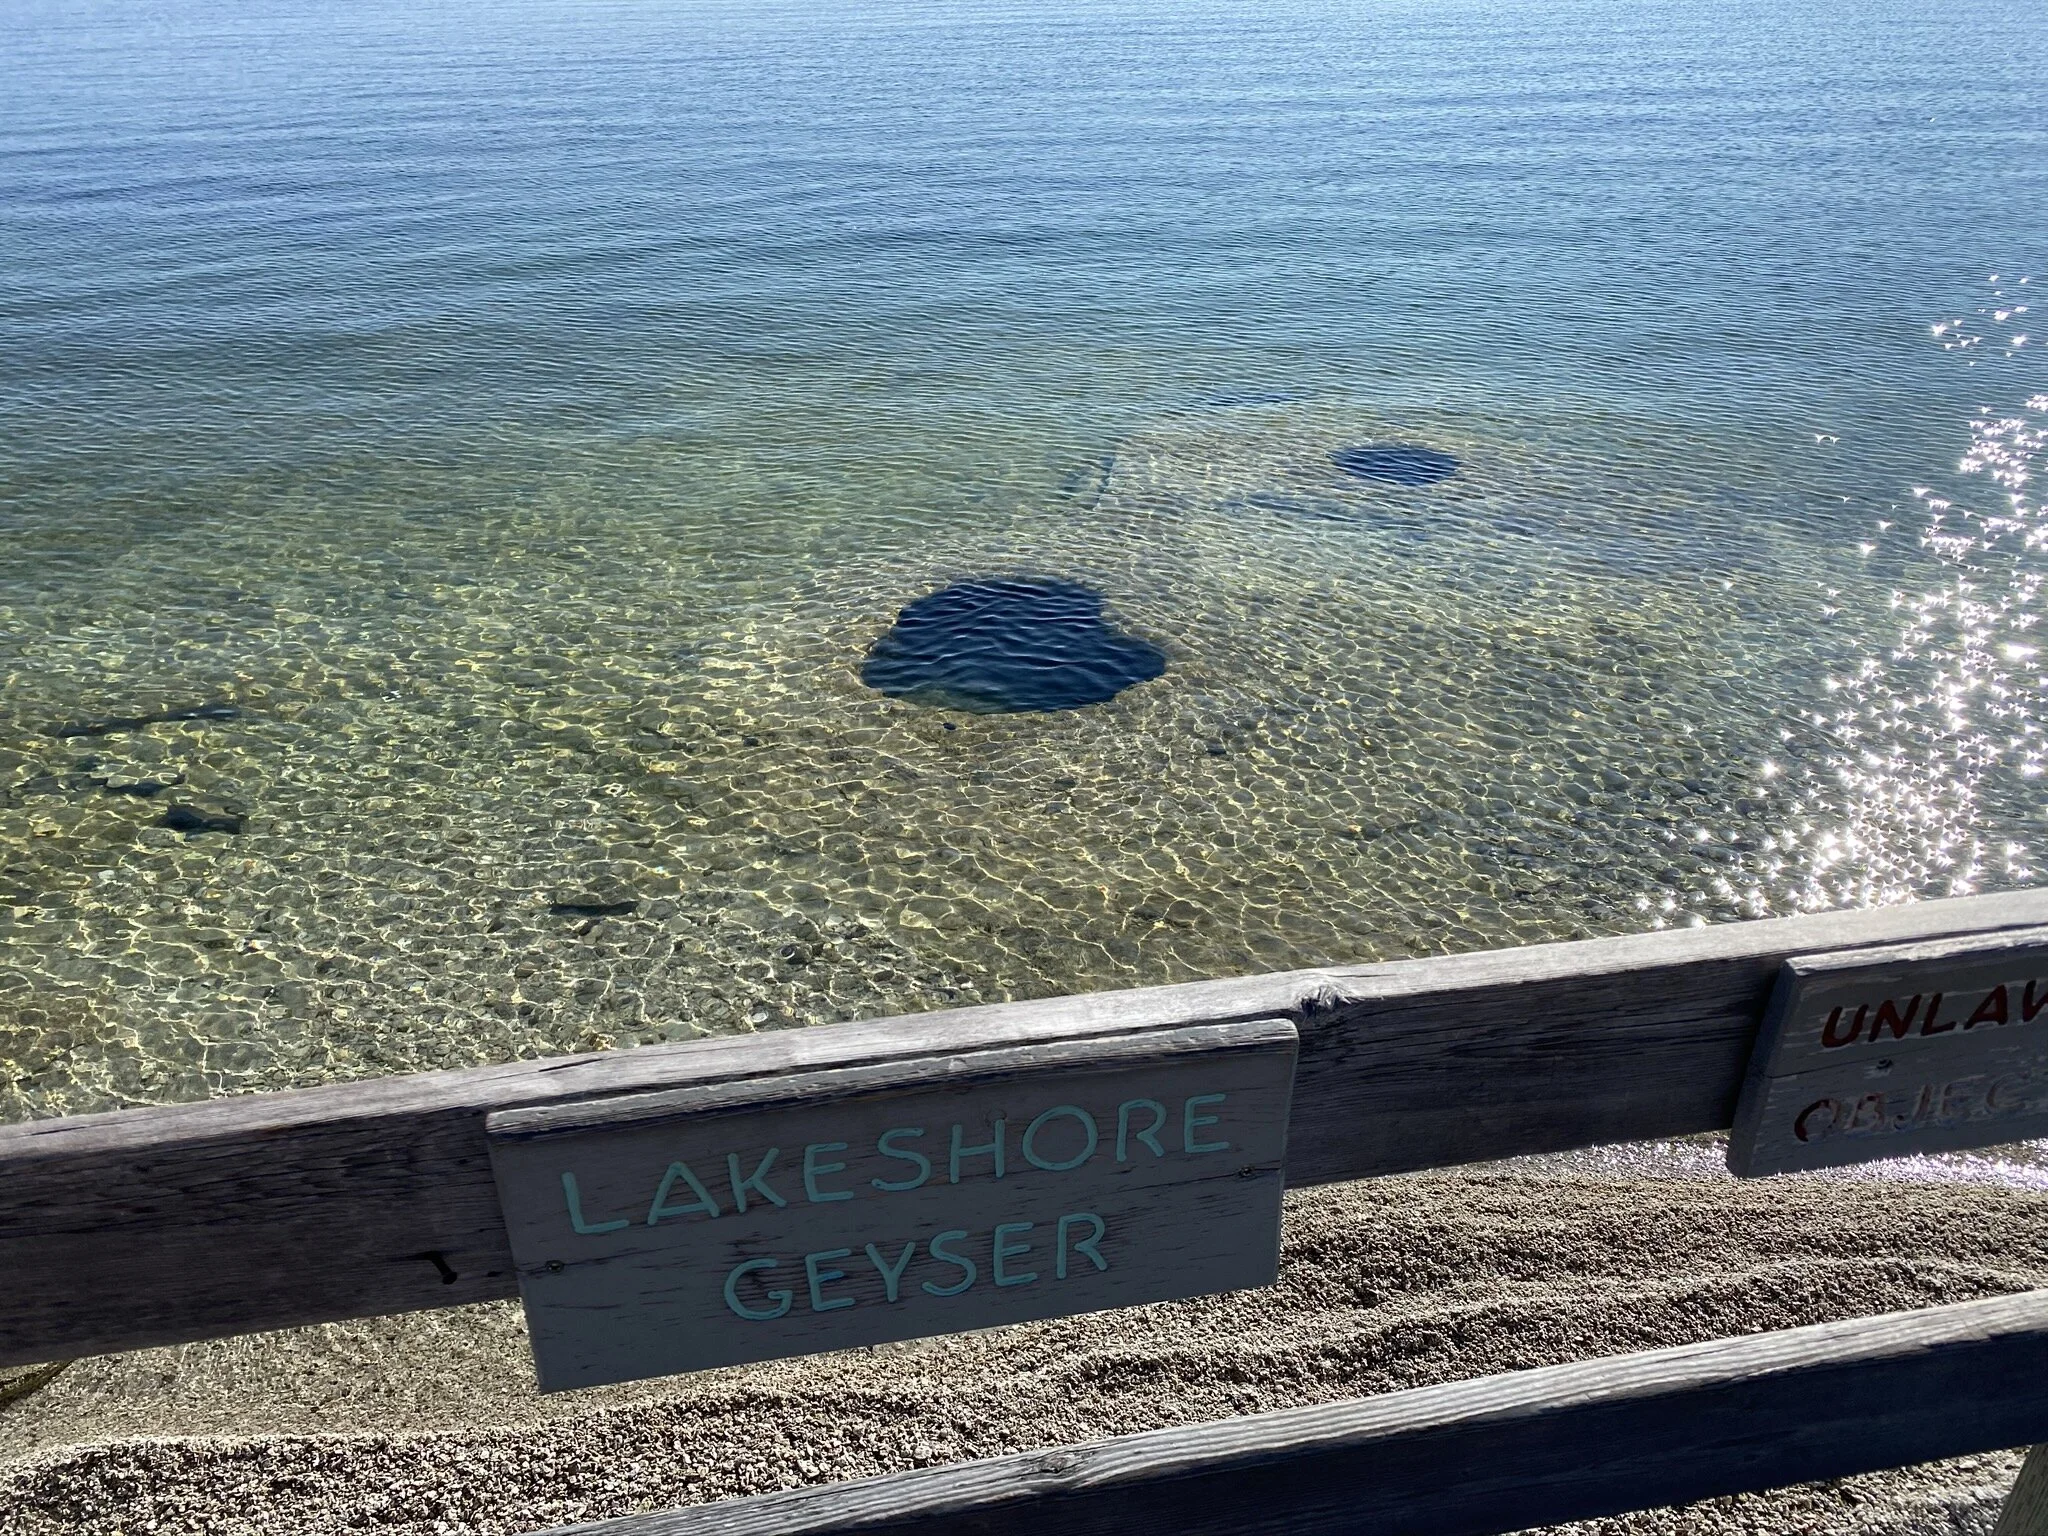
WEST THUMB GEYSER BASIN: This was our first stop of the day and the coolest part about it is that it is right on the coast of Yellowstone Lake. One of the most famous geysers is Fishing Cone. This cone-shaped geyser pokes out of the water and fishermen used to catch a fish and then cook it by placing it into the boiling geyser without ever taking it off the hook! Another geyser here that we really enjoyed is Lakeshore Geyser because it is completely submerged in the water. In total, it took us about 1 hour to follow the flat, plank trail to see everything.
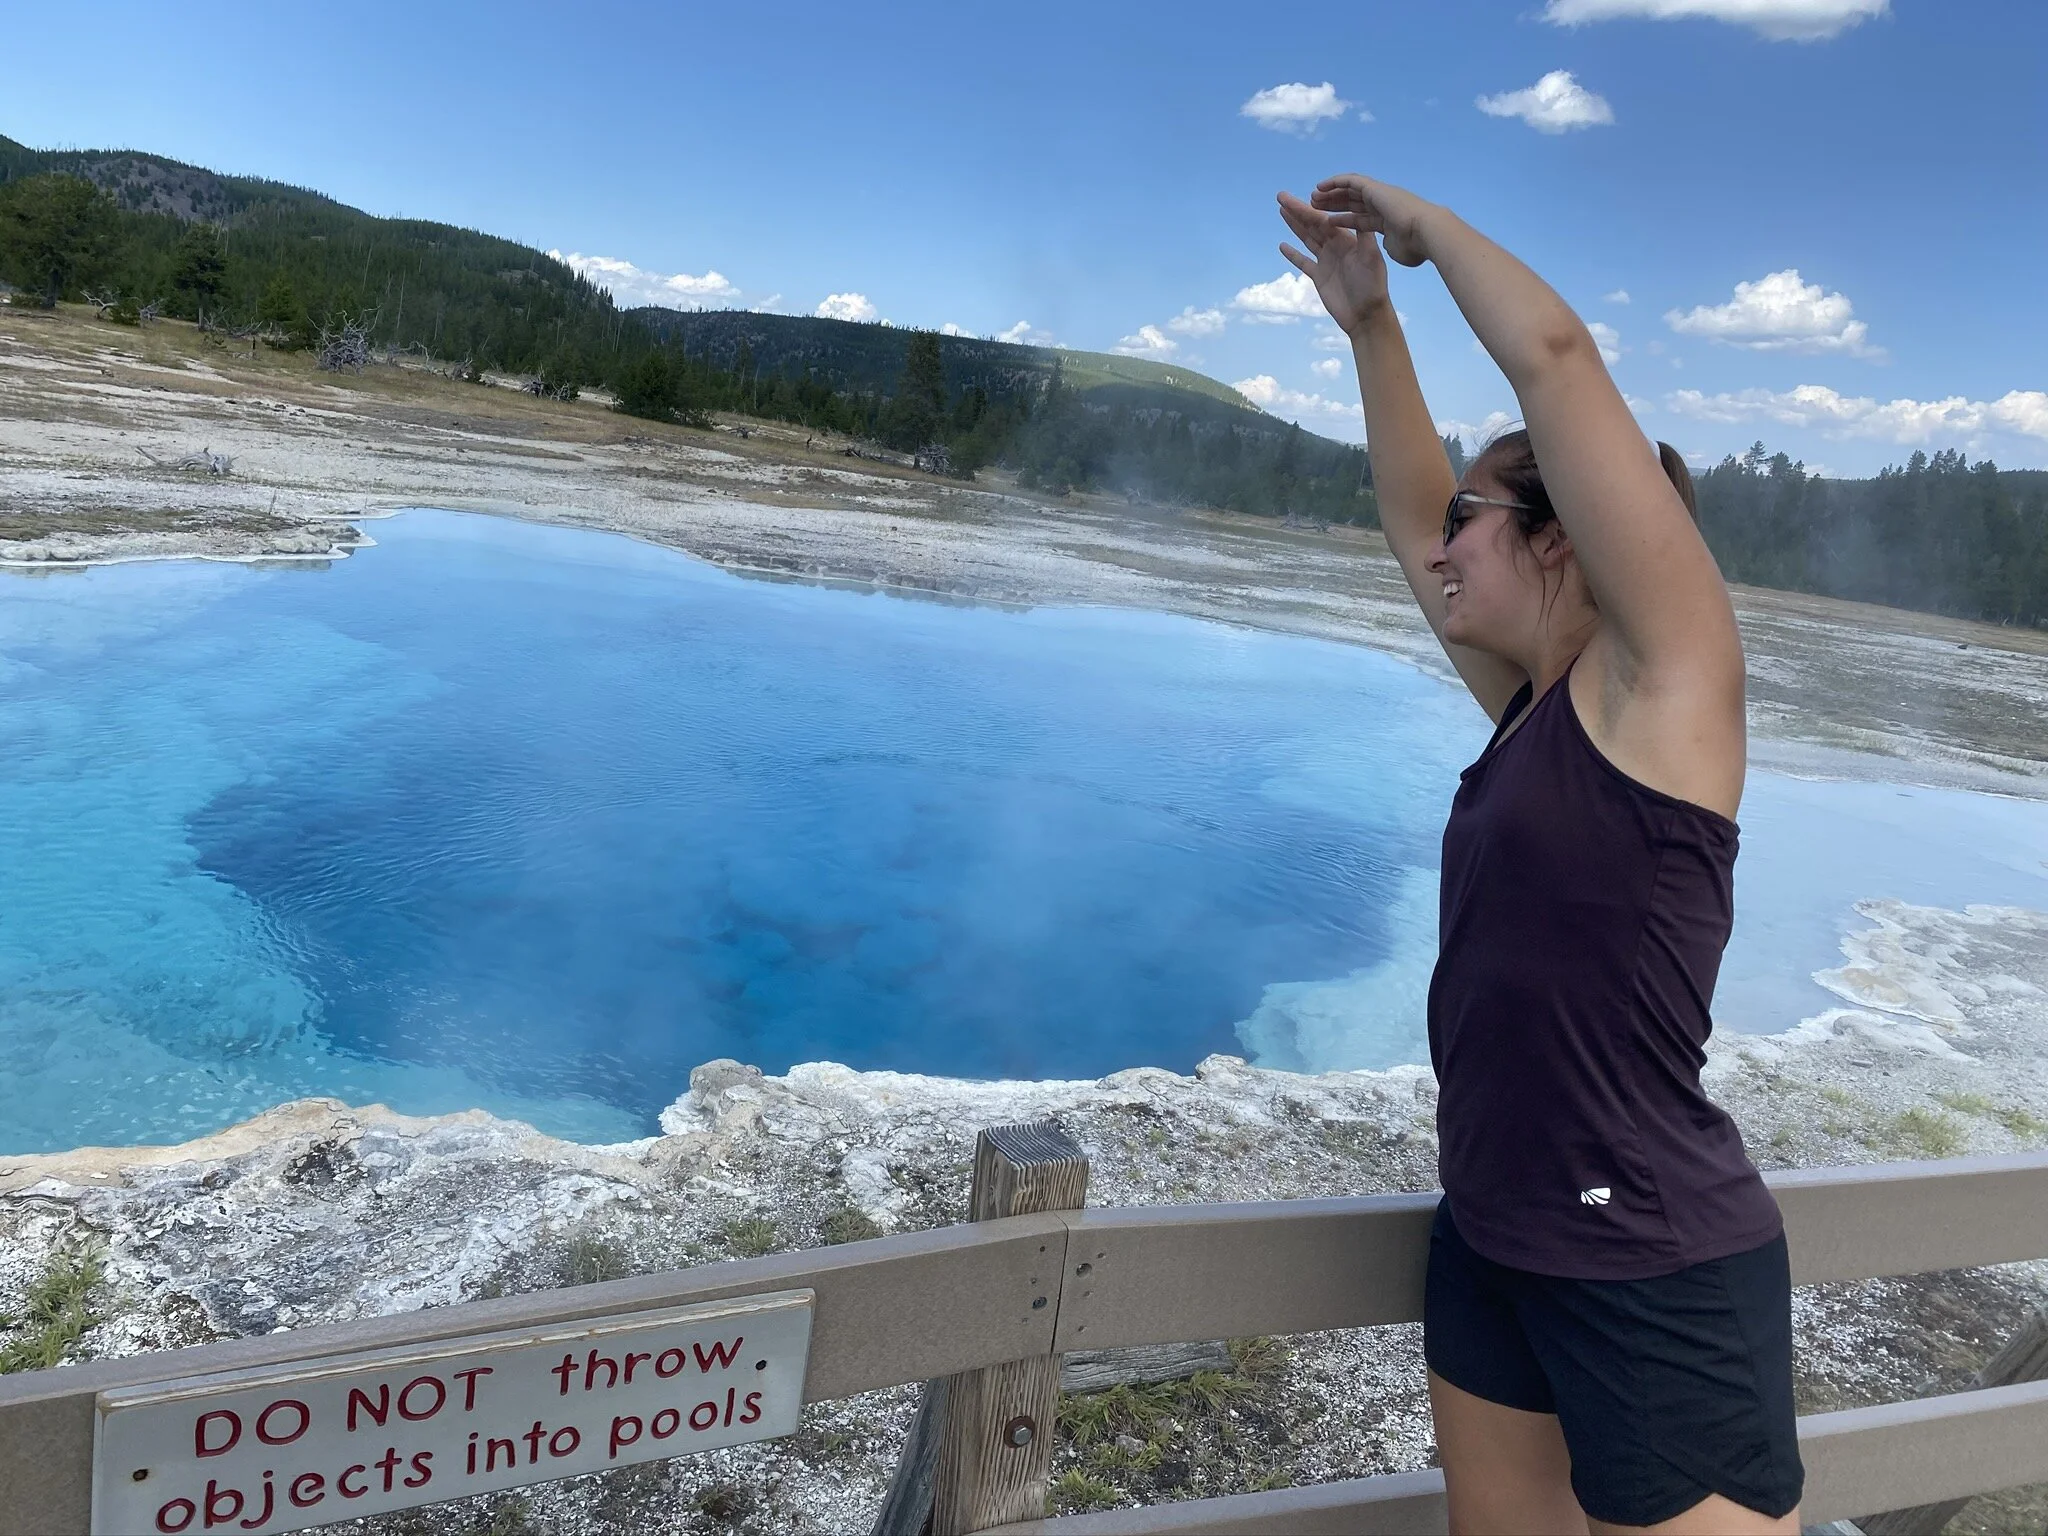
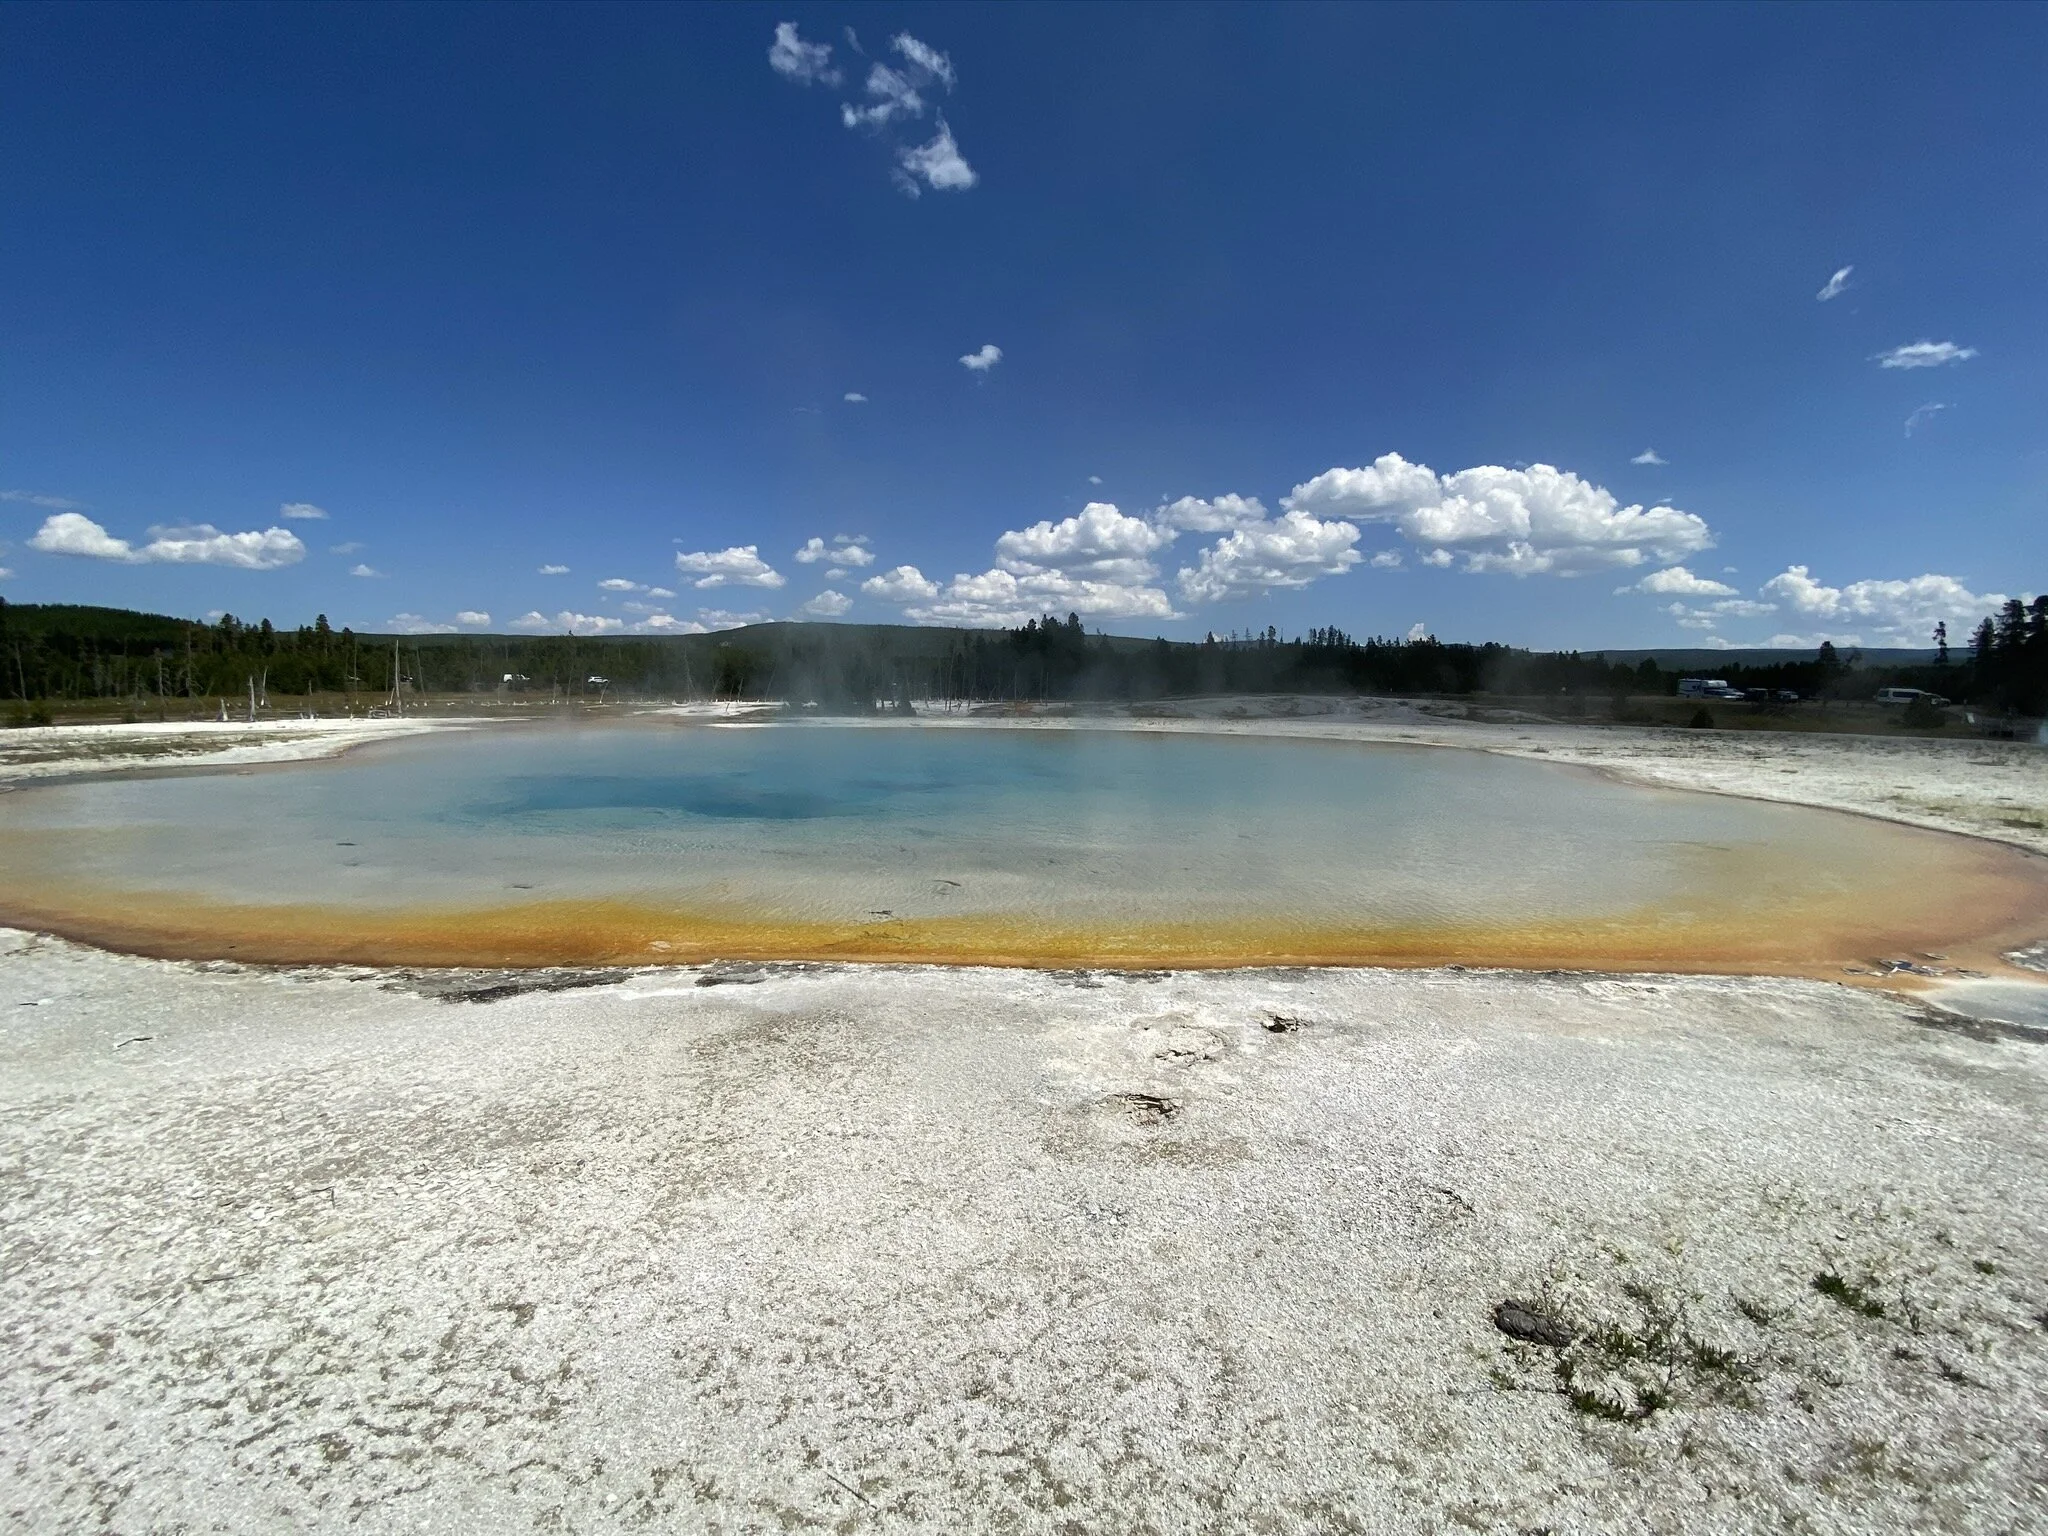
UPPER GEYSER BASIN: The most famous geyser in this area and possibly the world is Old Faithful. It erupts about every 90 minutes and blasts about 100 feet high! When you arrive, head over to the visitor center to find a board posted with the time estimate for Old Faithful as well as some other geysers in the area. It is good to try to secure a spot about 20 minutes before the posted time because the area surrounding old faithful gets incredibly busy and you want a good view! This is a location where you 100% want to buy a $1 map/guide. There are about 30 other geysers in the area and the guidebook will tell you the origins, which ones to hangout near because they erupt often, and some really fascinating info that you wouldn’t otherwise get. A short drive from the Old Faithful area is Black Sand Basin. We were blown away by how blue these geysers were, especially Sunset Lake and Rainbow Pool. Another short drive away is Biscuit Basin which also has some beautiful geysers. Sapphire Pool was definitely one of our favorites of the whole trip! Jewel Geyser erupts every 10 minutes which we only knew from our guidebook. It looks very plain so we wouldn’t have known if we didn’t read about it! It blasted about 15 feet into the air right before our eyes! Neither Black Sand Basin nor Biscuit Basin were crowded due to their proximity to Old Faithful, so if you are looking to escape the crowds this is definitely it! In total, we spent about 3 hours in the Old Faithful area and a half hour each at Black Sand Basin and Biscuit Basin.
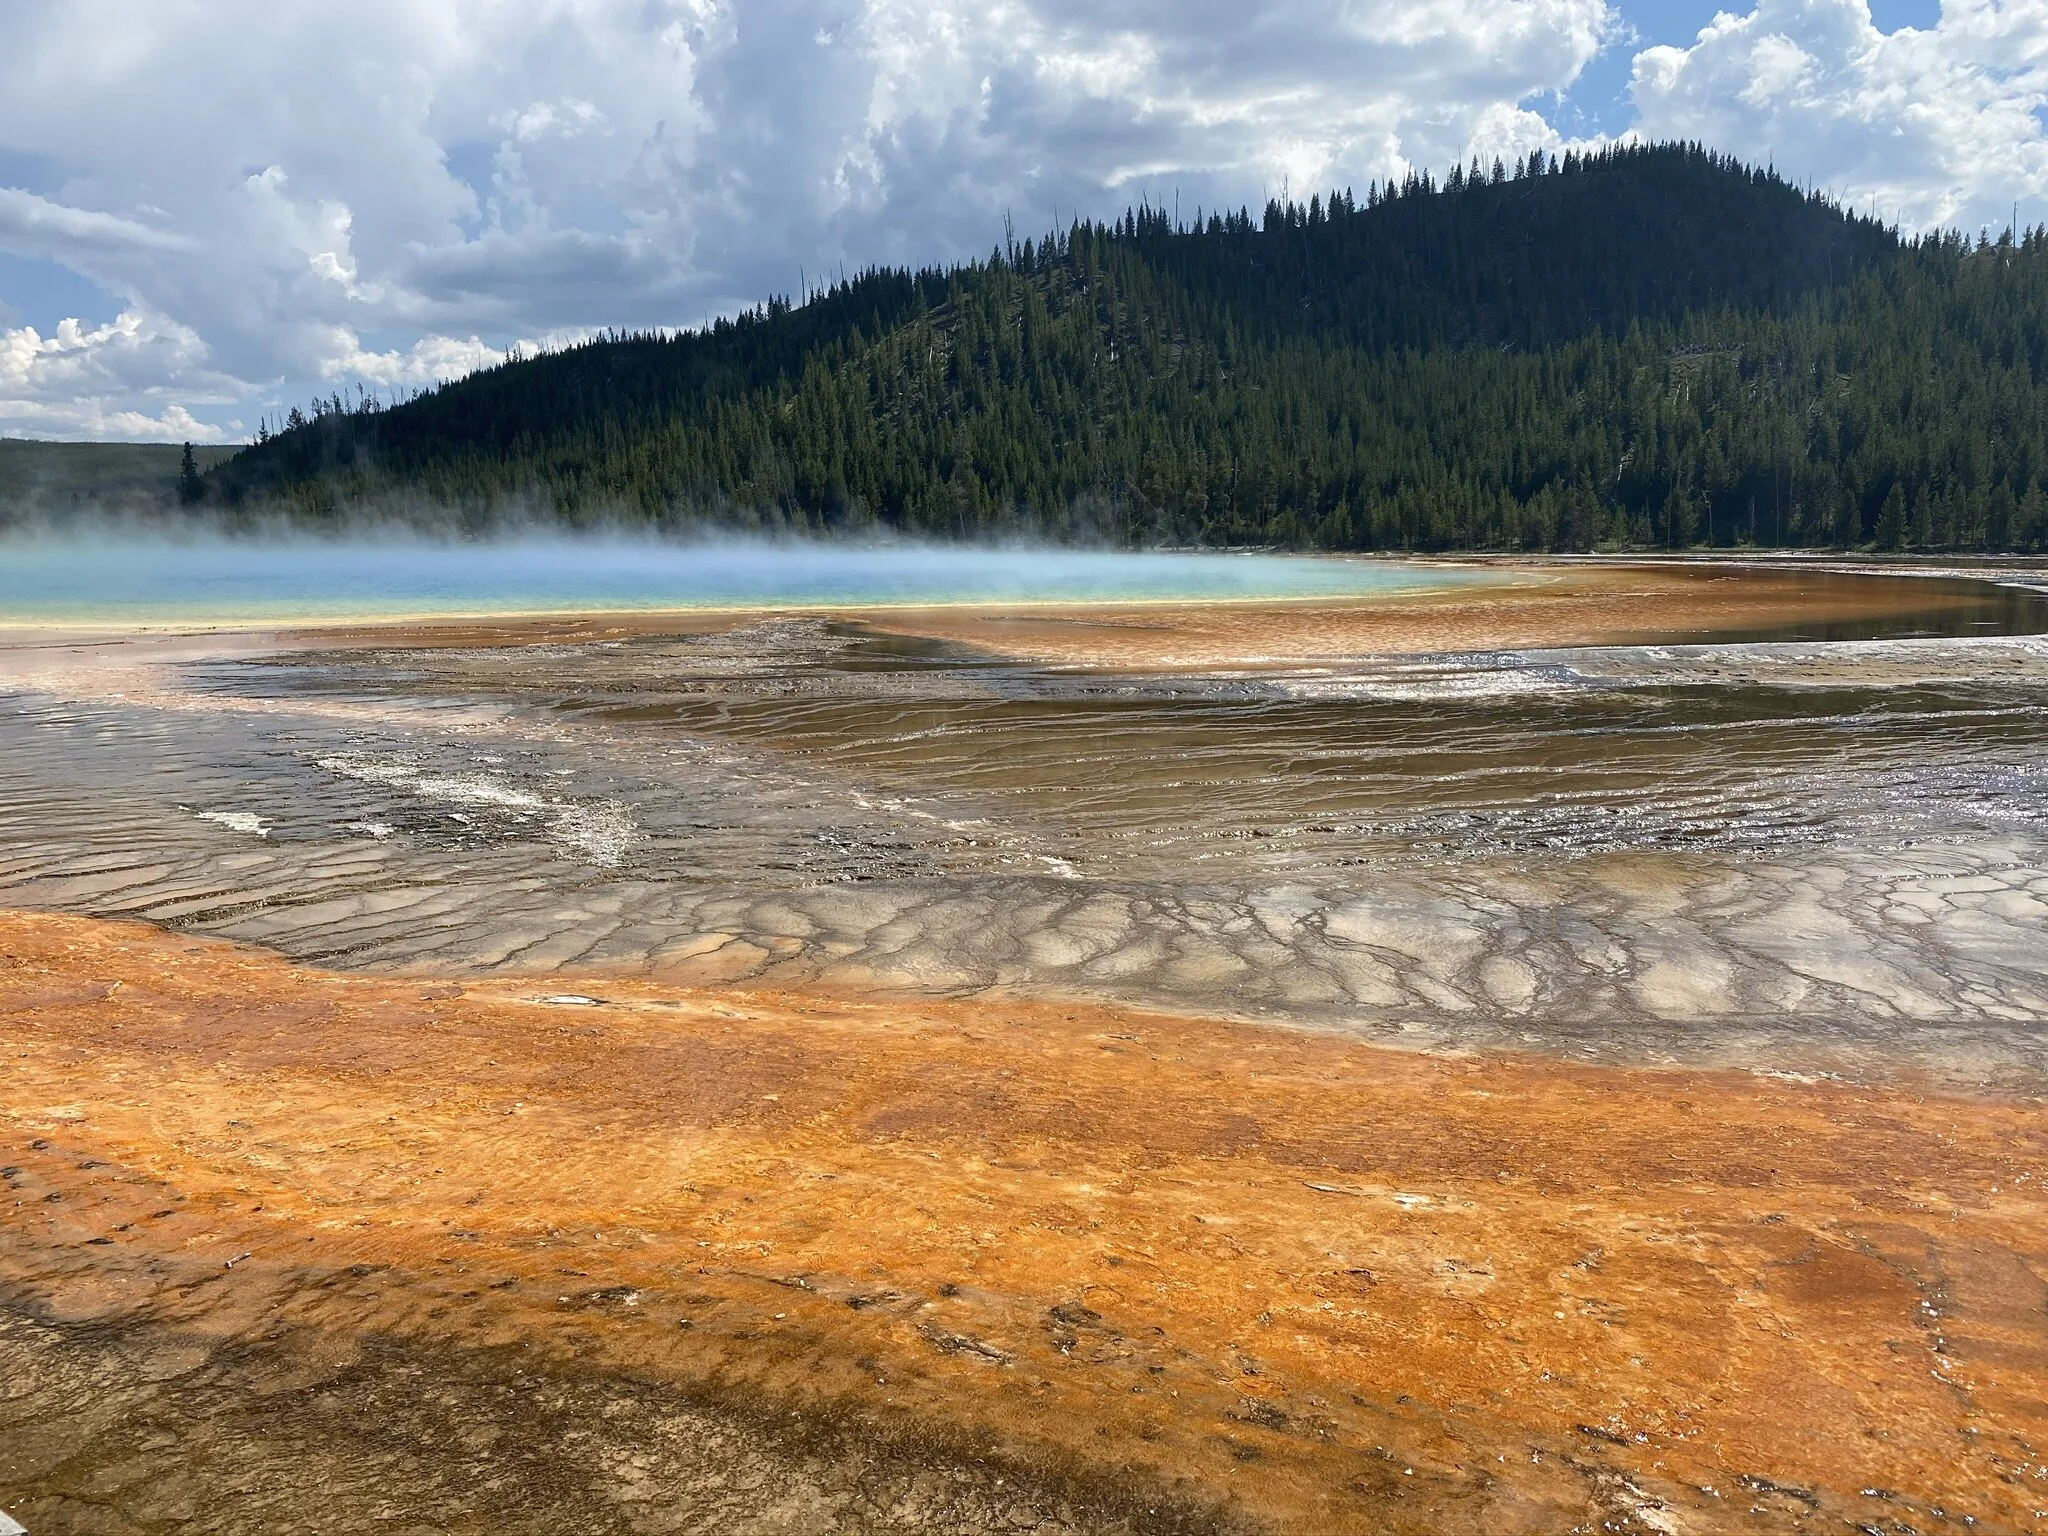
MIDWAY GEYSER BASIN: This is another very popular spot because it is home to Excelsior Geyser and Grand Prismatic Spring. Excelsior is amazing due to its beautiful blue color and its massive size! All of the other beautiful blue pools we saw were small but this one took a while to walk around! Grand Prismatic is the third largest spring in the world at 370 feet wide. The pool is a beautiful blue color, but the wow factor is the land surrounding it which is a vibrant mix of green, yellow and orange. Sometimes the steam rising off of it makes it difficult to see, so wait for a clear shot! In total, we spent about 30 minutes in this area, but that doesn’t include all the time we spent trying to find a parking spot! The parking here is not enough for the demand, so be patient and either try to come here in the morning or park on the side of the road and walk.
OTHER PARTS OF THE DAY: At the end of the day we went to the Fountain Paint Pots. This was the 4th area we went to and we were pretty geysered out by this point. They were pretty underwhelming so this is one to skip if you are feeling tired. Once we got close to Madison Campground (where we spent the night) we went for a swim in Fire Hole River which was clean and fun! We had heard that swimming was supposedly closed because of the virus, but plenty of people were doing it so we took a dip (the not showering was kinda catching up to us by this point). We had a nice long campfire and packed our bags for our trip home the next day!
TRAVEL TIP: This is the most crowded part of the whole entire park. If you can, start your day early to avoid the morning crowds. Also, we highly recommend bringing your own lunch into the park because we noticed that the food lines were ridiculously long. You don’t want to spend your whole day waiting in line for an overpriced meal when you can be enjoying the park!
The famous Fishing Cone! Definitely illegal to fish here now!
Wishing we could take a dive into the Sapphire pool!
Lakeshore Geyser, which was actually completely submerged when we visited!
Sunset Lake definitely looks like a sunset!
Old Faithful erupting right on time!
Excelsior Geyser with its grand size, beautiful blue color, and lots of hot steam! Be prepared for large crowds here!
The colors of Grand Prismatic are incredible! It’s like we were on another planet!
Day 8: Mammoth Hot Springs & Heading home
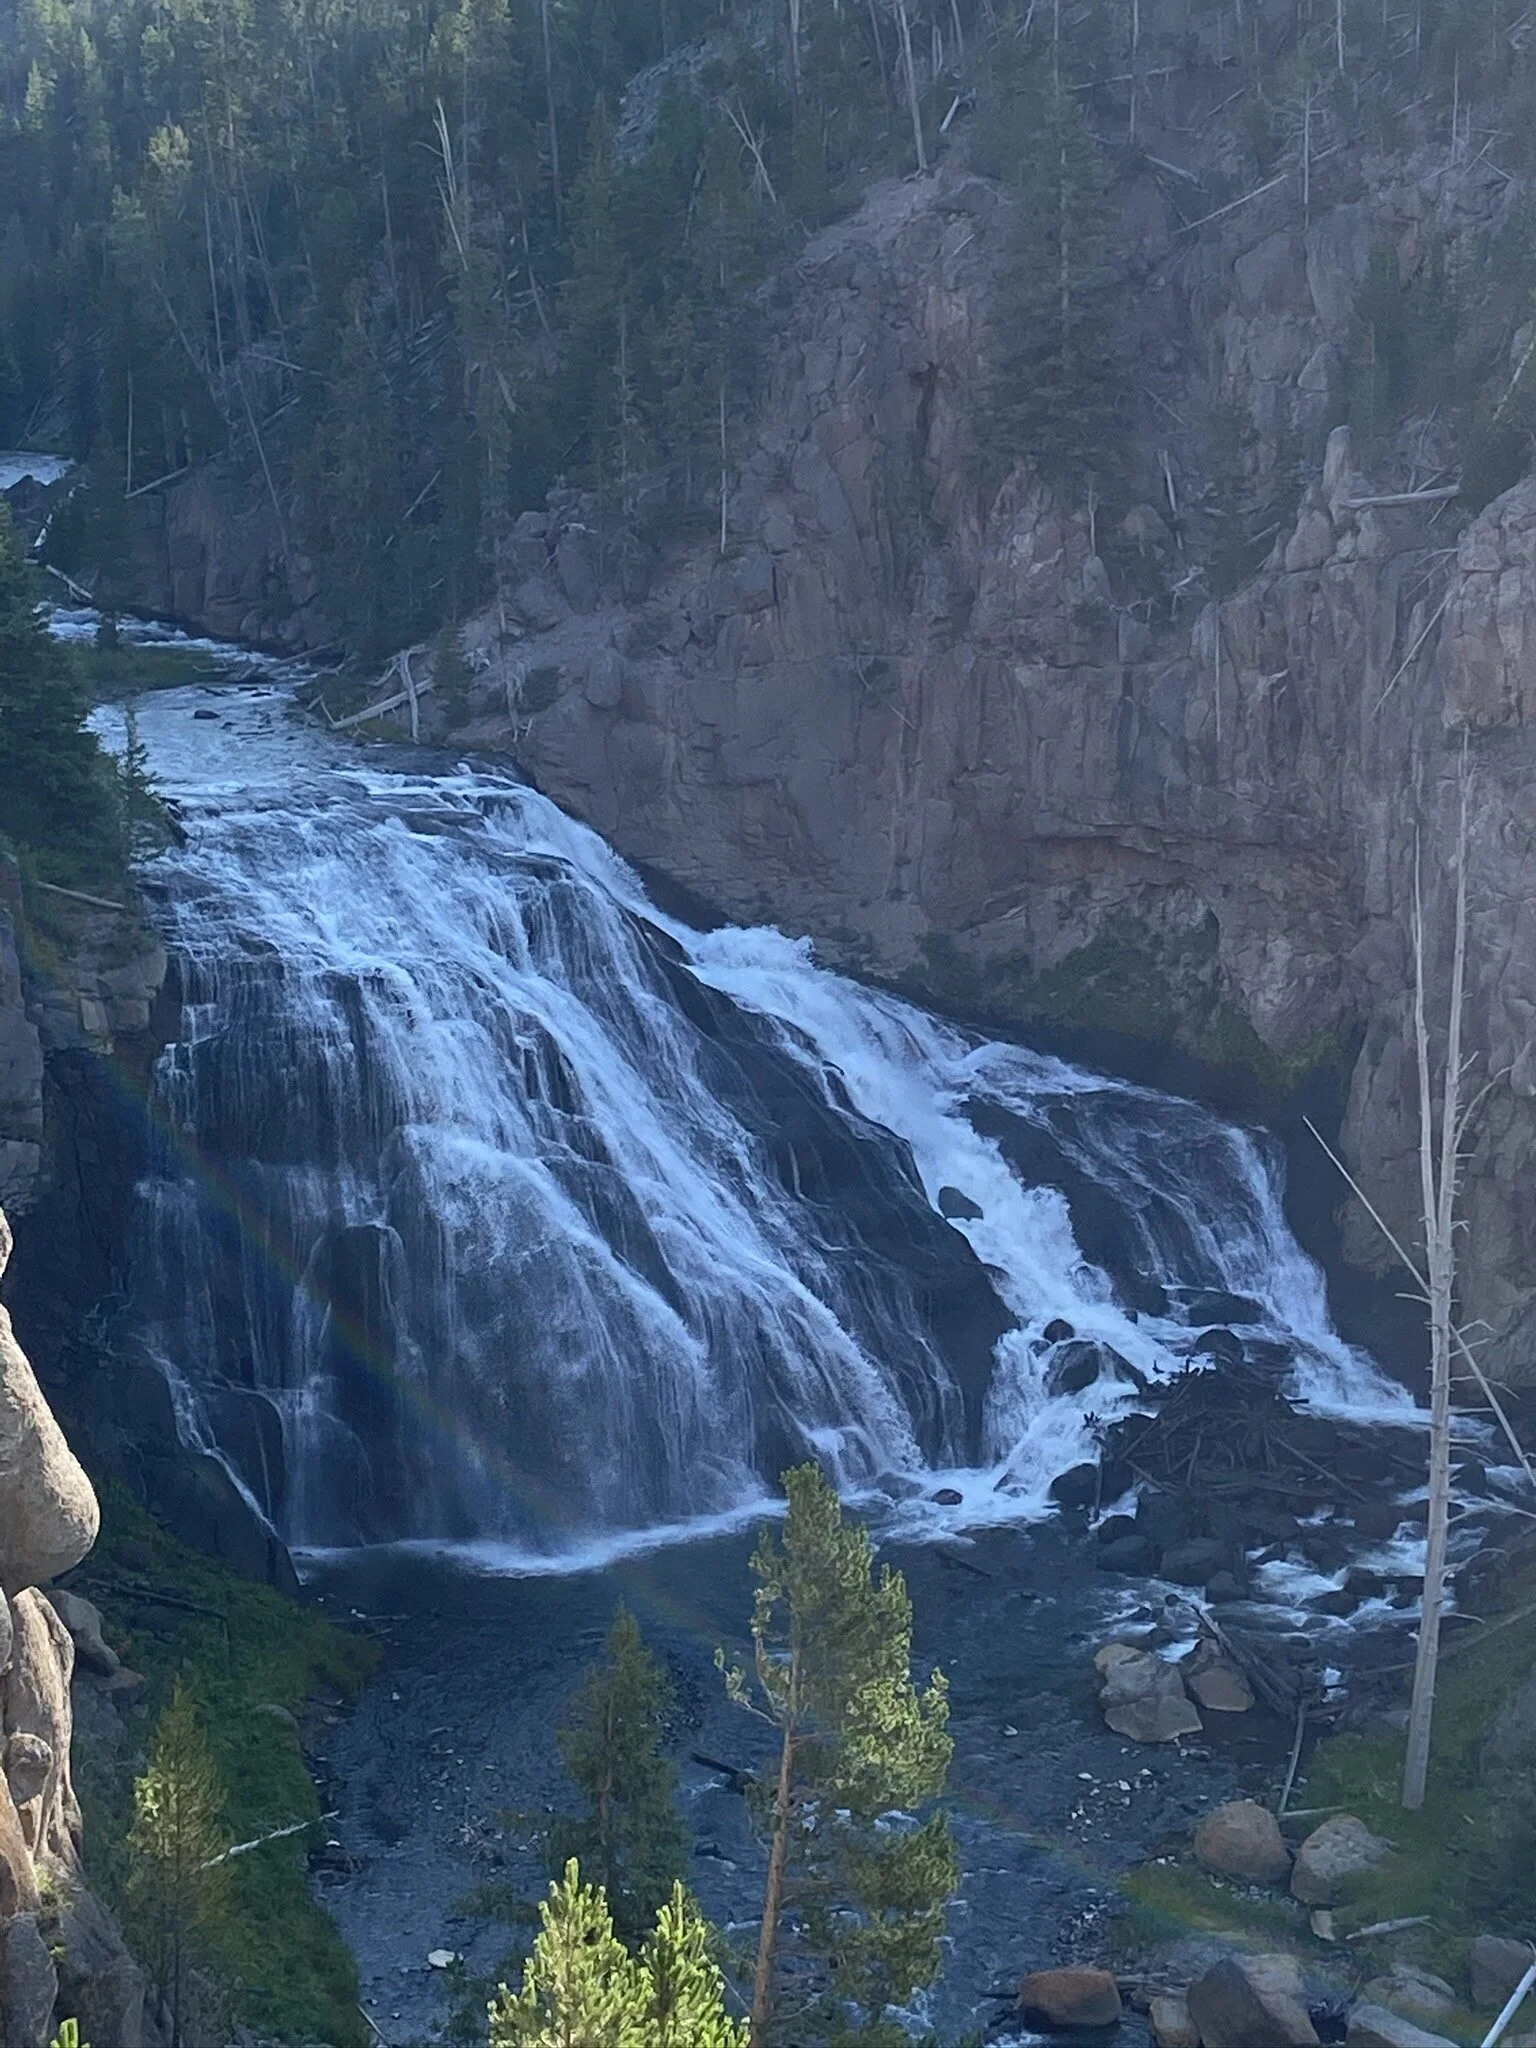
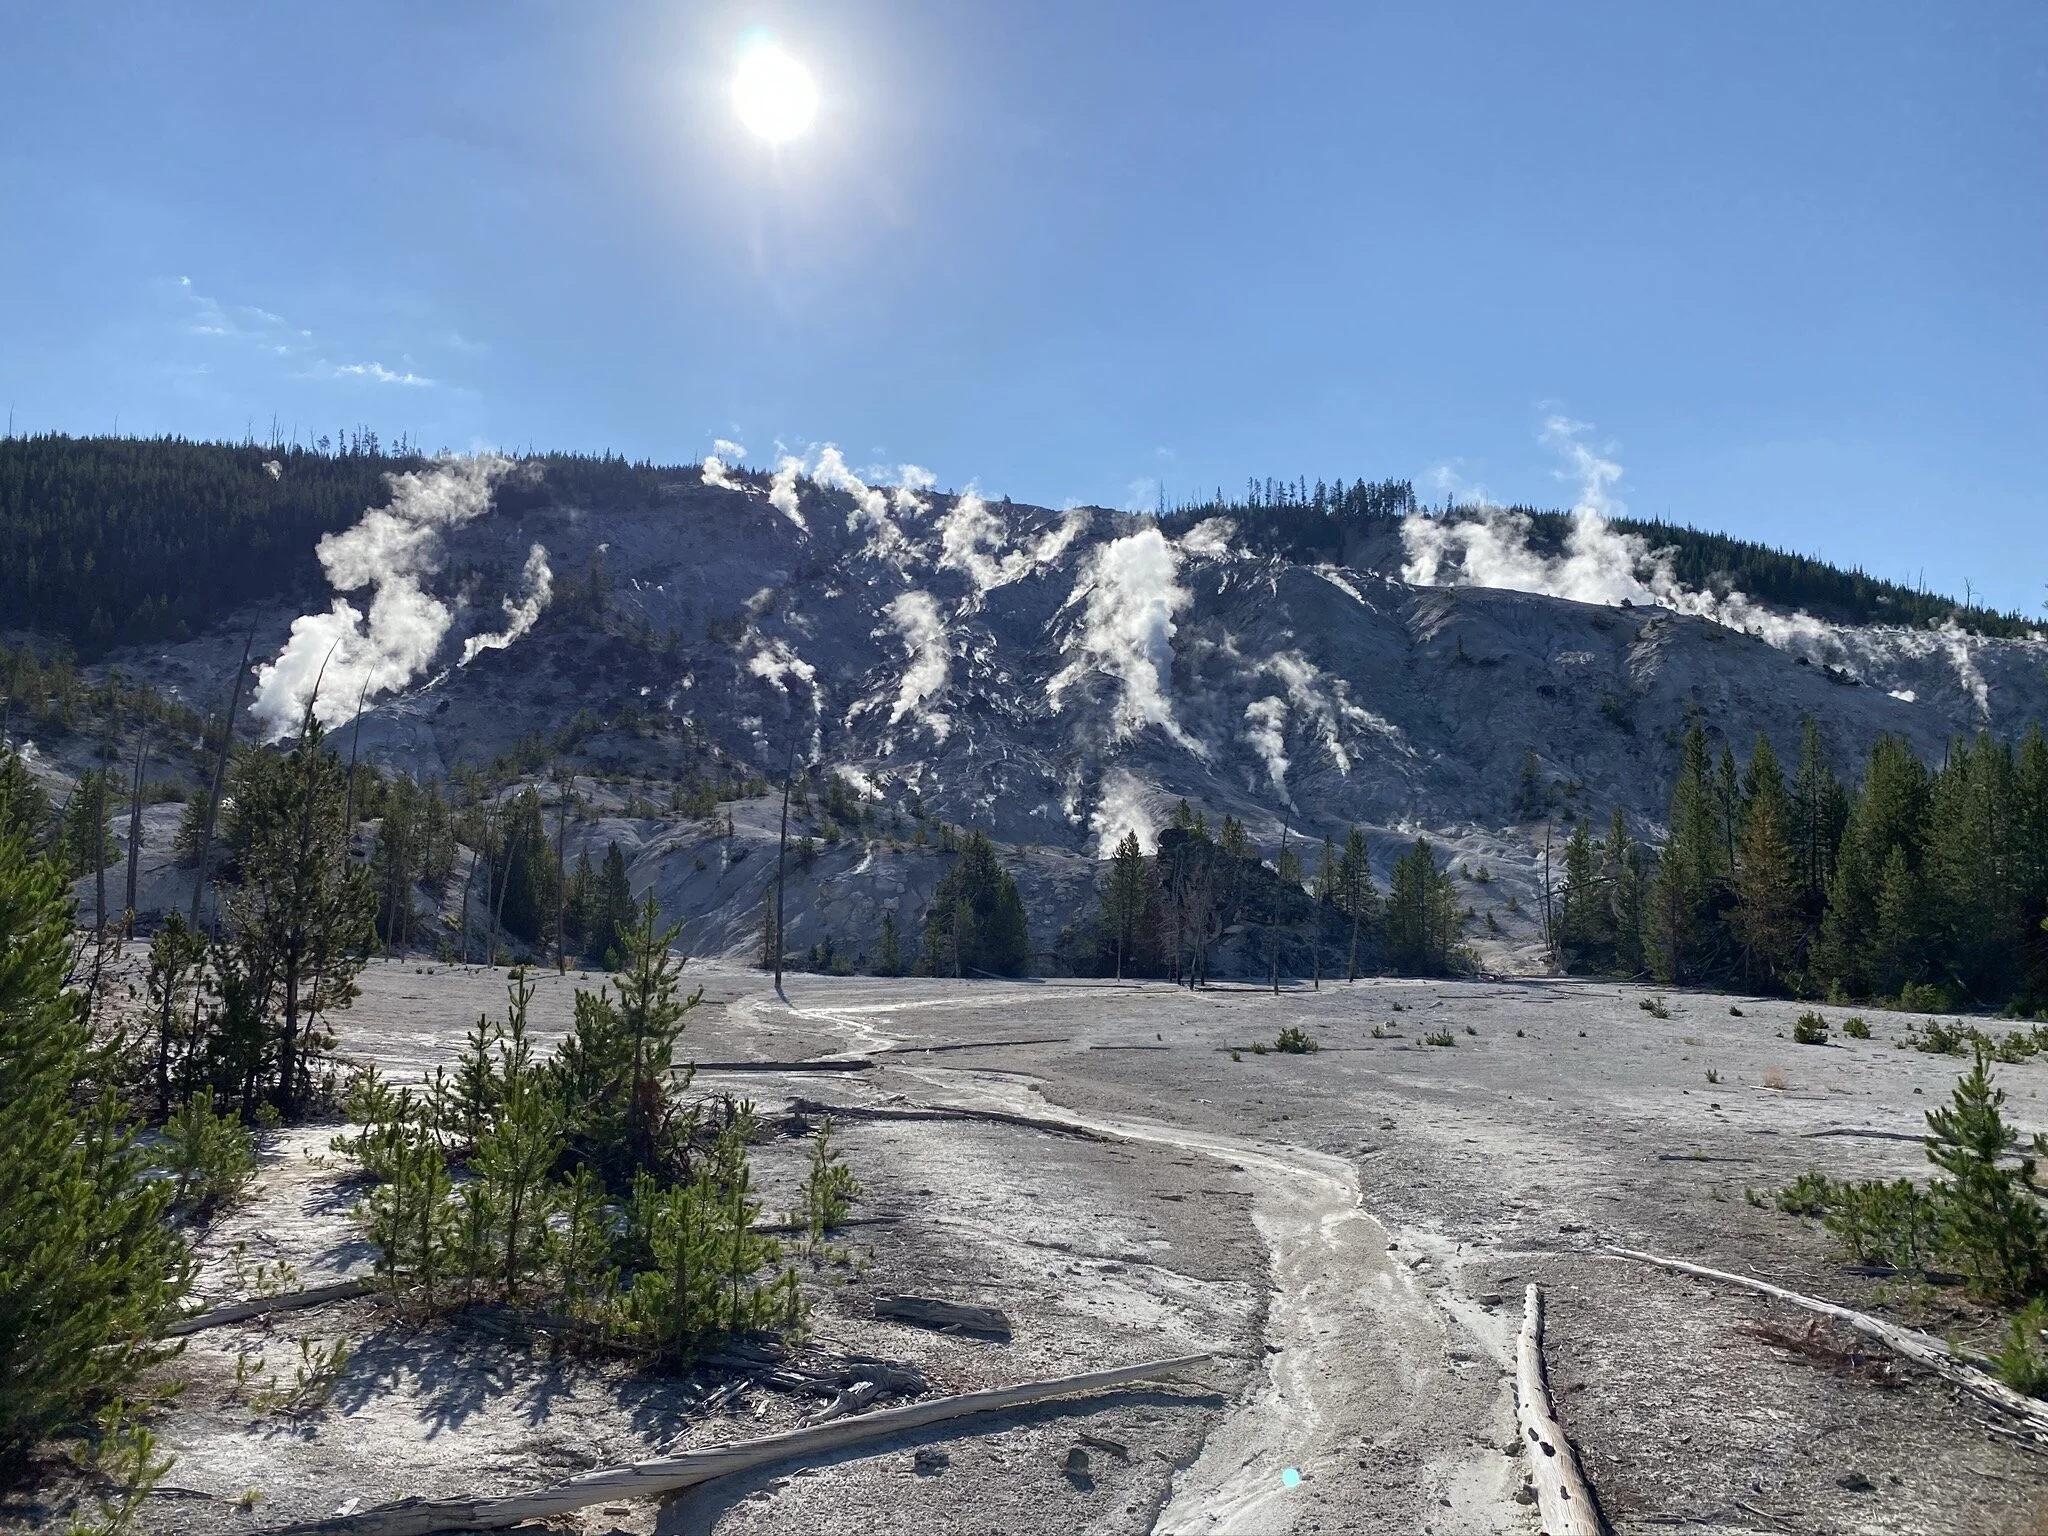
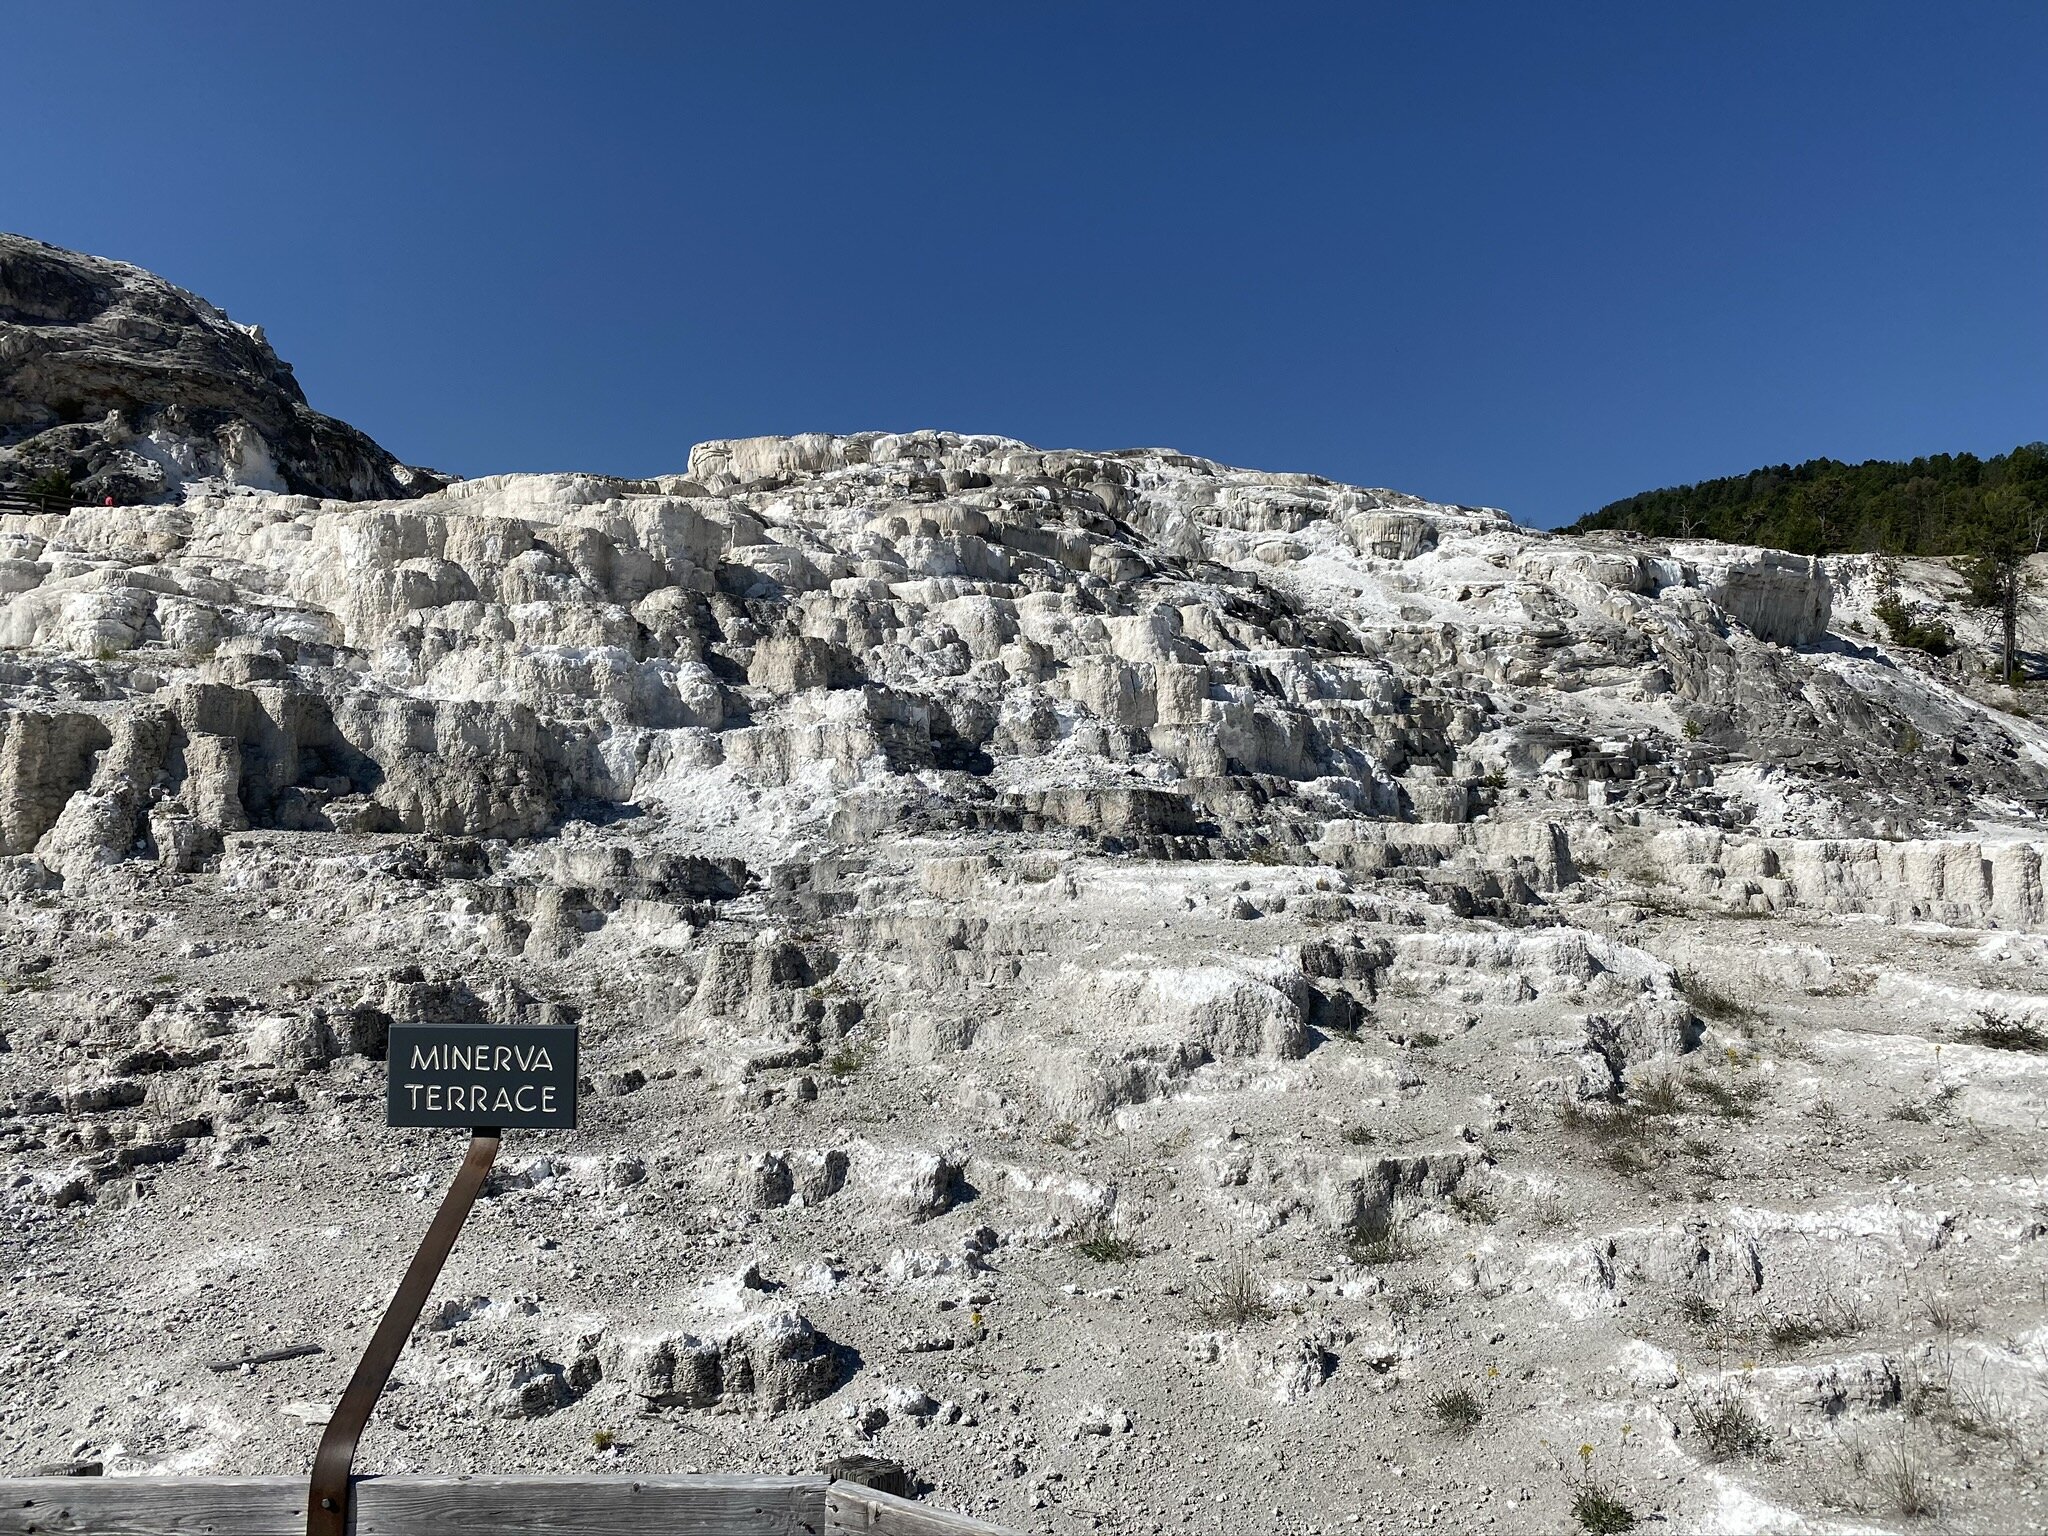
We woke up early today because our flight wasn’t until 2:40 pm and we wanted to fit a lot of stuff in before then! We gave away all of the stuff that we bought from Walmart at the beginning of our trip to our neighbors at the campground since we couldn’t fly home with it. On our way up north to the Mammoth Hot Springs we stopped at Gibbon Falls and Roaring Mountain. Roaring Mountain is really cool because it is a ton of small fumaroles that make it look like the mountain is on fire. Once we got to Mammoth Hot Springs we were short on time so we did our best to hit the highlights. We took a scenic drive along Upper Terrace Drive and one of the highlights was definitely Orange Spring Mound. We then went down to Main Terrace and took a quick walk to Minerva Terrace because that is the style of hot springs that Mammoth is famous for. Once we were done exploring we made the 2 hour drive back to Bozeman and took our afternoon flight home to Boston.
A quick stop at Gibbon Falls. Make sure to read the signs here - lots of fun info!
Roaring Mountain doesn’t really roar anymore but it sure is steamy
Orange Spring Mound
Minerva Terrace was definitely worth the short walk!
Looking into the valley towards Mammoth from the Upper Terrace
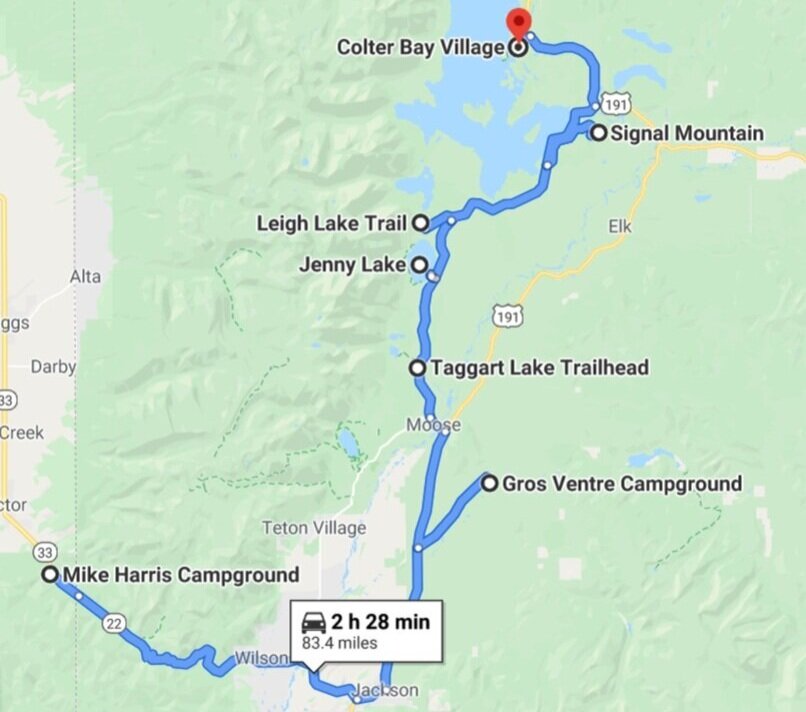
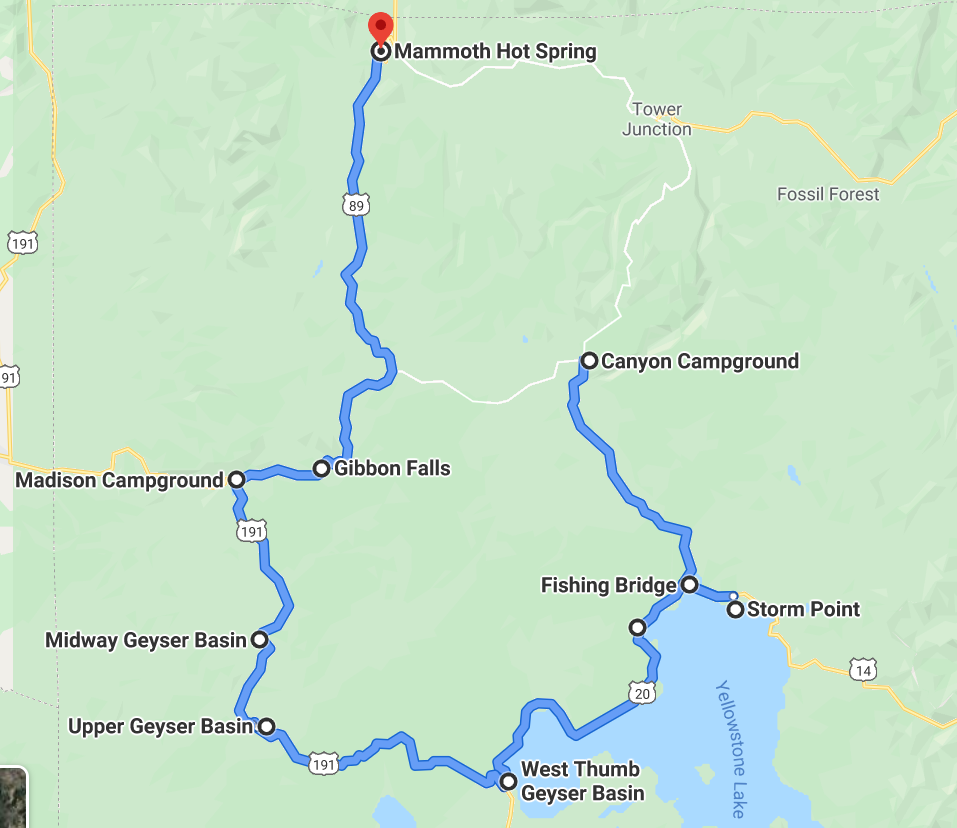
These maps are just a guide to see where stops are in relation to each other. We definitely recommend buying a map ahead of time or utilizing maps that you can get in the park for more detail!
A map of our main stops in Grand Teton National Park
A map of our main stops in Yellowstone National Park











As experienced hikers, we always make sure that we are hiking with The Ten Essentials which include navigation, a headlamp, sun protection, first aid, a knife, shelter, extra food, water and clothes. Overtime, we have discovered some items that we always bring on our hikes and consider them to be our personal, expanded ten essentials.